17
Installing the DS-XG Driver Software for Windows NT 4.0
This section explains the procedures for installing the DS-XG device driver software on your computer.
1
Log on to Windows NT 4.0.
2
Click the [Start] button on the Windows taskbar.
3
Highlight [Settings] and click [Control Panel].
4
The Control Panel now appears. Double-click the “Multimedia” icon.
5
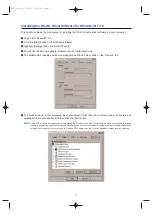
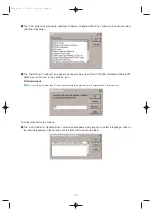
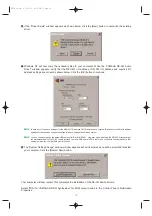
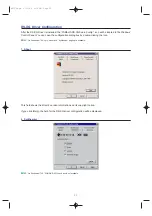
The Multimedia Properties window now appears as shown below. Click on the “Devices” tab.
6
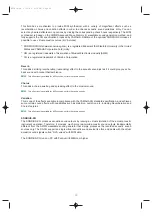
The Devices page is now displayed as shown below. Verify that your computer does not contain any
existing DS-XG audio devices and then click the [Add] button.
n
Verify if DS-XG audio devices exist by double-clicking the “Audio Devices” icon. If any drivers are listed, you will need to uninstall
the device by selecting it and then clicking the [Remove] button. Click the [Yes] button to confirm and then the [Restart Now] button
to restart your computer. Once you log on to Windows NT4.0 again, open the “Devices” page and continue with the next step.
WF192e.qx 5/21/98 9:16 PM Page 17


