USB Wireless LAN Adaptor: UD-WL01 Connection Manual
3
Connecting to a network
(A) Setting automatically by WPS
When your access point supports WPS, you can easily connect your instrument to a network just by following the
procedures below, without making any additional settings, such as entering a password.
NOTE
To check whether your access point supports WPS, refer to the owner’s manual supplied with your access point.
1.
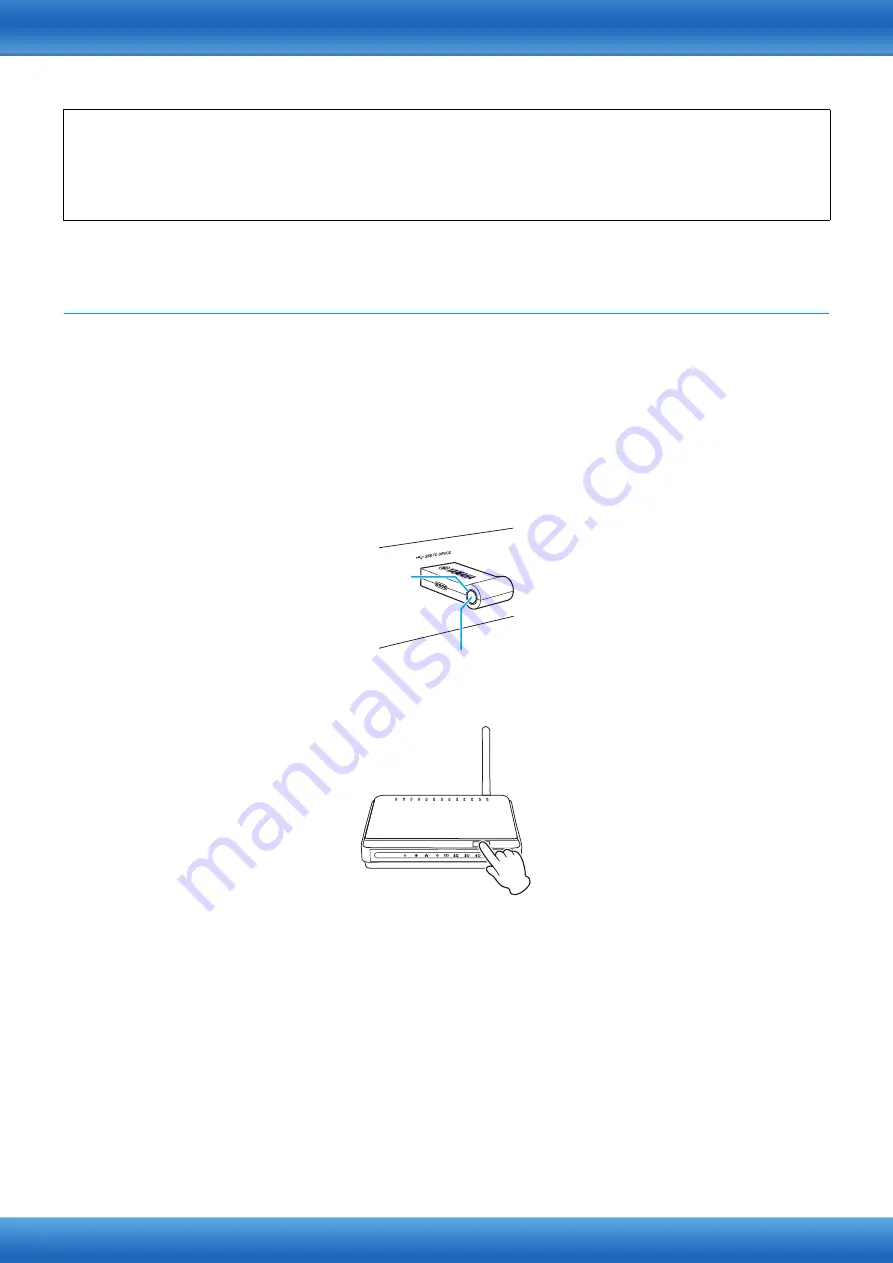
Connect the UD-WL01 to the instrument, and then hold down the [WPS] button on the UD-
WL01 for at least three seconds.
The LED lamp on the UD-WL01 flashes every 0.5 seconds.
2.
Press the WPS button on your access point within two minutes after step 1.
When the UD-WL01 is successfully connected to the access point, the LED lamp on the UD-WL01 lights, and
then flashes during communication over the network.
Connection between the UD-WL01 and the access point is now established. Once your instrument is connected to
your access point by WPS, the setting will be stored automatically to the instrument, and you no longer need to
repeat the same setting next time.
Once this is done, be sure to make the necessary settings on your smart device/computer (see
).
Infrastructure mode and Accesspoint mode
The “Infrastructure” mode uses an access point for data communication, between a USB wireless LAN adaptor and a
network. When you select connection type (A), (B), or (C) above, your instrument will be set to this mode. The “Accesspoint”
mode allows you to directly connect a USB wireless LAN adaptor and your smart device/computer, without using an access
point. With connection type (D) above, your instrument will use this mode.
LED lamp
[WPS] button
Press the WPS button on your access point


