Perio
d
ic maintenance an
d
a
d
justment
7-20
7
EAU48444
A
d
justin
g
the
b
rake lever free
play
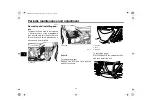
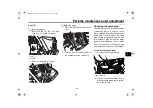
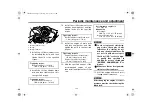
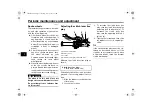
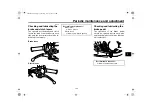
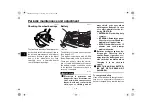
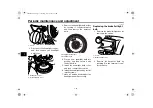
Measure the brake lever free play as
shown.
Periodically check the brake lever free
play and, if necessary, adjust it as fol-
lows.
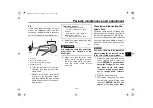
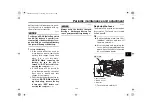
1. Slide the rubber cover back at the
brake lever.
2. Loosen the locknut.
3. To increase the brake lever free
play, turn the brake lever free play
adjusting screw in direction (a). To
decrease the brake lever free play,
turn the adjusting screw in direc-
tion (b).
4. Tighten the locknut, and then slide
the rubber cover back to its origi-
nal position.
WARNING
EWA10631
After a
d
justin
g
the
b
rake lever
free play, check the free play
an
d
make sure that the
b
rake is
workin
g
properly.
A soft or spon
g
y feelin
g
in the
b
rake lever can in
d
icate the
presence of air in the hy
d
raulic
system. If there is air in the hy-
d
raulic system, have a Yamaha
d
ealer
b
lee
d
the system
b
efore
operatin
g
the motorcycle. Air in
the hy
d
raulic system will
d
imin-
ish the
b
rakin
g
performance,
which may result in loss of con-
trol an
d
an acci
d
ent.
EAU22199
A
d
justin
g
the
b
rake pe
d
al
hei
g
ht an
d
free play
WARNING
EWA10671
It is a
d
visa
b
le to have a Yamaha
d
ealer make these a
d
justments.
Brake pe
d
al hei
g
ht
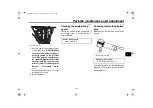
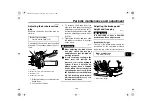
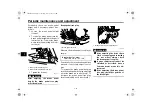
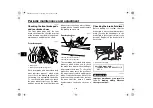
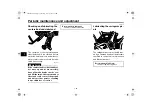
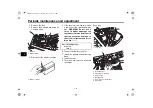
The top of the brake pedal should be
positioned at the specified distance
below the top of the footrest as shown.
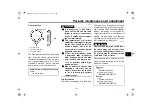
Brake lever free play:
5.0–8.0 mm (0.20–0.31 in)
1. Locknut
2. Brake lever free play adjusting screw
3. Rubber cover
4. Brake lever free play
2
3
1
(a)
(b)
4
Brake pe
d
al hei
g
ht:
20.0 mm (0.79 in)
1. Brake pedal height
1
UB9FEYE0.book Page 20 Monday, July 12, 2021 5:47 PM

