Example 3) Using cascade mode to add MTX input channels (analog connection)
MTX Setup Manual
79
6.
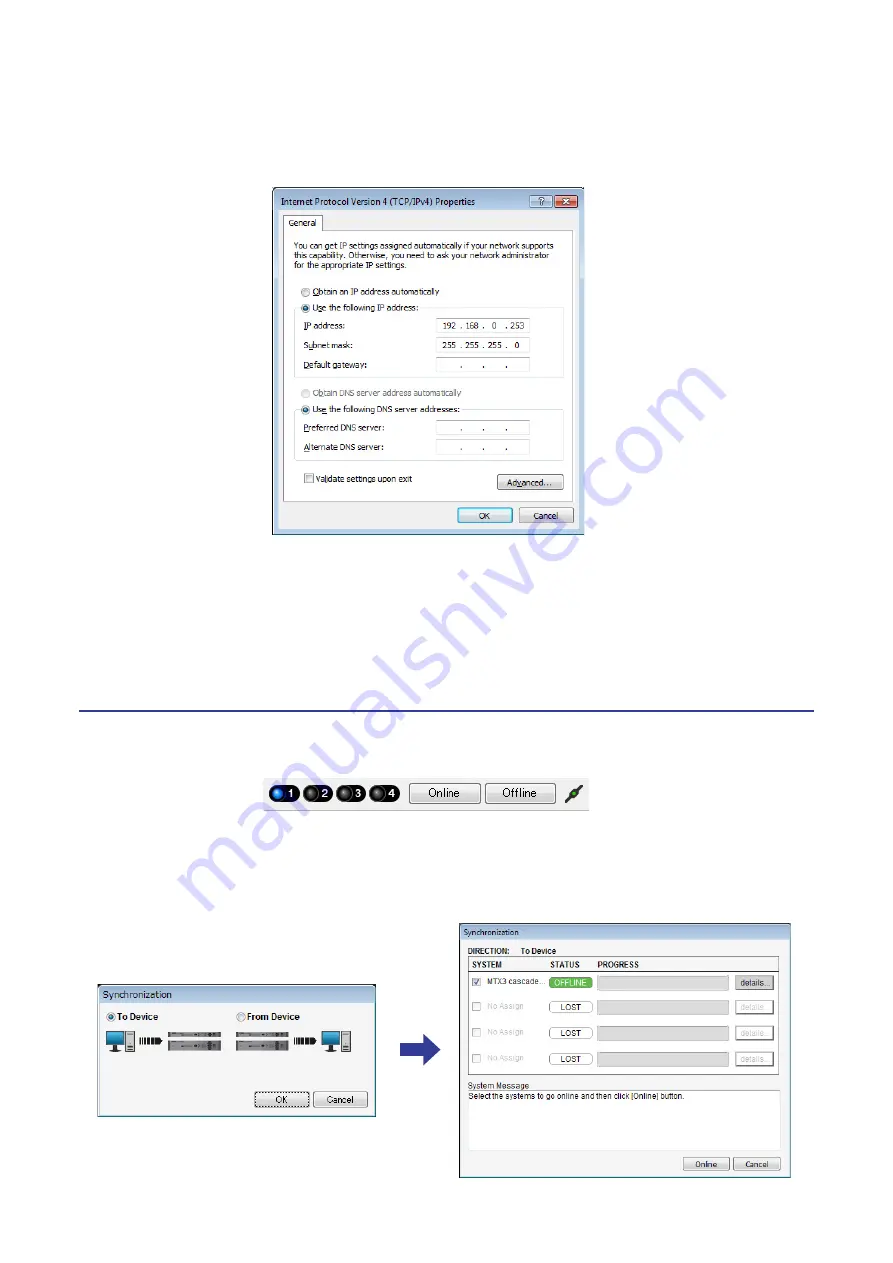
In the [IP address] box, enter “192.168.0.253”; in the [Subnet mask] box, enter
“255.255.255.0.”
7.
Click [OK].
Taking MTX-MRX Editor online
In the upper right of MTX-MRX Editor, click the [Online] button. When the unit has successfully come online, the indica-
tor 1 at the left will light blue.
When the “Synchronization” dialog box appears, select “To Device,” and click the [OK] button. When the indication in the
dialog box has switched, select the system that you want to place online, and click the [Online] button.
The project created in MTX-MRX Editor will be sent to the MTX.
NOTE
The MTX3’s IP address is set to “192.16
8
.0.1” and “192.16
8
.0.2,” and the XMV’s IP address is set to “192.16
8
.0.26.”
NOTE
In some cases, Windows firewall may block MTX-MRX Editor when you make this setting. Select the [Private
N
etwork] check box,
and click [Allow Access].


