background image

14

Basic Operation

1

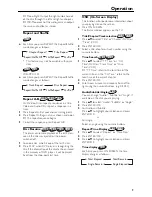
Press SETUP in the STOP mode to enter the 
Setup Menu.

2

Press ENTER/OK to go to the next level submenu 
or confirm your selection.

3

Press 

1


2

 to enter the submenu or return to the 

previous menu.

4

Press 

34

 to highlight the desired menu.

5

Press SETUP to quit the setup menu.

➜  

When you quit the setup menu, the settings 

will be stored in the player’s memory even if the 
player is switched to power off.

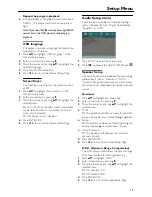
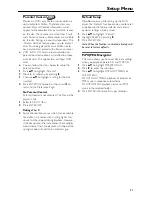
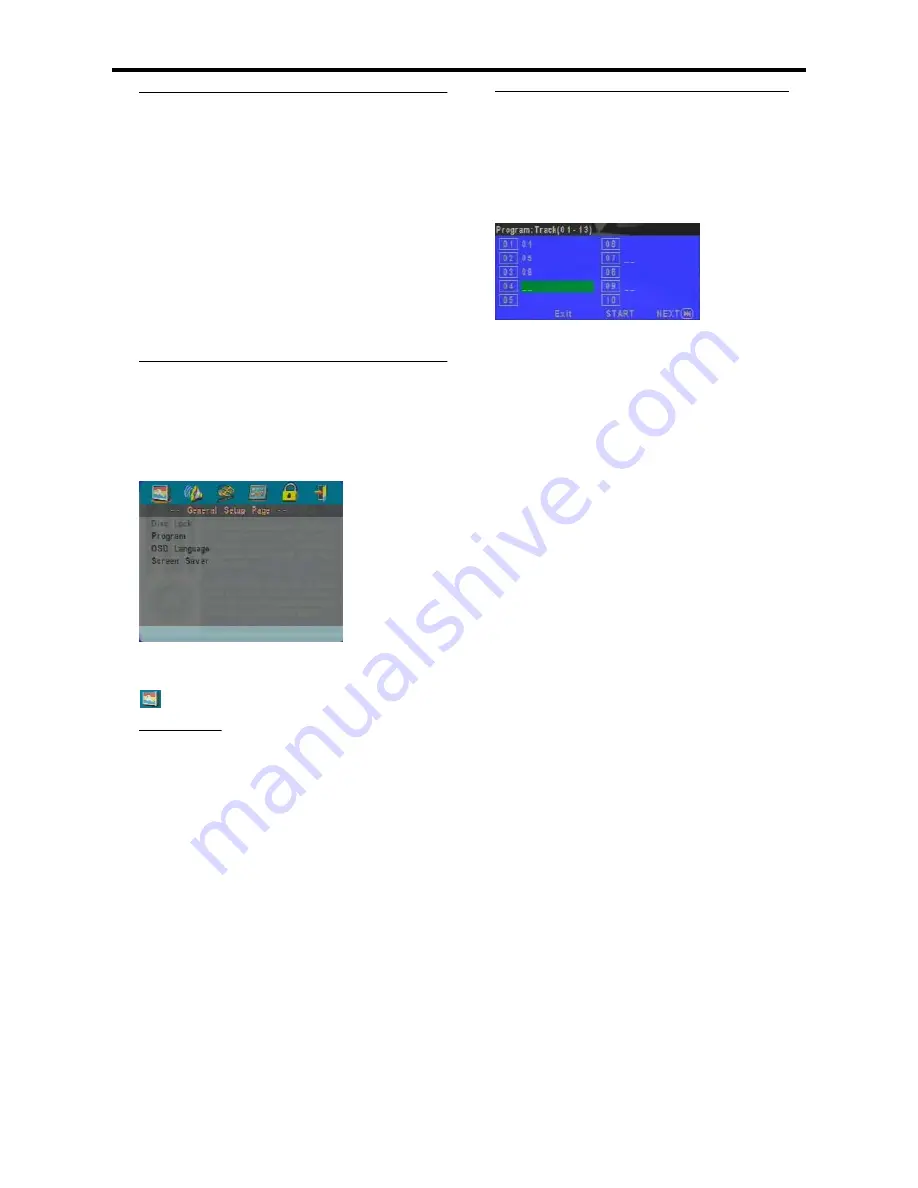
General Setup menu

Some settings need to be made in this menu. 
They are: “Disc Lock”, “Program”, “OSD 
Language” and “Screen Saver”.
Follow the steps below:

1

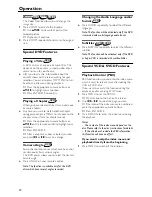
Press SETUP to enter the setup menu.

2

Press 

1


2

 to choose the GENERAL SETUP icon 

.

Disc Lock

When the disc is locked, the player will store its 
specific code into the memory for future 
identification. For the next playback, the DVD 
player will prompt you to enter the password. 
Then, press ENTER/OK to load the disc.

1

Press 

34

 to highlight “Disc Lock”.

2

Enter its submenu by pressing 

2

.

➜  

Lock: Lock the disc being played.

➜  

Unlock: unlock the disc.

3

Press 

1

 to return to the General Setup Page.

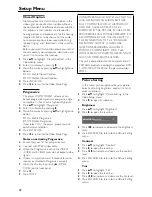
Program (not for Picture CD/MP3)

1

press 

34

 to choose “Program”.

2

Press 

2

 to move the cursor to the field of the 

submenu to choose the item Input menu.

➜  

Input menu: Enter the Program item.

3

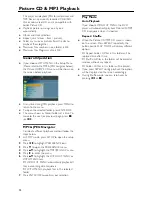
Press ENTER/OK to enter the program page.

Input your favorite track

1

Input valid track number by pressing the numeric 
buttons.

2

Press 

341


2

 to move the cursor to the next 

selected position.

➜  

If the track number is more than ten, press 

2™


to open the next page and go on programing, or 
press 

341


2

 to highlight NEXT button, and then 

press ENTER/OK.

3

Repeat this steps to input another track number 
until the whole program is completed.

Remove a track

1

Press 

341


2

 to move the cursor to the track you 

want to remove.

2

Press ENTER/OK or PLAY to remove this track 
from the program menu.

Playback tracks

When programing is completed,

1

Press 

341


2

 to move the cursor to the START 

button.

2

Press ENTER/OK.

➜  

DVD player will playback the selected tracks 

under the programed sequence.

Quit the program playback

In the Program menu,

1

Press 

341


2

 to move the cursor to the EXIT 

button.

2

Press ENTER/OK to quit this menu.

Stop the program playback

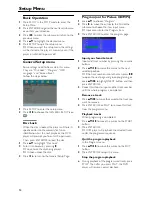
During playback of the programmed tracks, press 
STOP. Then after you press PLAY, the DVD 
player will resume normal playback.

Setup Menu

Summary of Contents for DVD S540 - Progressive Scan DVD Player

Page 1: ...STANDBY ON DVD VIDEO CD CD PLAYER DVD S540 OWNER S MANUAL U ...

Page 2: ...grounding prong The wide blade or the third prong are provided for your safety When the provided plug does not fit into your outlet consult an electrician for replacement of the obsolete outlet 10 Protect the power cord from being walked on or pinched particularly at plugs convenience receptacles and the point where they exit from the apparatus 11 Only use attachments accessories specified by the ...

Page 3: ... ohm ribbon lead change the lead in to coaxial type cable If these corrective measures do not produce satisfactory results please contact the local retailer authorized to distribute this type of product If you can not locate the appropriate retailer please contact Yamaha Electronics Corp 6600 Orangethorpe Ave Buena Park CA90622 The above statements apply ONLY to those products distributed by Yamah...

Page 4: ...nts this might damage the finish Use a clean dry cloth 12 Use only the voltage specified on this unit Using this unit with a higher voltage than specified is dangerous and may cause fire damage to this unit and or personal injury YAMAHA will not be held responsible for any damage resulting from use of this unit with a voltage other than as specified 13 To prevent damage by lightning disconnect the...

Page 5: ...anging the Audio Language and or format 10 Subtitles 10 Special VCD SVCD Features 10 Playback Control PBC 10 Preview Function 11 Picture CD MP3 Playback General Operation 12 MP3 JPEG Navigator 12 Play Mode 12 Special JPEG Features 13 Function Introduction 13 Preview Function 13 Zoom picture 13 Playback with multi angles 13 Wipe Effect 13 Special MP3 Features 13 Function Introduction 13 JPEG and MP...

Page 6: ...on standard shaped discs heart etc Do not use disc with tape scals or paste on it damage to the unit may result Do not use a disc printed on its surface by a commercially available label printer Cleaning discs When a disc becomes dirty clean it with a cleaning cloth Wipe the disc from the centre out Do not wipe in a circular motion Do not use solvents such as benzine thinner commercially available...

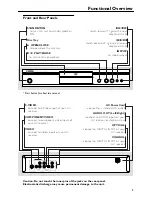
Page 7: ...ch backward go to a previous chapter or track 9 STOP to stop playback COAXIAL PCM DTS MPEG DIGITAL OPTICAL VIDEO AUDIO OUT VIDEO OUT COMPONENT S VIDEO PR PB Y R L DIGITAL OUT S VIDEO COMPONENTVIDEO VIDEO connect to S Video input of your AV receiver connect to component video inputs of your AV receiver connect to Video inputs of your AV receiver AC Power Cord connect to a standard AC outlet COAXIAL...

Page 8: ...gle ZOOM enlarge video image AUDIO audio language and format selector TOP MENU RETURN display the top level disc menu DVD go back to previous menu VCD MENU access menu of a disc DVD switch PBC on off VCD 1 2 3 4 left right up down select an item in the menu ENTER OK acknowledge menu selection S search backward go to a previous chapter or track STOP 9 stop playback PLAY B start playback PAUSE pause...

Page 9: ... format of the digital output does not match the capabilities of your receiver the receiver will produce a strong distorted sound or no sound at all Make sure to select the appropriate audio format at menu screen included on the disc Pressing AUDIO once or more may change not only audio languages but also audio formats and the selected format appears for several seconds on the status window Analog...

Page 10: ...eparating video signal into luminance Y terminal color coded as green and color difference Pb blue Pr red Use commercially available coaxial cables Receiver and TV with component input is required Observe the color of each jack when connecting If your receiver does not have component output jacks connecting the player s component output directly to your TV s component input can reproduce better vi...

Page 11: ...activate the conversion refer to TV Type Notes Multi can only be selected when using a TV that has both the NTSC and PAL systems Slight picture distortions may occur due to this conversion This is normal Thus the Multi is most suitable for the best picture quality Turning on the power 1 Connect the AC power cord to the power outlet 2 Turn on the TV and your AV receiver 3 Select the appropriate inp...

Page 12: ...TER OK Note Long press of the 1 or 2 till switch on backward or forward search SEARCH 1 To search the contents in fast speed press 2 or 1 for fast forward backward searching 2 Press 2 or 1 again to increase the speed for searching 3 Press PLAY to return to normal playback Slow Motion 1 To get a slow motion effect during playback press 3 or 4 2 Press 3 or 4 again you can get different playback forw...

Page 13: ...appears on the TV Title Chapter Track selection 1 Press 34 to select Title or Chapter DVD or Track VCD 2 Press ENTER OK 3 Select a title chapter or track number using the numeric buttons Time Search 1 Press 34 to select TT Time or CH Time DVD or Track Time or Disc Time VCD TT Time refers to the total time of the current title and the CH Time refers to the total time of the current chapter 2 Press ...

Page 14: ... camera angle Press ANGLE on your remote control Note The function is available only for the DVD discs which have several angles recorded Changing the Audio Language and or format Press AUDIO repeatedly to select the different languages Note The function will be activated only if the DVD is recorded with multi language audio tracks Subtitles Press SUBTITLE repeatedly to select the different subtit...

Page 15: ...o choose the desired track press 341 2 to highlight the second line and input your selected track number next to SELECT Select the others from the current six by pressing the 1 or 2 to open the previous or next page and press ENTER OK 2 Disc Interval This function is used to divide a disc into six parts by regular intervals and display them on one page to help you preview the whole disc To choose ...

Page 16: ...TOP mode press SETUP to open the setup menu 2 Press 1 2 to highlight PREFERENCE icon 3 Press 4 to open the PREFERENCE menu 4 Press 34 to highlight the MP3 JPEG NAV menu 5 Press 2 to enter the menu 6 Press 34 to highlight the WITHOUT MENU or WITH MENU item WITHOUT MENU automatically playback all files in according date sequence WITH MENU playback files in the selected folder 7 Press ENTER OK to con...

Page 17: ...y the picture with different scales Press 341 2 to view the rest of the zoomed picture Playback with multi angles When displaying one picture on TV screen Press 341 2 to get different effects 3 Flip the picture vertically 4 Flip the picture horizontally 1 rotate the picture anti clockwise 2 rotate the picture clockwise Wipe Effect Press ANGLE repeatedly to choose different wipe effects Special MP3...

Page 18: ...Program not for Picture CD MP3 1 press 34 to choose Program 2 Press 2 to move the cursor to the field of the submenu to choose the item Input menu Input menu Enter the Program item 3 Press ENTER OK to enter the program page Input your favorite track 1 Input valid track number by pressing the numeric buttons 2 Press 341 2 to move the cursor to the next selected position If the track number is more ...

Page 19: ...ere are items included in Audio Setup Page such as Speaker Setup Digital Audio Setup Equalizer and 3D 1 Press SETUP to enter the setup menu 2 Press 1 2 to choose the AUDIO SETUP icon Speaker Setup This menu contains setup options for your analog audio output such as Downmix D R C Dynamic Range Compression etc which makes the setup system reproduce high quality surround sound Downmix 1 Press 34 to ...

Page 20: ...ted to 48kHz 96K If the 96kHz disc is copy protected the disital output will be muted to comply with the standards 4 Press ENTER OK 5 Press 1 to return to the Audio Setup Page Equalizer Sound Mode The Equalizer allow you to select from various preset modes that control the frequency bands of sound to optimize certain musical styles It greatly enhances the excitement and enjoyment of your favourite...

Page 21: ...PAL signals by choosing the PAL option The option Multi means video output depends on the format of the DVD or VCD discs TV Display Select the aspect ratio of the TV to be connected 4 3 PANSCAN when you connect a normal TV to the DVD player Displays the wide picture on the whole TV screen with a portion automatically cut off 4 3 LETTERBOX when you connect a normal TV to the DVD player Displays a w...

Page 22: ...CVBS and S VIDEO jacks do not output video signals If there is no picture wait 15 seconds for auto recover or disactivate Progressive manually 1 Open the disc tray by pressing OPEN CLOSE on the front panel 2 Press 1 3 Press MUTE Picture Setting In this menu you can personalize your picture color by adjusting brightness contrast tint and color saturation 1 Press 34 to highlight Picture Setting in t...

Page 23: ...4 to highlight Password 4 Press 2 to highlight Change 5 Press ENTER OK to open the Password Change Page 6 Press 4 to repeatedly until the player prompt you to enter the old password 7 Enter the current 6 digit code 8 If successful the player will prompt for a new one 9 After that enter the new password again to reconfirm 10 Press ENTER OK to return to the Password Setup Page Notes You can change t...

Page 24: ...u want to choose other languages please refer to the following instructions 4 Press ENTER OK 5 Press 1 to return to the Preference Page Note Your DVD disc may not include the subtitle which you set in the SUBTITLE menu If so the player will use another subtitle language instead Disc Menu language DVD discs are available with multiple disc menu languages This option is used to select the default di...

Page 25: ...sc will be played in full 1 Select 8 ADULT item 2 Press ENTER OK Ratings 1 to 7 3 Some discs contain scenes which are not suitable for children All scenes with a rating higher than you set will be skipped during playback However if the disc contains alternate scenes these will play automatically If not the playback will stop and the six digits code will need to be entered again Default Setup If pr...

Page 26: ... Check that the speakers are connected correctly No audio at digital output Check the digital connections Check if your receiver can decode MPEG 2 or DTS and if not please make sure the digital output is set to PCM Check if the audio format of the selected audio language matches your receiver capabilities Disc can t be played The DVD R DVD RW DVD R DVD RW CD R CD RW must be finalized Ensure the di...

Page 27: ...istortion and Noise 1 kHz 0 003 TV STANDARD PAL 50Hz NTSC 60Hz Number of lines 625 525 Playback Multistandard PAL NTSC CONNECTIONS Y Output Cinch green Pb Cb Output Cinch blue Pr Cr Output Cinch red S Video Output Mini DIN 4 pins Video Output Cinch Audio Output L R Cinch Digital Output 1 coaxial 1 optical IEC958 for CDDA LPCM MPEG1 IEC1937 for MPEG 2 Dolby Digital and DTS CABINET Dimensions w x d ...

Page 28: ... Castilian Spanish 6983 Kalaallisut 7576 Catalan 6765 Kannada 7578 Chamorro 6772 Kashmiri 7583 Chechen 6769 Kazakh 7575 Chewa Chichewa Nyanja 7889 Khmer 7577 Chichewa Chewa Nyanja 7889 Kikuyu Gikuyu 7573 Chinese 9072 Kinyarwanda 8287 Chuang Zhuang 9065 Kirghiz 7589 Church Slavic Slavonic 6785 Komi 7586 Church Slavonic Church 6785 Korean 7579 Chuvash 6786 Kuanyama Kwanyama 7574 Cornish 7587 Kurdish...

Page 29: ... Islands 8479 Nyanja Chichewa Chewa 7889 Tsonga 8483 Nynorsk Norwegian 7878 Tswana 8478 Occitan post 1500 Proven 7967 Turkish 8482 Old Bulgarian Old Slavonic 6785 Turkmen 8475 Old Church Slavonic Old 6785 Twi 8487 Old Slavonic Church 6785 Uighur 8571 Oriya 7982 Ukrainian 8575 Oromo 7977 Urdu 8582 Ossetian Ossetic 7983 Uzbek 8590 Ossetic Ossetian 7983 Vietnamese 8673 Pali 8073 Volapük 8679 Panjabi ...

Page 30: ...STR 22 34 25462 RELLINGEN BEI HAMBURG F R OF GERMANY YAMAHA ELECTRONIQUE FRANCE S A RUE AMBROISE CROIZAT BP70 CROISSY BEAUBOURG 77312 MARNE LA VALLEE CEDEX02 FRANCE YAMAHA ELECTRONICS UK LTD YAMAHA HOUSE 200 RICKMANSWORTH ROAD WATFORD HERTS WD18 7GQ ENGLAND YAMAHA SCANDINAVIA A B J A WETTERGRENS GATA 1 BOX 30053 400 43 VÄSTRA FRÖLUNDA SWEDEN YAMAHA MUSIC AUSTRALIA PTY LTD 17 33 MARKET ST SOUTH MEL...

Reviews: