


44
M
ANAGING
DISC
CONTENT
(DVD+RW/+R
ONLY
)
6
Press
ENTER/OK
. ‘This will divide this title into two
separate titles. Press OK to confirm’ will appear.
➤
‘Dividing title’ is shown until the action is
completed.
7
Press
ENTER/OK
again.
The Index Picture Screen will show two titles instead of
one. Both will have the same name. If you want to change
the name, you can do so in the title settings menu. For one
of the two resulting titles, a new index picture is created at
the point at which you divided the title.
If you want to divide one title into more than two titles,
use the above procedure several times.
Append recording
If you want to append a video recording to an earlier
recorded title, do the following.
1
On the Index Picture Screen, select the title to which
you want to add a video recording.
2
Press .
3
At the point where you want to append the new
recording press
.
4
Press
MONITOR
then press
CH+/-
to select the
channel (or source) you want to record.
5
Press
REC
.
The new video recording will be appended at the point
you selected. Video material beyond this point is
overwritten. This may include titles following the current
title.
Any remaining video material that is not overwritten,
which may include the last part of the original title,
is maintained. You can access these titles from the Index
Picture Screen.
6
Press
to stop recording.
play
1
2
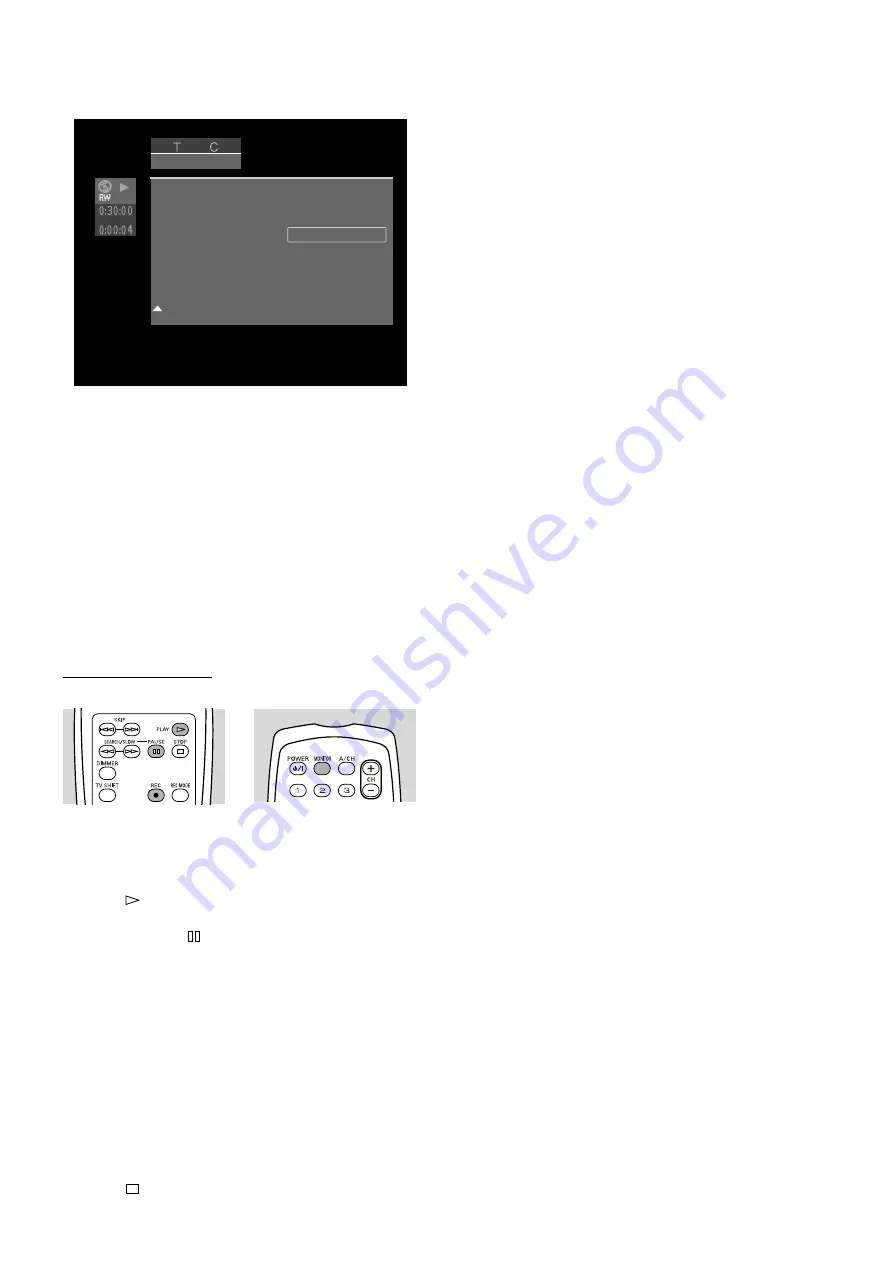
Edit menu
Insert chapter marker
Current chapter
Delete chapter marker
Delete all\markers in this title
New index picture
Divide title
Visible
Press OK


