background image

23

English

NOTES ABOUT HANDLING COMPACT DISCS

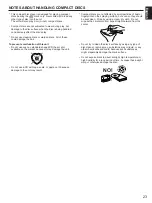
This compact disc player is designed for playing compact
discs bearing the         mark only.  Never attempt to load any
other type of disc into the unit.
The unit will also play 8-cm (3-inch) compact discs.

Compact discs are not subjected to wear during play, but
damage to the disc surface when the disc is being handled
can adversely affect the disc’s play.

Do not use cleaning discs or warped discs.  All of these
could damage the unit.

To prevent a malfunction of this unit

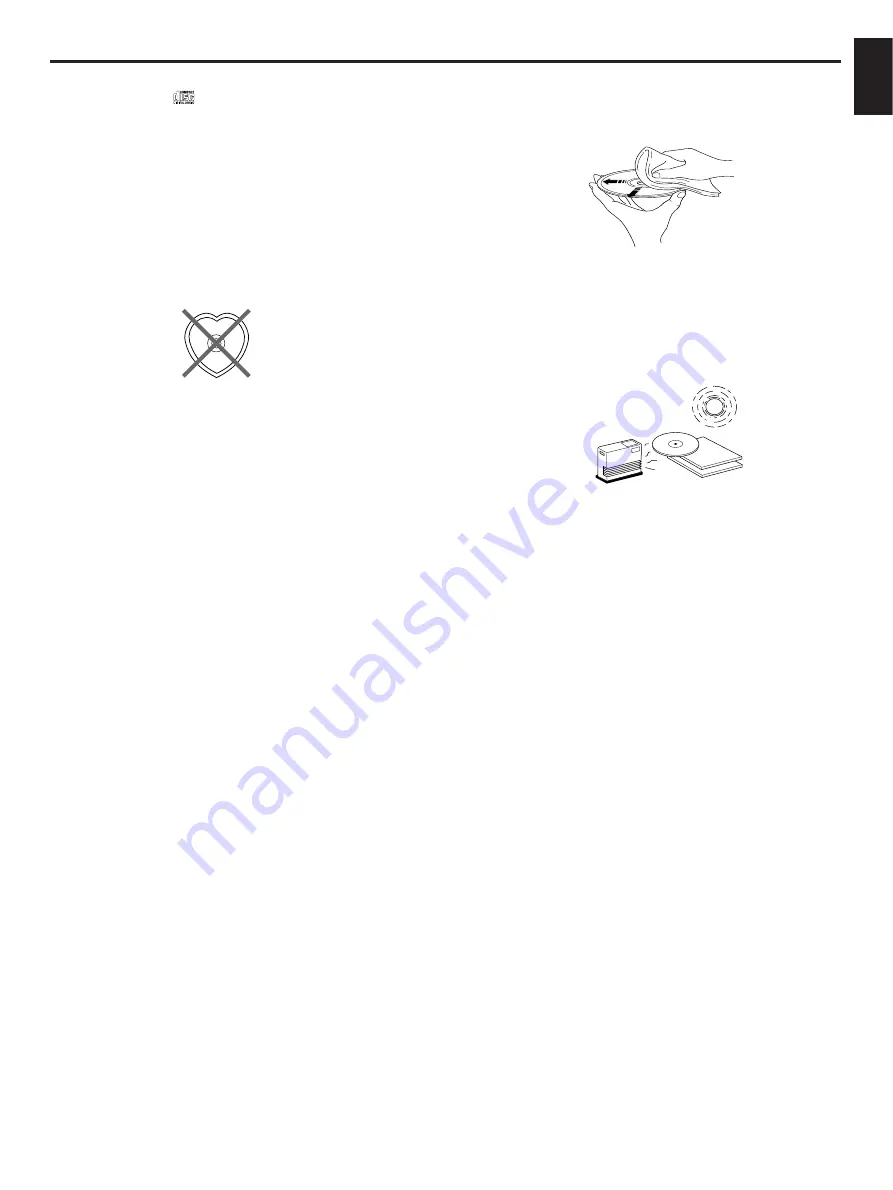
Do not use any non standard shaped CD (heart, etc.)
available on the market, because it may damage the unit.

Do not use a CD with tape, seals, or paste on it, because
damage to the unit may result.

Compact discs are not affected by small particles of dust or
fingerprints on their playing surface, but even so they should
be kept clean.  Wipe by using a clean, dry cloth.  Do not
wipe with a circular motion; wipe straight outward from the
center.

Do not try to clean the disc’s surface by using any type of
disc cleaner, record spray, anti-static spray or liquid, or any
other chemical-based liquid, because such substances
might irreparably damage the disc’s surface.

Do not expose discs to direct sunlight, high temperature or
high humidity for a long period of time, because these might
warp or otherwise damage the disc.

,,,

,,,

,,

,,

,

,

,

NO!

Summary of Contents for CDC-505

Page 1: ...NCTIONNEMENT DE BASE 30 LECTURE EN SÉQUENCE ALÉATOIRE 35 LECTURE PROGRAMMÉE 36 LECTURE REPETÉE 38 RECHERCHE D INDEX 38 ENREGISTREMENT SYNCHRONISE D UN COMPACT DISQUE 39 PROGRAMMATION DES PLAGES POUR ENREGISTREMENT SUR CASSETTE 40 RECHERCHE AUTOMATIQUE DU NIVEAU DE CRÊTE D UN DISQUE 43 REMARQUES CONCERNANT LA TELECOMMANDE 44 LECTURE COMMANDÉE PAR PROGRAMMATEUR 44 REMARQUES CONCERNANT LA MANIPULATIO...

Page 2: ...ld be cleaned only as recommended by the manufacturer 13 Nonuse Periods The power cord of the unit should be unplugged from the outlet when left unused for a long period of time 14 Object and Liquid Entry Care should be taken so that objects do not fall into and liquids are not spilled into the inside of the unit 15 Damage Requiring Service The unit should be serviced by qualified service personne...

Page 3: ...t use only high quality shielded cables Cable s supplied with this product MUST be used Follow all installation instructions Failure to follow instructions could void your FCC authorization to use this product in the USA 3 NOTE This product has been tested and found to comply with the requirements listed in FCC Regulations Part 15 for Class B digital devices Compliance with these requirements prov...

Page 4: ...he power cord from the household AC outlet grasp the plug do not pull the cord CAUTION FOR CARRYING THIS UNIT Be sure not to carry or tip this unit with discs remaining in it CAUTION FOR MOVING THIS UNIT When moving this unit first remove all discs from the disc tray and close the tray by pressing the OPEN CLOSE button After you confirm that the display lights up as shown below switch off the powe...

Page 5: ...ed in series When the LINE OUT analog terminals of this unit are used Be sure that the left L and right R LINE OUT terminals are connected to the corresponding left and right terminals of the amplifier or other components Connect the LINE OUT terminals to the CD or AUX terminals of the amplifier If the amplifier does not have such terminals use the TAPE PB terminals For additional details concerni...

Page 6: ...ton and the PAUSE button on the remote control transmitter The SKIP SEARCH buttons on the main unit have both the functions of the SKIP button and the SEARCH button on the remote control transmitter NATURAL SOUND COMPACT DISC PLAYER POWER 5 DISC 1 2 3 4 SKIP SEARCH PLAYXCHANGE OPEN CLOSE POWER switch p 8 PHONES jack p 12 Play Pause button p 8 9 DISC select buttons p 8 Remote control sensor p 22 Di...

Page 7: ...button p 18 RANDOM button p 13 SEARCH button p 10 SKIP button p 10 DISC SCAN button p 11 OUTPUT LEVEL button p 12 PAUSE button p 9 PLAY button p 8 STOP button p 9 INDEX button p 16 REPEAT button p 16 Disc play MODE select button p 8 TAPE CLEAR SYNCHRO PROG DIMMER OPEN CLOSE STOP PAUSE PLAY 2 1 3 INDEX 8 7 9 0 5 4 6 I0 REPEAT RANDOM MODE DISC SCAN SEARCH SKIP OUTPUT LEVEL DISC SKIP TEXT TIME Parts ...

Page 8: ...again 8 1DISC 5DISCS BASIC OPERATION POWER OPEN CLOSE OPEN CLOSE PLAY PLAY Shows the selected disc mode Disc tray This manual describes how to operate this unit by using the remote control transmitter To operate this unit on the front panel use the corresponding buttons on the front panel POWER NATURAL SOUND COMP 2 1 SYNCHRO 3 INDEX PROG CLEAR 8 7 9 0 5 4 6 I0 DIMMER OPEN CLOSE TEXT TIME REPEAT RA...

Page 9: ...You can load or replace discs on the trays when the disc tray is opening however never load a disc on the tray hidden inside the unit If doing so the disc and the unit may be damaged because the tray already has a disc which is being played CD TEXT This unit is compatible with the CD TEXT function The CD TEXT disc has information such as the disc title artist names and track names If the current d...

Page 10: ...H buttons on the front panel Be careful not to press and hold a button otherwise the selected track is played forward or backward rapidly 10 To play a desired track on the disc 5 1DISC 5 6 7 8 9 10 1112 SKIP The selected track number is displayed 5 To go forward rapidly To go backward rapidly The sound can be heard although slightly garbled during manual search in either direction This is convenie...

Page 11: ...during disc scan Scanning discs to search for a desired disc or to check discs on the disc tray DISC SCAN Notes The remaining time will not be displayed if the track number is 21 or higher The disc title artist names or track names may not be displayed with some CD TEXT discs In this case NO ENTRY appears in the display Selecting time displays and the text data You can select any of the four time ...

Page 12: ...t signals to max The level of output signals can be checked in the display CDC 905 only When you listen with headphones Connect the headphones to the PHONES jack and adjust the volume by using the OUTPUT LEVEL buttons Note that the use of the OUTPUT LEVEL buttons will also vary the level of the signal output to an amplifier etc OUTPUT LEVEL Changing brightness of the display OUTPUT LEVEL or On the...

Page 13: ...rammed track will be played If the SKIP button is pressed play will return to the beginning of the track now being played This indication appears while the unit is mixing up tracks Total remaining time on the disc will not be displayed during random sequence play RANDOM SEQUENCE PLAY You can play the tracks in a random sequence up to 99 tracks The unit will automatically mix up tracks from all dis...

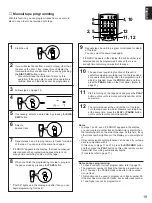
Page 14: ...n 6 Repeat steps 4 5 to program more tracks You can select the same track again 7 When the programming is completed 14 PROGRAM PLAY You can enjoy listening to your favorite tracks selected from one or more discs in any desired order by programming tracks PLAY PROG PROG DISC SKIP or 2 3 4 DISC 5 On the front panel STOP 2 1 TAPE SYNCHRO 3 INDEX PROG CLEAR 8 7 9 0 5 4 6 I0 DIMMER TEXT TIME OPEN CLOSE...

Page 15: ... program number for the track to be programmed next Shows the selected disc and track number Shows the total time of the tracks currently programmed Shows only the numbers of programmed tracks on the selected disc If STEP 1 does not appear on the display after the PROG button is pressed press the TEXT TIME display mode select button If the total time exceeds 99 minutes and 59 seconds the time will...

Page 16: ...dex numbers 2 SINGLE REPEAT REP S A single track is repeatedly played This is also available in the program play mode and the random sequence play mode If the repeat play mode is switched off the program play mode or the random sequence play mode will be resumed FULL REPEAT REP F In the 1DISC disc play mode A designated disc is repeatedly played In the 5DISCS disc play mode All discs on the disc t...

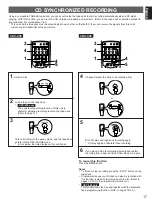
Page 17: ... 15 for the programming procedure CDC 905 only This function can also be used together with the automatic tape programming function Refer to pages 18 20 17 English Using a compatible YAMAHA tape deck you can synchronize the tape deck to start recording automatically when a CD starts playing With this function you can record a CD on tape more easily and precisely Refer to the tape deck s operation ...

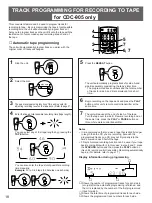
Page 18: ... of the tape CD synchronized recording function can be used if your tape deck is compatible with it In this case in step 6 and 7 press the SYNCHRO button and then press the PLAY button on this unit s remote control transmitter Recording automatically begins For details refer to page 17 Display information during programming Shows the number of programmed tracks for each side in turn just after the...

Page 19: ...he PEAK button on the front panel Refer to page 21 11 Start recording on the tape deck and press the PLAY button on this unit s remote control transmitter at the same time 12 The unit will pause at the end of side A of the tape Turn the tape over to side B Resume recording and at the same time press the PLAY or PAUSE button on this unit s remote control transmitter Notes In steps 7 and 9 even if E...

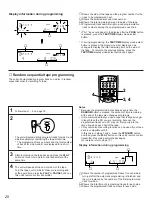
Page 20: ... press the TEXT TIME display mode select button once again 20 Random sequential tape programming The unit will automatically program tracks on a disc in random sequential order for recording to tape Notes Because the programmed data changes every time the RANDOM button is pressed the amount of time remaining at the end of the tape also changes accordingly It is recommended that you use a tape that...

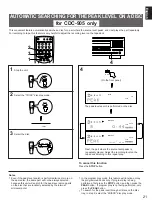
Page 21: ... search is performed twice or more on the same disc the same part will not be always selected because this unit will search for the peak level among parts on the disc that are randomly selected by the internal microcomputer In the program play mode this feature will function among the programmed tracks only If program play is being performed first press the STOP button and then press the PEAK butt...

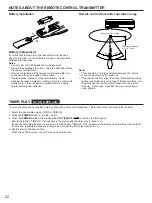
Page 22: ...If the remote control sensor is directly illuminated by strong lighting especially an inverter type of fluorescent lamp etc it might cause the remote control transmitter not to work correctly In this case reposition the main unit to avoid direct lighting 1 3 2 30 30 Remoto control sensor Within approximately 6 m 19 7 feet You can start play at any specified time by connecting a timer sold separate...

Page 23: ... available on the market because it may damage the unit Do not use a CD with tape seals or paste on it because damage to the unit may result Compact discs are not affected by small particles of dust or fingerprints on their playing surface but even so they should be kept clean Wipe by using a clean dry cloth Do not wipe with a circular motion wipe straight outward from the center Do not try to cle...

Page 24: ... BEI HAMBURG F R OF GERMANY YAMAHA ELECTRONIQUE FRANCE S A RUE AMBROISE CROIZAT BP70 CROISSY BEAUBOURG 77312 MARNE LA VALLEE CEDEX02 FRANCE YAMAHA ELECTRONICS UK LTD YAMAHA HOUSE 200 RICKMANSWORTH ROAD WATFORD HERTS WD1 7JS ENGLAND YAMAHA SCANDINAVIA A B J A WETTERGRENS GATA 1 BOX 30053 400 43 VÄSTRA FRÖLUNDA SWEDEN YAMAHA MUSIC AUSTRALIA PTY LTD 17 33 MARKET ST SOUTH MELBOURNE 3205 VIC AUSTRALIA ...

Reviews: