CONFIGURATIONS
➤
Configuring the system settings (ADVANCED SETUP menu)
En
115
■
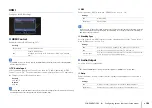
Network
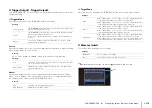
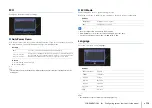
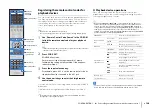
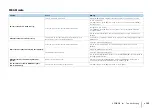
Displays the network information on the unit.
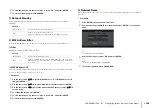
■
System
Displays the system information on the unit.
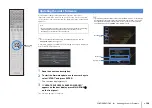
• If the unit detects a newer firmware over the network, “!” (exclamation mark) appears at the upper right of
the “Information” and “System” icons, and the corresponding message will be displayed in this screen. You
can update the unit’s firmware by pressing ENTER in this screen and following the procedure in “Updating
the unit’s firmware” (p.124).
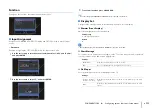
■
Zone
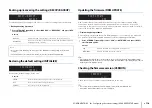
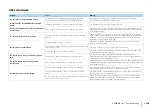
Displays information about Zone2.
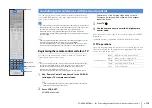
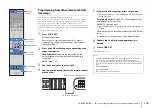
Configure the system settings of the unit while viewing the front display.
1
Set the unit to standby mode.
2
While holding down STRAIGHT on the front panel, press MAIN ZONE
z
.
3
Press PROGRAM to select an item.
4
Press STRAIGHT to select a setting.
5
Press MAIN ZONE
z
to set the unit to standby mode and turn it on
again.
The new settings take effect.
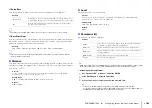
IP Address
IP address
Subnet Mask
Subnet mask
Default Gateway
The IP address of the default gateway
DNS Server (P)
The IP address of the primary DNS server
DNS Server (S)
The IP address of the secondary DNS server
MAC Address
MAC address
Network Name
Network name (the unit’s name on the network) (p.108)
Status
The connection status of the NETWORK jack
Remote ID
The unit’s remote control ID setting (p.116)
TV Format
The unit’s video signal type (p.117)
Speaker Impedance
The speaker impedance setting of the unit (p.116)
Tuner Freq. Step
(Asia and General models only)
The FM/AM tuning frequency setting of the unit (p.117)
System ID
System ID number
Firmware Version
The version of firmware installed on the unit
Input
The input source selected for Zone2
Volume
The volume for Zone2
Configuring the system settings
(ADVANCED SETUP menu)
MAIN ZONE
z
STRAIGHT
PROGRAM


