Mixing and Monitoring
29
Digital Recording Console 02R User’s Guide
Analog Outputs
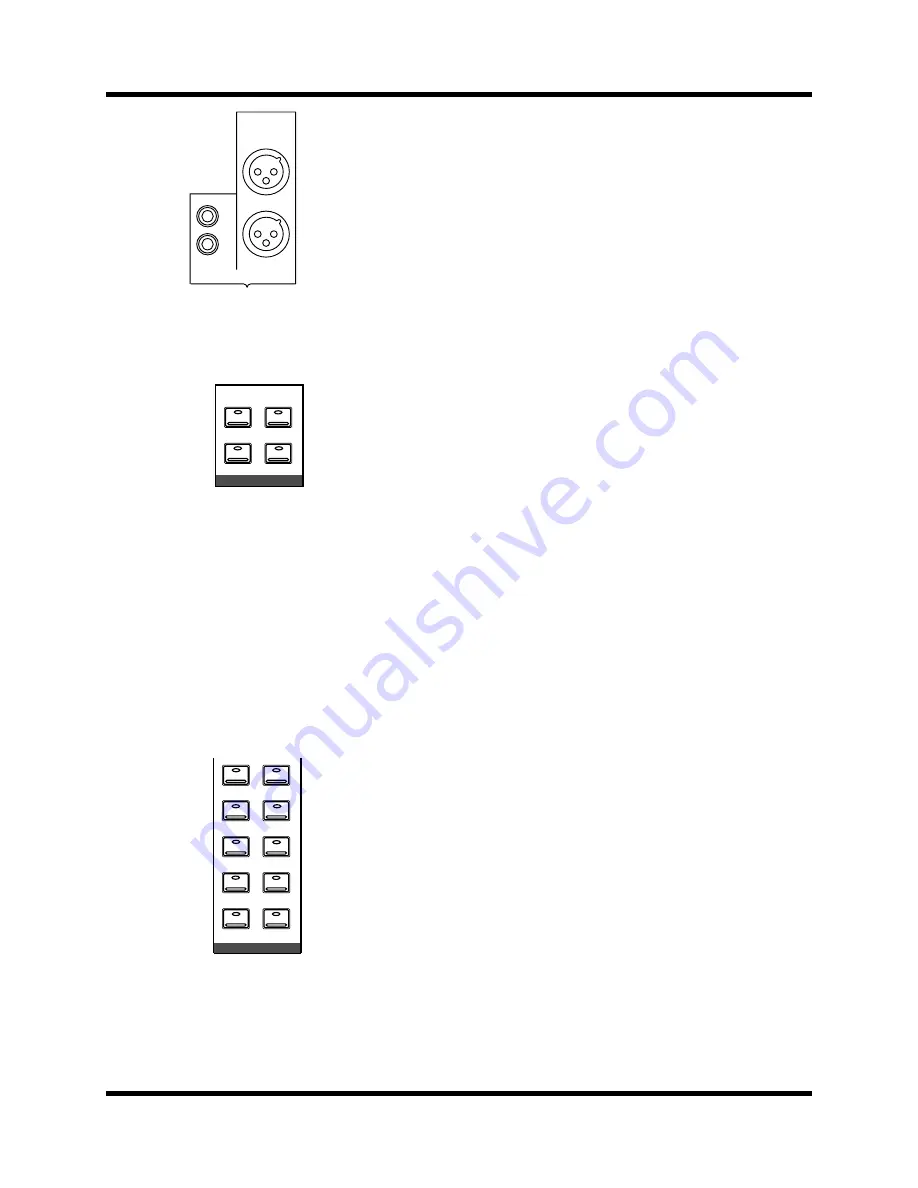
The Digital Recording Console 02R is equipped with a pair of analog stereo
out connectors, one pair XLR-type for connecting to professional
equipment, the other phono (RCA) jacks. There are also two pairs of phone
jacks to provide a stereo output to your control room and studio
monitoring systems.
Monitor Selector Switches
STUDIO Buttons
These buttons select the monitor signal sent to the studio monitor system.
In many studios, this would be a headphone amplifier, typically one that
could drive several sets of headphones. This system provides the
monitoring that your musicians need in order to successfully work on a
multitrack recording.
You can select the same signal that is being monitored in the control room
with the [C-R] button. When you press this button, it cancels the current
settings. When you press it again, it restores the previous settings.
You can send the signal from the stereo bus by pressing the [ST] button.
The most flexible approach is to set up a separate mix using one of the
auxiliary channels (press either the [AUX5] or [AUX6] button), and send
that to the studio monitors. This allows you, for example, to apply reverb
and equalization to the monitor signal you send to your vocalist, while you
record the performance dry. You can select any combination of the [ST],
[AUX5], and [AUX6] buttons – including none.
CONTROL ROOM Buttons
The buttons select the monitor signal sent to the control room monitor
system. This is usually a large pair of near-field loudspeakers. Many
studios also use a smaller speaker system, such as the YAMAHA NS-10M,
to monitor a “typical” listening environment.
You can select one of five 2TR IN inputs, three of which are digital (the
2TR-D1 to 2TR-D3 buttons). These inputs are used for monitoring two
track source signals, for example, the return of your master recorder. When
you press any of these buttons, the current setting is cancelled. When you
press the button again, the previous setting is restored.
You can also monitor the signal on the stereo bus with the [ST] button or
select the auxiliary channels (AUX5 or AUX6). You can select any
combination of the [ST], [AUX5], and [AUX6] buttons – including none.
Convert the monitor signal to monaural by pressing the [MONO] button or
mute the output by 20 dB by pressing the [DIM] button.
STEREO OUT ANALOG
1
2
L
R
L
R
-10dBV
+4dB
C-R
AUX 5
ST
AUX 6
STUDIO
AUX 5
MONO
AUX 6
DIM
2TR-D3
ST
2TR-D2
2TR-A2
2TR-D1
2TR-A1
CONTROL ROOM
Summary of Contents for 02R
Page 1: ...DIGITAL RECORDING CONSOLE E...
Page 7: ...DIGITAL RECORDING CONSOLE User s Guide User s Guide...
Page 21: ...12 Introduction to the 02R Digital Recording Console 02R Getting Started Guide...
Page 27: ...18 Getting Started Digital Recording Console 02R Getting Started Guide...
Page 49: ...40 Introductory Recording Tutorial Digital Recording Console 02R Getting Started Guide...
Page 75: ...66 Secondary Recording Tutorial Digital Recording Console 02R Getting Started Guide...
Page 103: ...94 Index Digital Recording Console 02R Getting Started Guide...
Page 104: ...DIGITAL RECORDING CONSOLE Getting Started Guide Getting Started Guide...
Page 106: ...ii Sections Digital Recording Console 02R User s Guide...
Page 126: ...16 Controls and Connections Digital Recording Console 02R User s Guide...
Page 192: ...82 Dynamics Digital Recording Console 02R User s Guide...
Page 222: ...112 Internal Effects Digital Recording Console 02R User s Guide...
Page 232: ...122 Scene Memories Digital Recording Console 02R User s Guide...
Page 262: ...152 Groups and Pairs Digital Recording Console 02R User s Guide...
Page 335: ...224 Specifications Digital Recording Console 02R User s Guide...
Page 343: ...232 Glossary Digital Recording Console 02R User s Guide...


