


(7)
Now go to the desktop open PEP2000_MAIN folder and find the
FSW003
icon as shown
below. Double
-
click
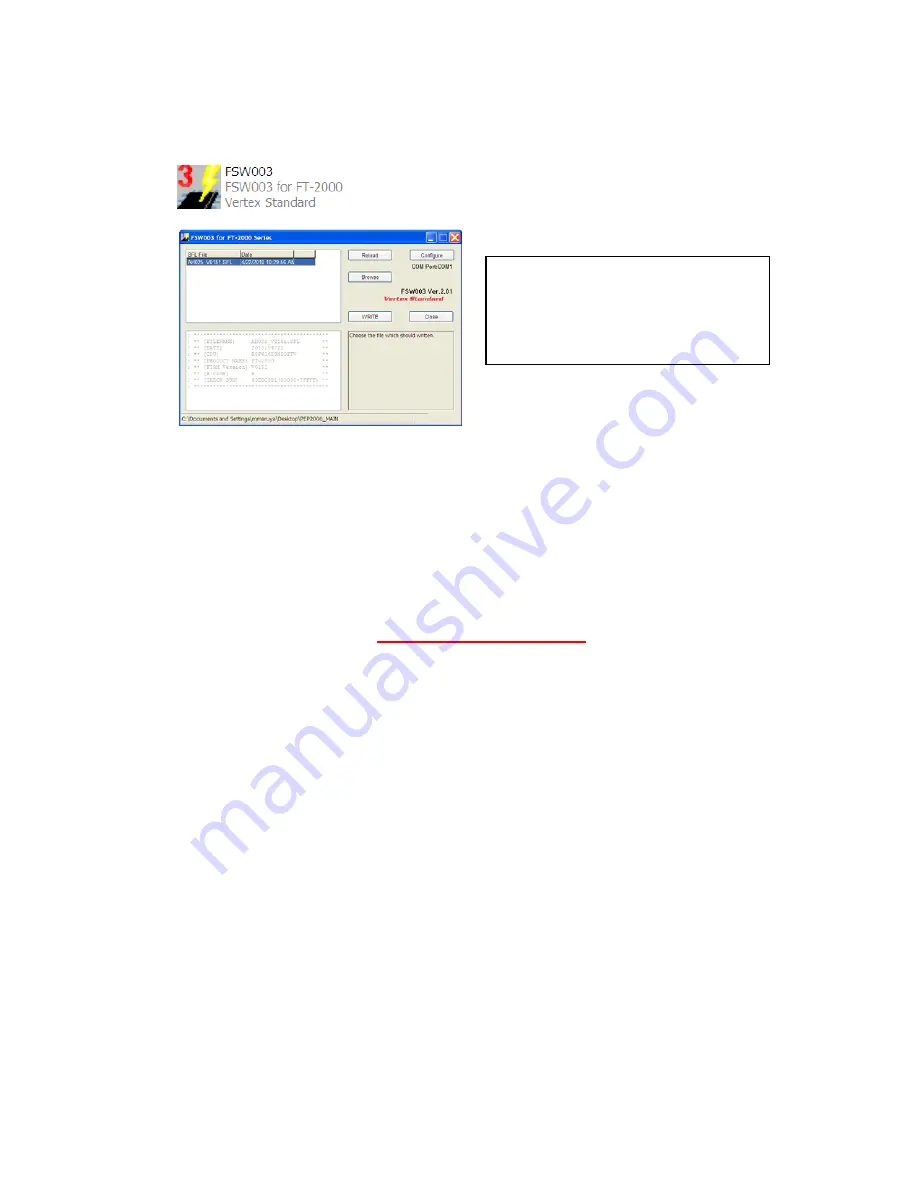
the FSW003
icon, displayed on the Program Screen.
(8)
When the program opens, confirm that the file AH025_V0151.SFL
is highlighted; if not, click
on it to highlight it
(9)
Click on [WRITE] in the program window. A green status bar should appear below the
[WRITE] button to show the progress of the download. Do not interrupt the process until it
completes.
(10)
When the loading process is complete, an [OK?] box will appear. Click [OK?].
(11)
Turn off the main power switch. (Located on the rear panel of the FT
-
2000 or on the front of the
power supply for the FT
-
2000D.)
(12)
Disconnect the AC power cord (or turn off the power supply for FT
-
2000D and wait a minute,
until the capacitors discharge).
(13)
Switch the programming micro
switch S3004 to the off position.
(14)
Remove DB9F straight cable from the CAT connector on the rear of the transceiver.
(15)
Replace the bottom shield panel (15 screws). Replace the bottom case (7 black screws). Replace
the top case (9 black screws)
(16)
Reconnect the power cord, (or power supply and connectors for FT
-
2000D)
(17)
Turn the main power switch located on the back of the FT
-
2000 to the ON position (or turn on
the power supply for FT
-
2000D).
(18)
Press and hold in the [FAST] and [LOCK] keys; while holding them in, press the front power
switch to turn the radio on. This resets the radio and locks in the new software. The updating
process is now complete. You may need to enter your custom menu settings now.
NOTE:
I
f you receive a “communications
error” message on your screen, click on the
Configure
box and choose a different COM
port from the drop down menu. Then click the
WRITE button again.


