background image

EN 10

EN 11

Starting Projector

1. Press the power key on the remote controller or projector, the indicator light will turn blue.
2. Use the focus function of the projector to get the best image performance.(If it is still 
blurry, please try to adjust the projection distance.)
3. Use the keystone function of the projector to get a rectangle projection screen.
4. Connect the external device (Smart phone, iPad, Fire TV, TV box, DVD player, Computer, 
etc.) in the corresponding interfaces of the projector, please be sure to select the 
corresponding source. If you do not select the correct source, the projector will not be able 
to detect the signal.
5. Select the "     " menu,enter the [ Other Setting],then you can select the option [ Language 
Setting ] to set your preferred language.

Image Adjustment

Setting Up The Projector

When using the projector for the first time, it normally displays an unclear image. This is due 
to the lens being out of focus or the incorrect trapezoid setting.
Please follow the below steps to correct: 

The projector's setting page is as follow.

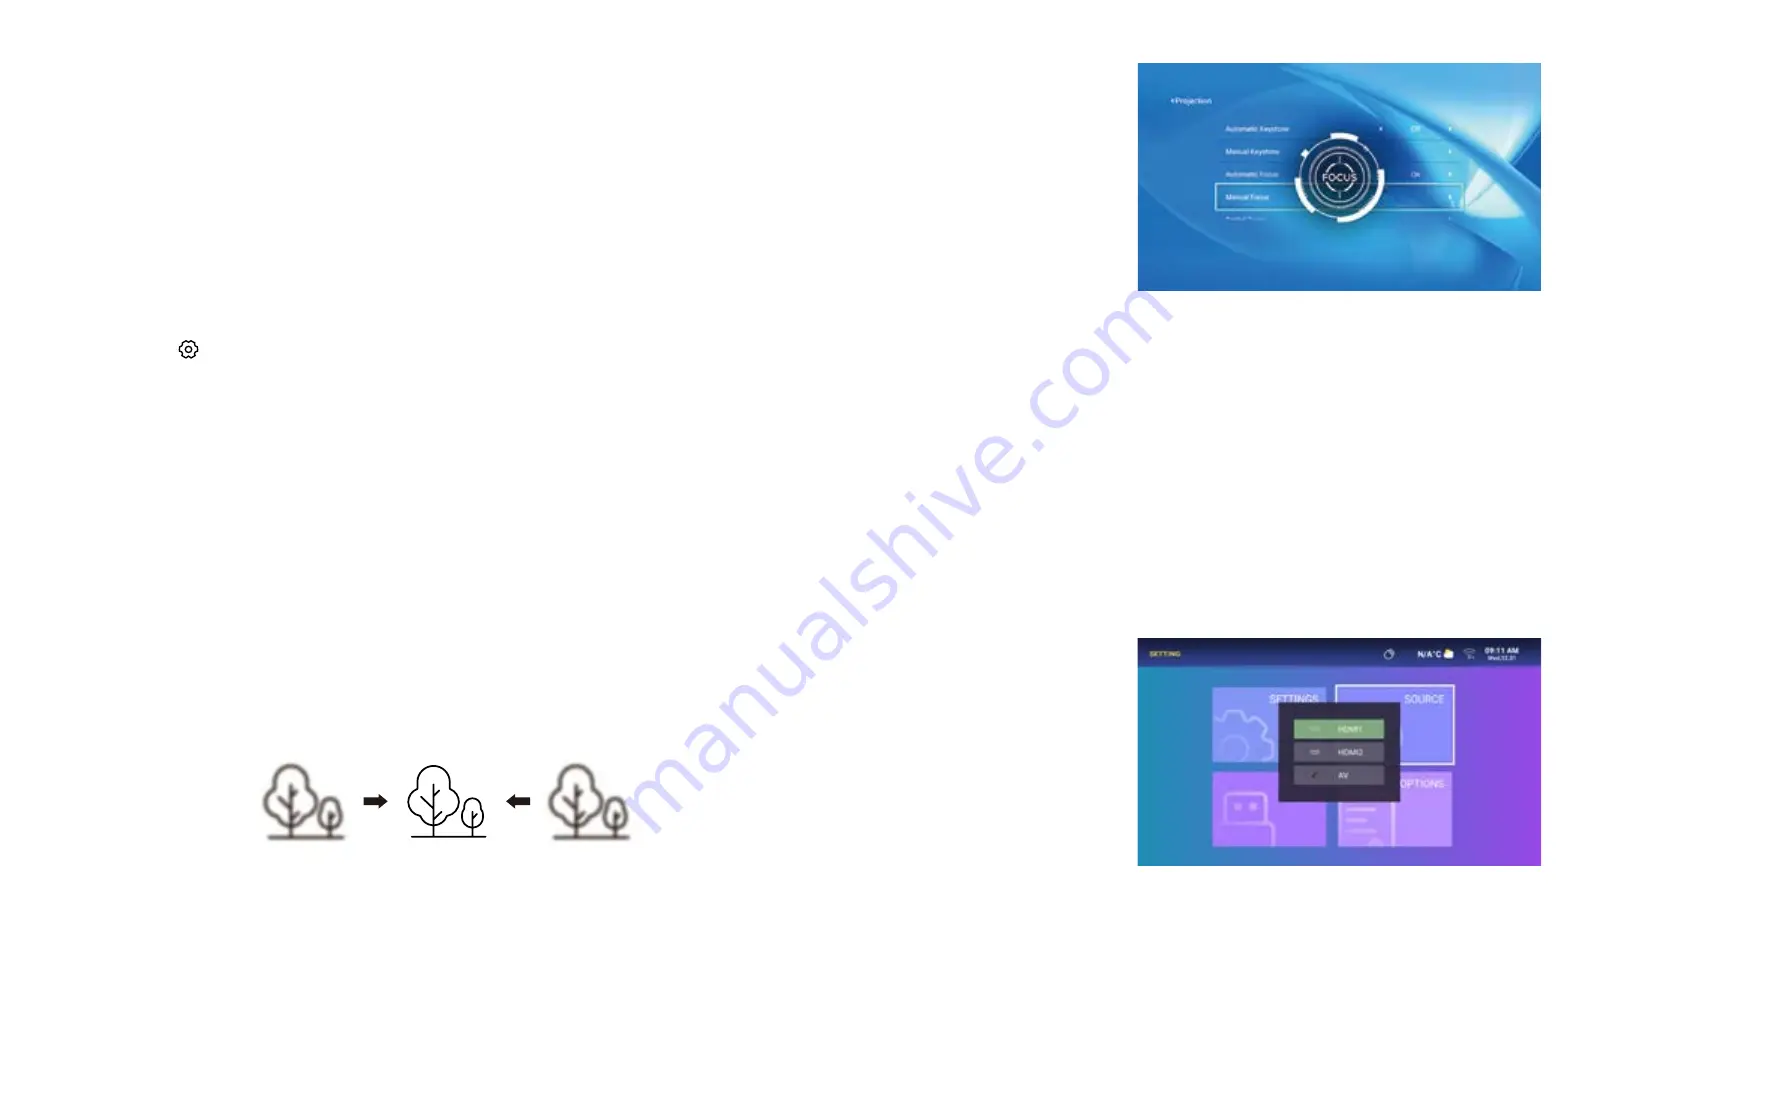
Select the [SOURCE]  and choose HDMI1/HDMI2/AV on the setting page.

When you start the projector,please wait patiently for 2-3 seconds the projector will adjust 
focus automatically.if the image is not clear,you can press the focus buttons "F+" , "F-"  or auto 
focus&keystone key on the remote controller to adjust the focus of the lens, tap or long press 
the focus button until the image is clear.
Note: If it is still blurry, please try to adjust the projection distance. 

You can use the automatic keystone correction  or digital 4D keystone correction of the 
projector to change the image to be rectangle(vertical and horizontal). Detail please refer the 
page 17 of this manual.

1. Focus Adjustment

1. Select The Insert Signal Source

2. Keystone Correction

Summary of Contents for K1

Page 1: ...K1 PROJECTOR...

Page 2: ...t Mode 12 2 2 Play Interface 12 2 3 Music Play Interface 14 2 4 Picture Play Interface 15 3 WiFi Setting 16 3 1 iOS Cast for iOS Devices 16 3 2 Miracast for Android Devices 17 4 Bluetooth Setting 18 5...

Page 3: ...ing YABER Service Team 1 Do not place projector in too warm or too cold room because the high temperature or low temperature will shorten lifespan of the device The working environment would be 5 35 b...

Page 4: ...ndow Heat Sink Window Rubber Pads Bottom Label Height Adjusting Screw Power Cord Port IR Window Ethernet Port Headphone Jack Air Inlet USB Ports HDMI Ports Speakers Automatic Focus Signal Receiver Pro...

Page 5: ...er of the projector in the menu mode Down Key Left Key Right Key Remote Control F F Power Turn on off the power Source Select the input signal source Arrow keys Used to adjust the parameter of the pro...

Page 6: ...there may be 3 deviation among above listed data Different settings cause various distances The projector can be hanged on the ceiling with special hanger frame and placed on the stable desk to proje...

Page 7: ...jector When using the projector for the first time it normally displays an unclear image This is due to the lens being out of focus or the incorrect trapezoid setting Please follow the below steps to...

Page 8: ...ds the video back quickly while playing it The rewinding speed ranges from 2X to 32X Play or pause the current video Fast Forward pushes the video to move forward quickly while playing it The forward...

Page 9: ...ngle cycle directory loop Switch to the previous video Fast Backward rewinds the video back quickly while playing it The rewinding speed ranges from 2X to 32X Play or pause the current video Fast Forw...

Page 10: ...Display please refer to your phone s manual Multiscreen Wireless display WLAN display Screen mirroring Wireless projection Smart view etc 2 Not all Android phones support this function Please make sur...

Page 11: ...gle When the projection screen is not rectangular it can be adjusted by 4 point keystone correction Step 1 Go to SETTING page Select the SETTINGS menu Select the Projection Mode option Step 2 Press th...

Page 12: ...Direct Mode When the projector is powered on the projector will be automatically turned on Standby Mode When the projector is powered on you need to press the button on the remote controller or projec...

Page 13: ...s RCA cable with the 3 in 1 AV cable in the package 3 Connect the black connector to the AV port of the projector enter the home page to select AV as the signal source If your speaker has AUX port ple...

Page 14: ...alled and used in accordance with the instructions may cause harmful interference to radio communications However there is no guarantee that interference will not occur in a particular installation If...

Page 15: ...g standards were applied EN 62368 1 2014 A11 2017 EN IEC 62311 2020 ETSI EN 301 489 1 V2 2 3 2019 11 ETSI EN 301 489 17 V3 2 4 2020 09 ETSI EN 301 489 3 V2 1 1 2019 03 EN 55032 2015 A11 2020 EN 55035...

Reviews: