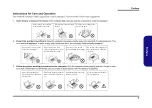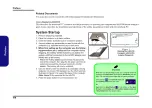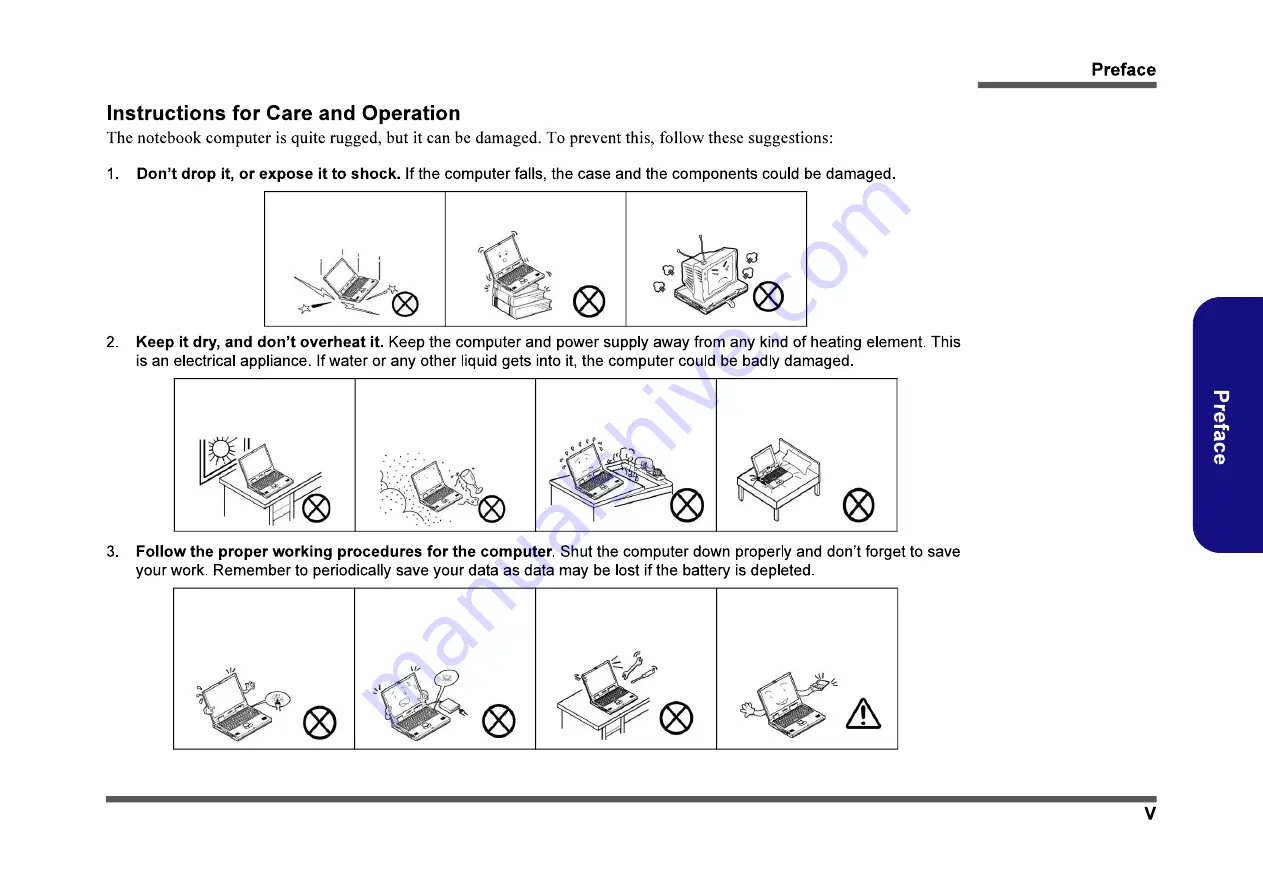
Do not expose the computer
to any shock or vibration.
Do not place it on an unstable
surface.
Do not place anything heavy
on the computer.
Do not expose it to excessive
heat or direct sunlight.
Do not leave it in a place
where foreign matter or mois-
ture may affect the system.
Dont use or store the com-
puter in a humid environment.
Do not place the computer on
any surface which will block
the vents.
Do not turn off the power
until you properly shut down
all programs.
Do not turn off any peripheral
devices when the computer is
on.
Do not disassemble the com-
puter by yourself.
Perform routine maintenance
on your computer.
Summary of Contents for NH77ERQ
Page 1: ......
Page 2: ......
Page 3: ...NH77ERQ NH79ERQ NH77EPY NH79EPY...
Page 4: ......
Page 7: ......
Page 8: ...Figure 1 Windows...
Page 9: ......
Page 10: ......
Page 12: ......
Page 14: ...Figure 1 When the PC camera is in use the LED will be illuminated...
Page 15: ...Figure 2 Figure 3...
Page 16: ...Figure 4 Figure 5...
Page 17: ...Figure 6...
Page 18: ...Figure 7...
Page 19: ...Figure 8...
Page 20: ...Figure 9...
Page 21: ...Figure 10...
Page 22: ......
Page 23: ...NH77ERQ NH79ERQ NH77EPY NH79EPY...
Page 24: ......
Page 25: ......
Page 27: ...Figure 1a Figure 1b Figure 1c Figure 1...
Page 28: ...Figure 2a Figure 2b Figure 2c Figure 2...
Page 29: ...page 2 5 Figure 3a Figure 3b Figure 3c Figure 3...
Page 31: ...Figure 5a Figure 5b Figure 5c Figure 5...
Page 32: ...page 2 5 page 2 7 Figure 6a Figure 6b Figure 6c Figure 6d Figure 6...
Page 33: ...page 2 5 page 2 7 Figure 7a Figure 7b Figure 7c Fig ure 7c page 2 7 Figure 7...
Page 34: ...page 2 5 page 2 7 Figure 8a Figure 8b Figure 8c Figure 8...
Page 35: ...page 2 5 page 2 7 Figure 9a Figure 9b Figure 9c Figure 9 Figure 9b...
Page 36: ......


