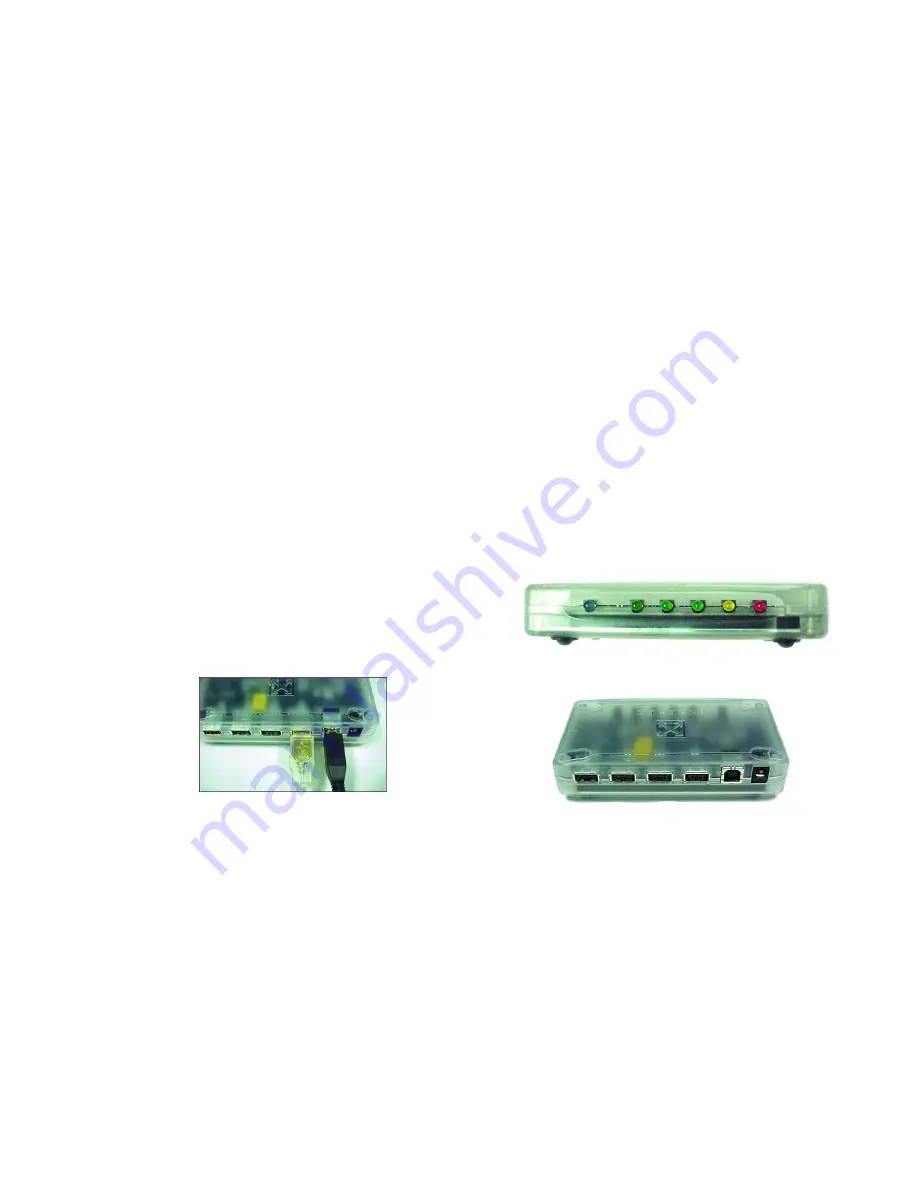
5. Connect the first hub with the included 2-meter Type A-
to-Type B USB cable. Plug the Type B (Square) connec-
tor into the Type B port on IceView (It will only fit one
way). Plug the Type A (rectangular) connector on the
cable into an open USB port on your Mac, or another
powered hub.
6. Finally, attach any combination of one to four devices to
the four Type A connectors on the hub being installed.
These cables are typically supplied with the devices.
Instead of adding devices, you can add one or more hubs.
To daisy-chain a hub, take the Type A-to-Type B cable sup-
plied with the add-on hub and connect the Type A connec-
tor to the upstream hub and the Type B connector to the
add-on hub.
Front view of the IceView Hub
Rear view of the IceView Hub
Chapter 5 - IceView Hub
Chapter 5 - IceView Hub
Installing the IceView Hub for Mac USB
Start by examining the hub. On the front of the hub are five
bandwidth indicator LEDs and the Sapphire Power Status
LED. On the rear of the hub are four Type A connectors.
These four-pin connectors provide power and communica-
tion commands to downstream devices. Next to the last
Type A connector is a square type B connector. This connec-
tor delivers power and control signals from the upstream
computer or from an upstream hub.
The last connector is the round Power Jack that accepts the
AC power adapter cable. A hub may be self-powered
(receive power through its own PA Power Adapter) or bus-
powered (receive power from the upstream computer or the
preceding hub in the daisy chain).
1. Find a place where you can place the hub so that it is less
than 6’ from a wall outlet.
2. Position your USB devices so that the device cables will
reach the IceView. If they are not long enough, you may
have to buy longer cables, or reposition your IceView or
USB devices.
3. Plug the AC
Power Adapter
cable into the
Power Jack on the
IceView.
4. Plug the AC
Power Adapter
into the wall outlet.


