XR-1000H Quick Installation Guide
- 8 -
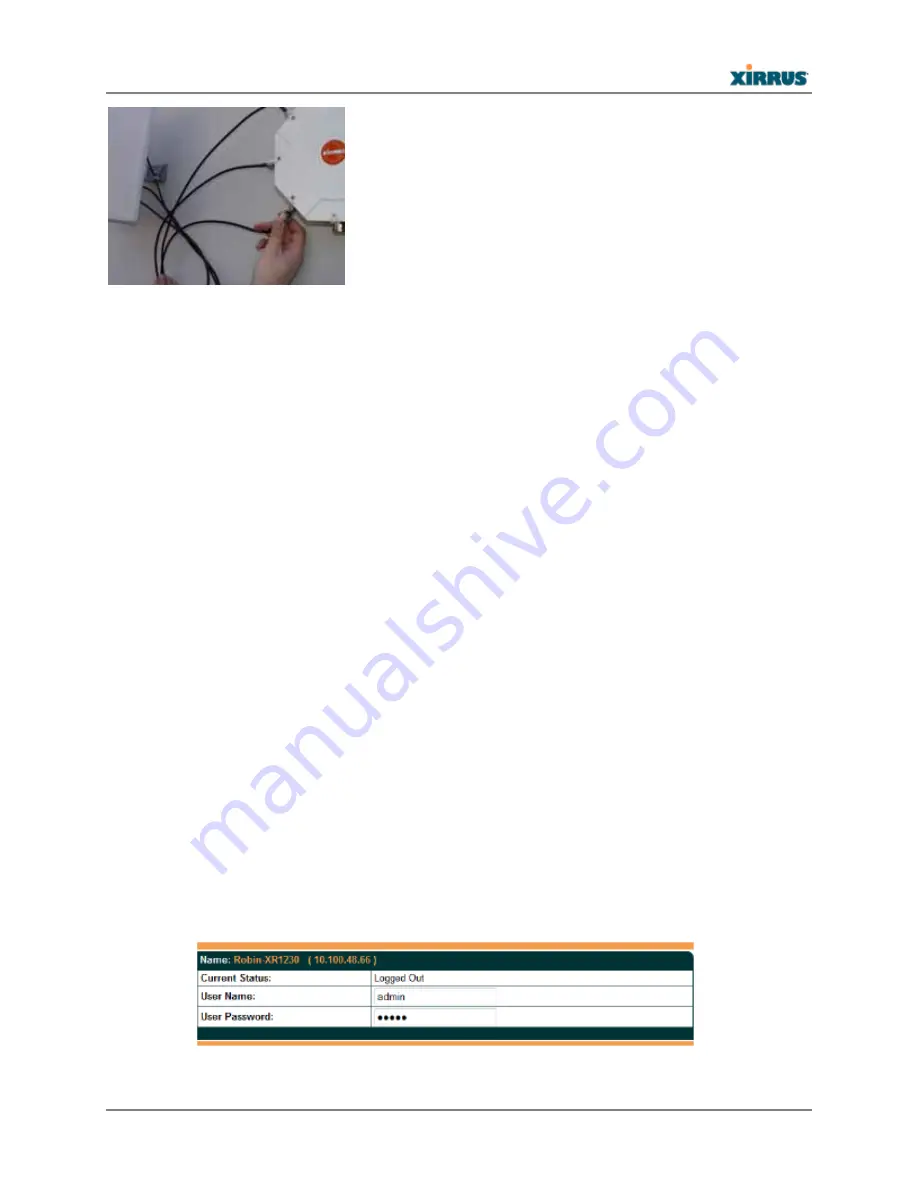
10) Log In to the Array
Establish
a
network
connection
to
the
Array
using
a
web
browser.
In
the
URL
field,
enter
the
IP
address
assigned
by
your
DHCP
server.
If
you
are
using
DHCP
and
DNS,
use
the
Array
ʹ
s
default
host
name,
which
is
its
serial
number
(for
example,
XR0823090CACD).
Be
aware
of
the
following:
−
By
default,
the
Array
tries
to
obtain
an
IP
address
via
DHCP.
If
it
cannot
do
so,
the
factory
default
is
a
static
IP
address
of
10.0.2.1
with
a
mask
of
255.255.255.0
on
its
Gigabit
POE
port.
Take
care
to
ensure
that
your
network
is
not
using
the
10.0.2.1
IP
address
prior
to
connecting
the
Array
to
the
network.
−
To
connect
to
the
Array
in
this
case,
you
must
set
your
computer
to
be
in
the
same
subnet
as
the
Array:
set
your
IP
address
to
be
in
the
10.0.2.xx
subnet,
and
set
its
subnet
mask
to
255.255.255.0.
If
this
subnet
is
already
in
use
on
your
network,
you
may
connect
your
computer
directly
to
the
Array
by
connecting
the
computer
to
the
power
injector’s
IN
port
temporarily
(this
port
may
be
called
the
SWITCH
port
or
the
DATA
port
on
your
injector).
−
If
the
assigned
IP
address
is
unknown,
you
may
use
the
Xirrus
Xircon
utility
to
communicate
with
any
XR
‐
1000
on
the
local
network.
Note
that
the
XR
‐
1000
Series
does
not
have
a
console
port,
so
Xircon
has
been
specifically
designed
to
substitute
for
the
use
of
a
console
port.
See
“Secure
Low
Level
Access
to
the
Array”
in
Step
12
for
more
information
about
Xircon.
For
the
best
results,
you
may
wish
to
connect
your
computer
directly
to
the
Array
as
described
in
the
previous
paragraph.
If
your
browser
reports
a
Security
exception,
accept
it
and
continue
on
to
the
Array’s
Web
Management
Interface
(WMI).
At
the
login
prompt,
enter
the
default
user
name
/
password
(the
default
is
admin
for
both).
You
are
now
logged
in
to
the
Wireless
Array


