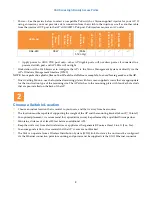
XA4 Series High Density Access Points
3
Install Mounting Hardware—Ceiling Mount
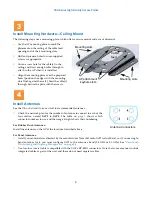
The following steps use a mounting plate, which offers a secure mount and ease of dismount.
For Panel Antennas:
Install your antenna(s) as directed by the manufacturer. Note that radio IAP1 is dual-band, so if you use single-
band antennas for it, you must configure IAP1 to the antenna’s band (2.4 GHz or 5.0 GHz). See
Provisioning and Ongoing Management” on page 4
).
Use low-loss coaxial cables compatible with the XA4’s RP-SMA connectors. Note that some antennas include
integrated cables as part of the unit, and these do not need separate cables.
1.
Use the AP mounting plate to mark the
placement on the ceiling of the cable feed
opening and of the 4 mounting slots.
2.
Drill and prepare holes for user-supplied
screws as appropriate.
3.
Cut an access hole for the cable(s) in the
ceiling and draw enough cable through to
attach to the AP when it is installed.
4.
Align the mounting plate over the prepared
holes (position the edges with the mounting
slots flush against the wall.). Feed the cable(s)
through. Secure the plate with the screws.
Install Antennas
See the
Xirrus External Antenna Guide
for recommended antennas.
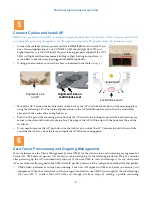
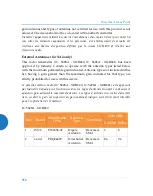
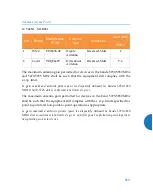
Check the network plan for the number of antennas to connect to each of the
four radios, named
IAP1
to
IAP4
. The table on
shows which
connector numbers to use, and the image at right shows their numbering.
For Rubber Duck Antennas:
Install the antennas on the AP at the locations described above.
3
Mounting slots
AP attachment
keyhole slots
Mounting slots
Cable
feed
4
Antenna Connectors


