


‐
2
‐
Tips: The possible reason for being unable to power on DVR is battery running out. Please operate it
after charging by AC adapter or PC.
2.
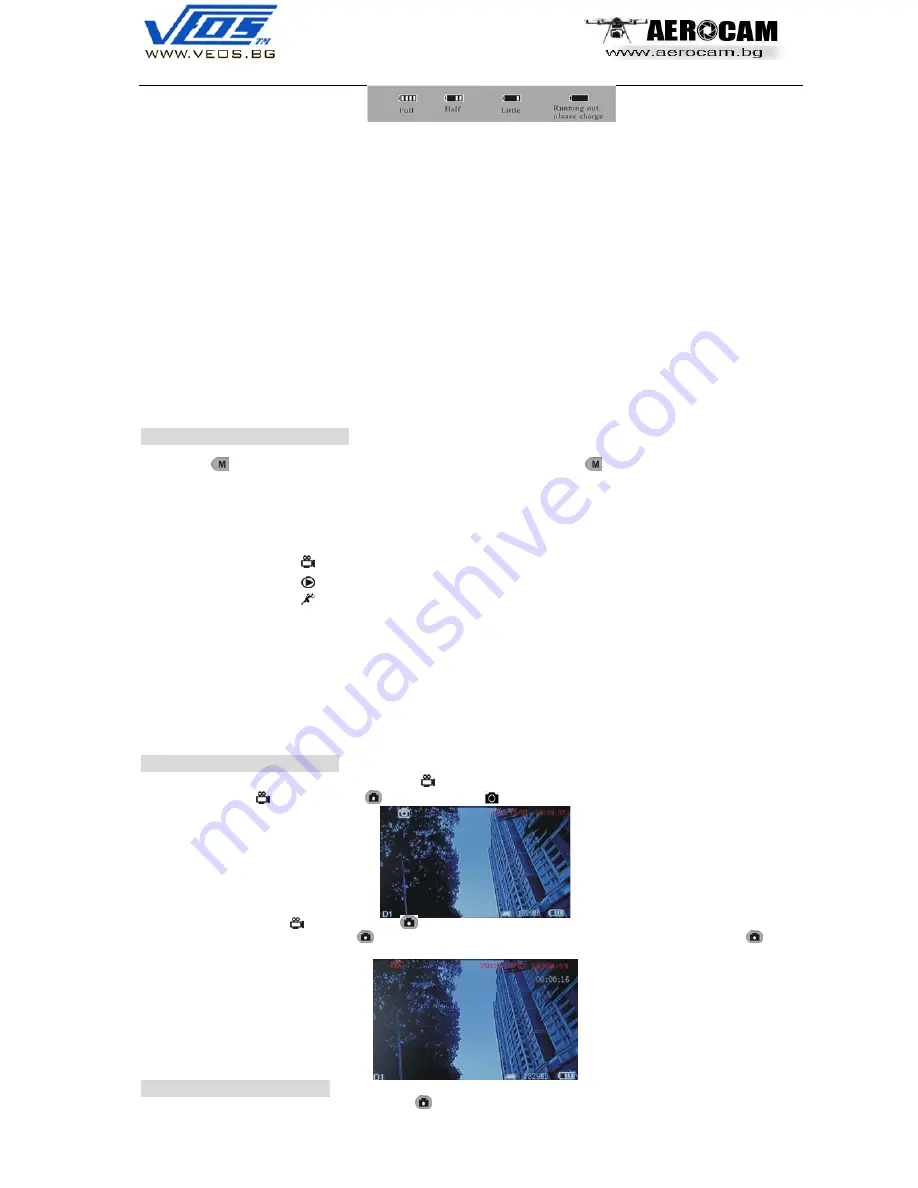
How to charge
Charge 4~6 hours for fully charged. Unplug the charger until the battery status is full.
Notice:
A.
This charger is for this machine use only. Do not leave the charger in humid place. Unplug the
charger and keep it well after charging. Do not repair, break down or remake the charger.
B.
For better performance, please charge the brand new machine for more than 6 but less than 10
hours for the first time. New battery will reach best performance after a few times full charge and
discharge.
C.
If no need to use in a long time, it’s recommended to charge the DVR every 2~3 months and
then keep it after switch off.
Basic Operation
1. Power On/Off:
Press “ ” to power on, DVR is on working state; long time press “ ” again to power it off.
2. Selection of wired/wireless receiving mode:
Plug in wired camera, DVR automatically switch to wired receiving mode; pull wired camera out, DVR
automatically comes into wireless receiving mode. When it’s in wireless receiving mode, screen will
show channels (CH1…CH8) and frequency (2.4G/5.8G).
3. Working mode switch
(switcher located at the left corner
):
When it switches to “ ”, DVR is in state of receiving/record/photo
;
When it switches to “ ”, DVR is in the sate of play;
When it switches to “ ”, DVR is in the state of motion detection.
4. External Storage card
Only after storage card being plugged in, this DVR can record, photo. Screen will show symbol of SD
card & its left capacity.
5. Working as a U-disk
Connect DVR to computer and power it on, it will work as a U-disk.
Open the removable disk in the
computer, you’ll find the videos and photos in “ RECORD” and “ PHOTO” files under “DICM”
directory.
Record & Photo
Power DVR on, and select working mode to “ ”, it is in recording/photo mode.
1. Photo:
Under “ ” mode, press “ ” once, symbol “ ” flashes once, and get one picture.
2. Record:
Under “ ” mode, press “ ” for 3 seconds, DVR in state of recording, and screen shows
“REC”. To end recording, press “
”
again, it will save automatically and exit. If not press “
”
, the
system will
automatically save video in segments until storage card is full.
Record & Photo
While if “Overwrite” is turn on, not press “ ” to end recording, system will
automatically save video in
segments. And when the card is full, it will overwrite the earliest recording and save the latest one, keep


