


54
Appendices
On the
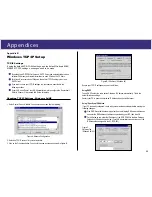
DNS Configuration
tab, ensure
Enable DNS
is selected. If the
DNS Server
Search Order
list is empty, enter the DNS address provided by your ISP in the
fields beside the
Add
button, then click
Add
.
Figure D. DNS Tab (Windows 95/98)
Checking TCP/IP Settings - Windows 2000:
1. Select
Control Panel - Network and Dial-up Connection
.
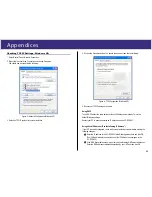
2. Right click the
Local Area Connection
icon and select
Properties
. You should see a
screen like the following:
Figure E. Network Configuration (Windows 2000)
3. Select the TCP/IP protocol for your network card.
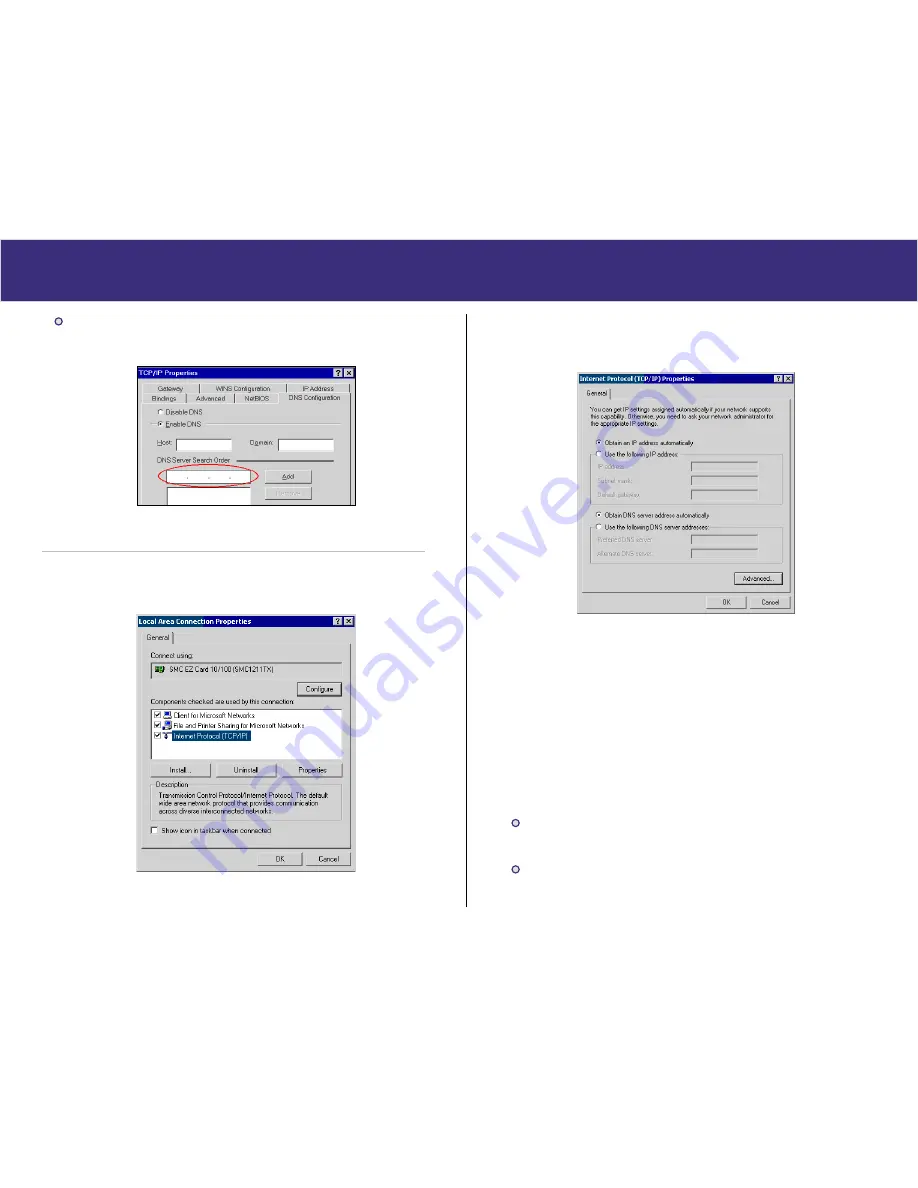
4. Click on the Properties button. You should then see a screen like the following.
Figure F. TCP/IP Properties (Windows 2000)
5. Ensure your TCP/IP settings are correct:
Using DHCP
To use DHCP, select the radio button
Obtain an IP Address automatically
. This is the
default Windows settings.
Restart your PC to ensure it obtains an IP Address from the XC-DPG603.
Using a fixed IP Address (“Use the following IP Address”)
If your PC is already configured, check with your network administrator before making the
following changes:
Enter the IP address of the XC-DPG603 in the
Default gateway
field and click OK.
(Your LAN administrator can advise you of the IP Address they assigned to the
XC-DPG603)
If the DNS Server fields are empty, select
Use the following DNS server addresses
.
Enter the DNS address or addresses provided by your ISP and then click OK.


