Using the Menu System
Chapter 1: Configuring the Printer
❖
1-99
Test Print
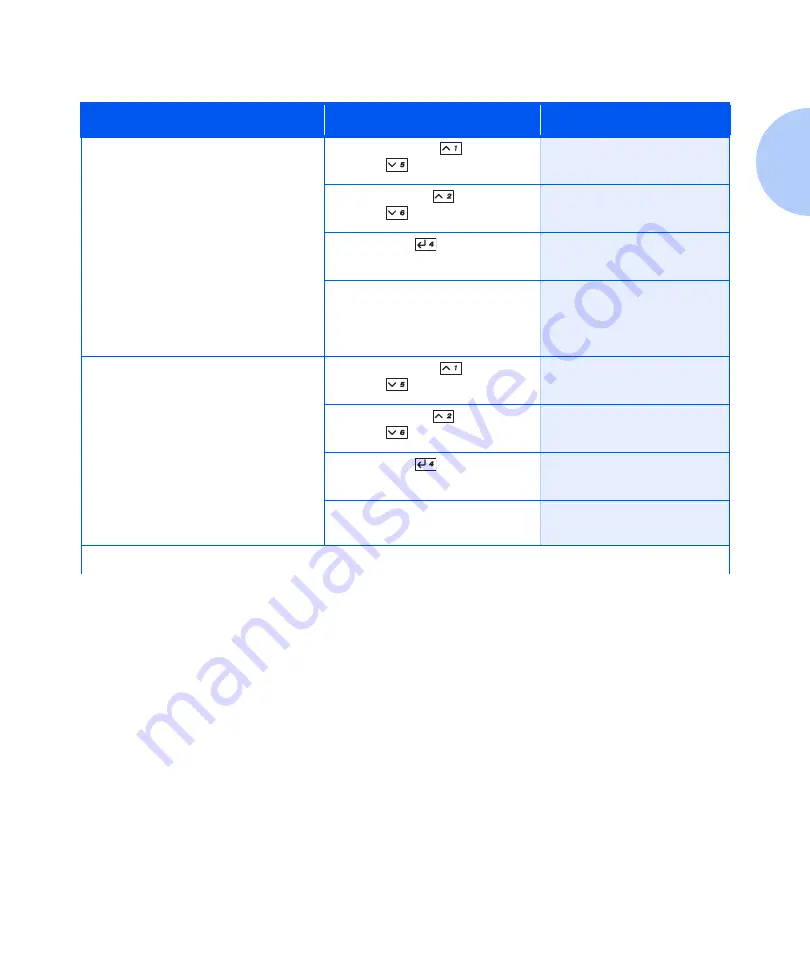
Print a two page “test pattern” for
analysis of print quality over the entire
page (intended for use by the service
provider).
The number of Test Prints produced is
determined by the value of Print
Quality in the System Menu.
Printed format is determined by the
Default Source and Default Type. All
test prints are printed at 600x600 dpi.
1. Press
Menu Up
or
Menu
Down
until you see:
Menus
Test Menu
2. Press
Item Up
or
Item
Down
until you see:
Test Menu
Test Print
3. Press
Enter
. You will see:
Processing...
Test
4. After the Test Print prints, you
will see:
Ready
Disk Directory
Print a copy of the disk directory.
One copy is printed regardless of the
Print Quantity value in the System
Menu.
This item is only available if the
optional Hard Disk Drive is installed.
1. Press
Menu Up
or
Menu
Down
until you see:
Menus
Test Menu
2. Press
Item Up
or
Item
Down
until you see:
Test Menu
Disk Directory
3. Press
Enter
. You will see:
Processing...
Disk Directory
4. After the Disk Directory prints,
you will see:
Ready
Table 1.28 Print Menu functions
Menu Item and Function
Keystrokes
Display
Table 1.28 Page 3 of 4
Summary of Contents for DocuPrint N3225
Page 1: ...The Xerox DocuPrint N3225 and N4025 Network Laser Printers System Administrator Guide ...
Page 8: ...System Administrator Guide ...
Page 144: ...Using the Finisher 1 136 System Administrator Guide ...
Page 168: ...Using the Hard Disk Drive for Secure and Proof Jobs 3 14 System Administrator Guide ...
Page 192: ...Cleaning the Printer 4 24 System Administrator Guide ...
Page 304: ...Finisher 6 62 System Administrator Guide ...
Page 305: ...Appendix A Printer Specifications A 1 Printer Specifications A p p e n d i x A ...


