


©2016 Xerox Corporation. All rights reserved. Xerox® is a trademark of Xerox Corporation in the United States and/or other countries.
BRxxxx. v 1.0 August 2016.
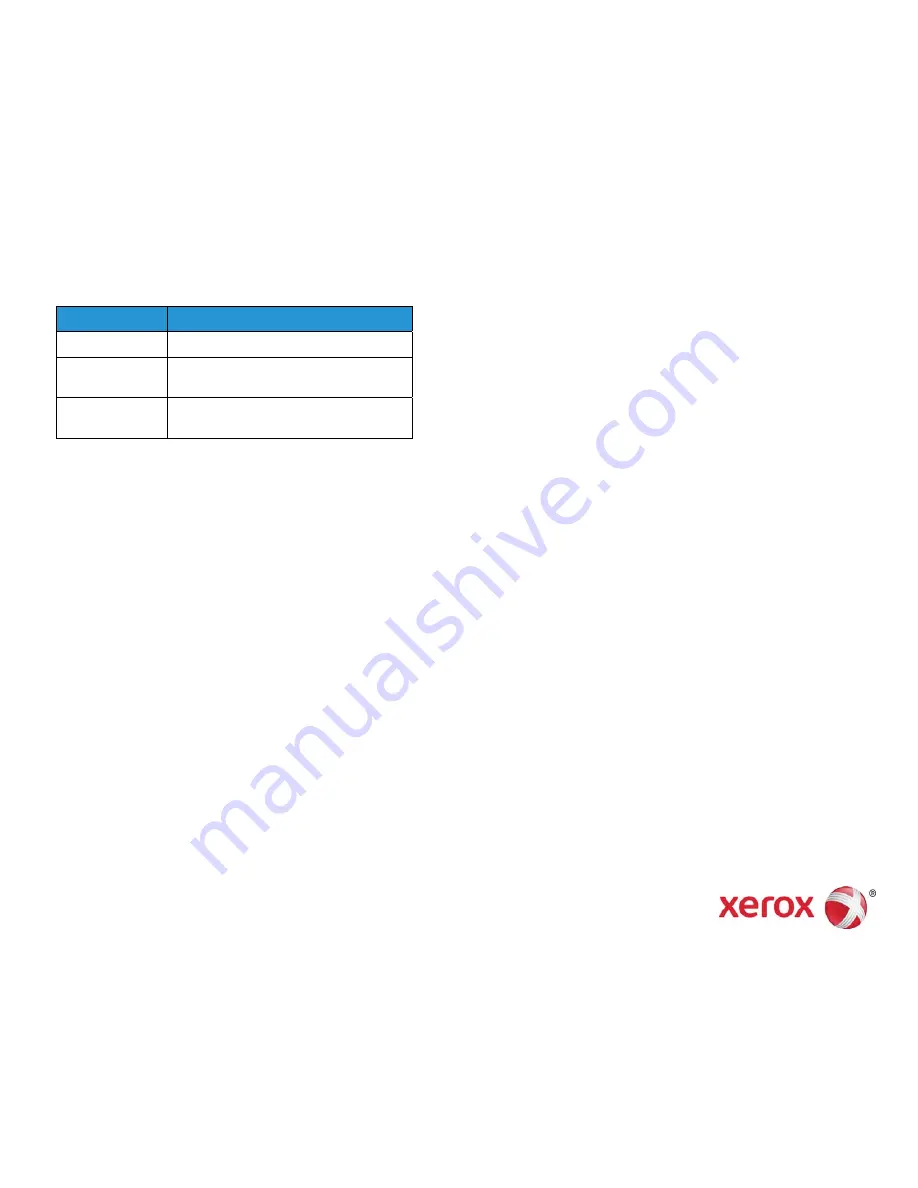
Coverage Value
Area Coverage
1 - 3
Low area coverage - text only
4 - 8
Medium area coverage - equal mixture of
text and graphic images
9 - 10
High area coverage - primarily graphic
images
16.
Touch
.
17.
Touch
Confirm
.
18.
Select a scan method:
•
Touch
Scan Chart with Document Feeder
for a target media size
of 11 x 17 in. / A3 or smaller and less than 220 gsm. Accuracy is
within 0.2 mm.
•
Touch
Scan Chart with Document Glass
for a target media size of
larger than 11 x 17 in. / A3 and more than 220 gsm. Accuracy is
within 0.1 mm.
19.
Touch
Start
to complete the adjustment.
20.
Touch the tray name that displays on the control panel touch screen.
This is the paper tray to which the alignment adjustment is applied.
21.
Under Items, select a type.
22.
Touch
Change Settings
.
Note
Selecting
Save
will overwrite the existing settings
23.
Under Items, select
1. Name
.
24.
Touch
Change Settings
to name the Type.
Note
You should use a name that identifies the paper type loaded in the
tray.
25.
Touch
Save
four times to save the settings.
26.
To log out of Admin mode, select the Admin icon on the top right of
the screen and touch
Logout
.
Setting the Type when Loading Media
Each time you load media, you must associate the paper type with the
tray. To associate the correct Type with the media loaded:
1.
Log-in as a System Administrator and access the SIQA tools screen.
2.
Touch
Alignment Adjustment
.
3.
Touch
Manual Alignment Adjustment
.
4.
Select the paper tray just loaded.
5.
Touch Change
Settings
.
6.
Select the desired Type.
7.
Touch
Save
.
8.
Touch
Close
three times to save the settings and exit the SIQA tool.
9.
To log out of Admin mode, select the Admin icon on the top right of
the screen and touch
Logout
.
Density Uniformity Adjustment
1.
Log-in as a System Administrator and access the SIQA tools screen.
2.
Touch
Density Uniformity Adjustment
.
3.
Touch
Semi Auto Process Using Scanner
.
4.
Touch
Print Calibration Chart
.
5.
Touch
and follow the instructions on the control panel touch
screen to print the two charts
6.
Touch
Confirm
.
7.
Touch
Scan Calibration Chart
.
8.
Follow the instructions on the control panel touch screen to scan the
two calibration charts.
9.
Touch
Start
to begin the density uniformity adjustment.
10.
When the adjustment has completed, touch
Confirm
.
11.
Touch
Save
to save the adjustment.
12.
Touch
Close
three times to exit the SIQA tool.
13.
To log out of Admin mode, select the Admin icon on the top right of
the screen and touch
Logout
.


