4 Fax
110
Fa
x
4
2
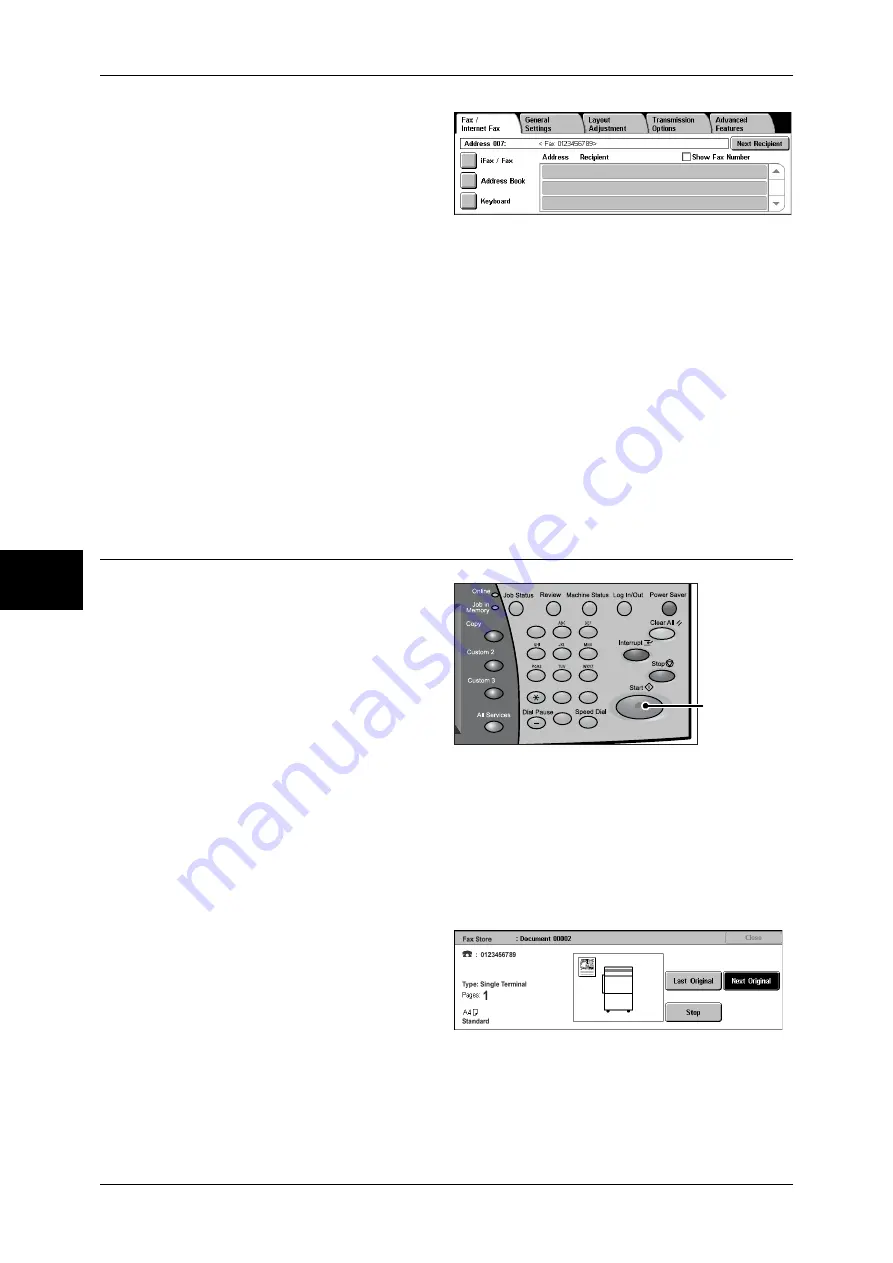
To specify multiple recipients,
select [Next Recipient] on the touch
screen.
Note
•
If you enter an incorrect value,
press the <C> button and
enter the correct value.
•
If the [Show Fax Number]
check box is selected, no
recipient is displayed on the list.
•
Depending on the settings, a screen to re-enter the recipient may be displayed after you
specify the recipient and then select [Next Recipient] on the touch screen. In such case, re-
enter the recipient.
•
[Next Recipient] may not be displayed if Broadcast Send is disabled. For more information,
refer to "Re-enter Broadcast Recipients" (P.308).
For information on specifying a fax number using the address book, refer to "Specifying a Destination
Using the Address Book" (P.124).
For information on specifying a fax number using the speed dialing, refer to "Speed Dialing (Specifying
a Destination Using an Address Number)" (P.125).
For information on specifying a fax number using one touch buttons, refer to "Specifying a Destination
using a One Touch Button" (P.126).
You can send an iFax. For information on the iFax, refer to "About Internet Fax" (P.114).
Step 4 Starting the Fax Job
1
Press the <Start> button.
Important •
If the document has been set
in the document feeder, do not
hold down the document while
it is being conveyed.
•
Fax cannot be sent if a copy
protection code is detected.
Note
•
Depending on the settings,
the screen to re-enter the
recipient may be displayed
after pressing the <Start> button. In this case, re-enter the recipient.
•
If a problem occurs, an error message appears in the touch screen. Solve the problem in
accordance with the message.
•
You can set the next job during faxing.
If you have more documents
If you have more documents to fax, select [Next Original] on the touch screen while the
current document is being scanned. This allows you to send the documents as one set
of data.
2
While documents are being
scanned, select [Next Original].
Note
•
When using the document feeder, load the next document after the machine has finished
scanning the first document.
•
When the above screen is displayed and no operation is performed for a certain period of
time, the machine automatically assumes that there are no more documents.
•
You can change the scan settings of the next document by selecting [Change Settings]
displayed after selecting [Next Original].
1
2
3
4
5
6
7
8
9
0
#
C
<Start> button
Summary of Contents for ApeosPort-II 3000
Page 1: ...ApeosPort II 5010 4000 3000 DocuCentre II 5010 4000 User Guide...
Page 14: ......
Page 54: ......
Page 139: ...Layout Adjustment 137 Fax 4 Off No stamp is added On A stamp is added...
Page 254: ......
Page 350: ......
Page 406: ......
Page 538: ......
Page 599: ...17 Glossary This chapter contains a list of terms used in this guide z Glossary 598...
Page 618: ......


