4 Fax
124
Fa
x
4
1
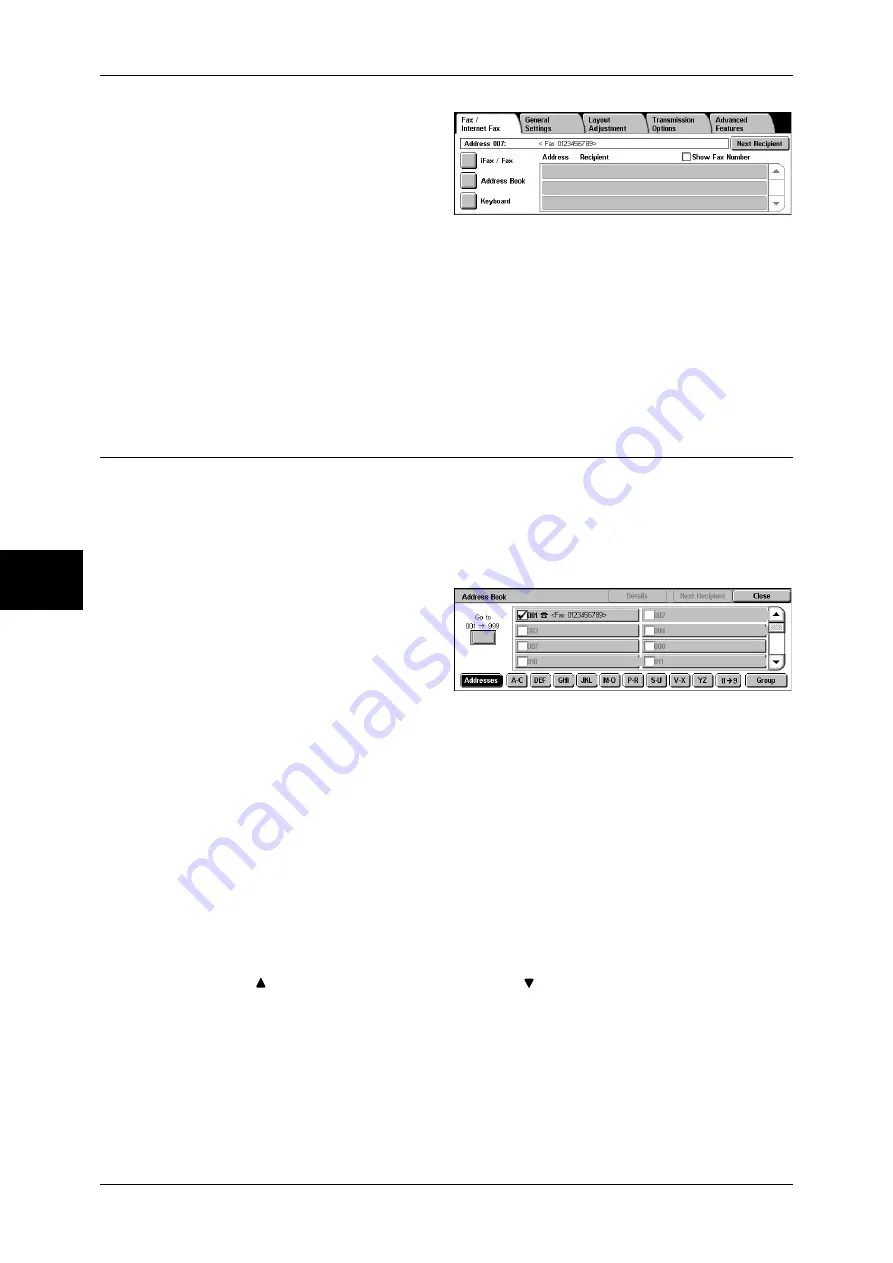
Select the first recipient.
2
Select [Next Recipient].
Note
•
Depending on the settings,
the screen to re-enter the
recipient may be displayed
after specifying the recipient
and then selecting [Next
Recipient] on the touch
screen. In that case, re-enter the recipient.
3
Select the next recipient.
4
Repeat Step 2 and Step 3.
5
Press the <Start> button.
6
Select [Yes] on the confirmation screen to start transmission.
Specifying a Destination Using the Address Book
This section describes how to use the address book to specify recipients.
The address book shows the fax numbers registered to the address numbers.
For information on how to register address numbers, refer to "Address Book" (P.328).
Important •
When the Server Fax feature is used for fax transmission, the attributes other than [Fax
Number], [Recipient Name], and [Index] are ignored in Address Book.
1
Select [Address Book].
2
On the lower-part of the screen,
select the button that has the
character or number you want to
search for.
3
Select recipients from the displayed list. A check mark is then added to the check box
of each recipient you selected.
4
Repeat steps 2 and 3 to specify all the required recipients.
Note
•
To deselect a recipient, select the recipient again or press the <C> button.
•
Any recipient that has 50 or more characters cannot be specified for the Server Fax feature.
Using the Address Book
Use address numbers, and [Addresses], [Group], and index buttons to search for fax numbers.
In the System Administration mode, you can set what address number to display at the top of the address
book. For information on how to change the default value, refer to "Address Book Default" (P.306).
Addresses
Displays a list of all registered addresses.
Select [ ] to return to the previous screen or [ ] to move to the next screen. Select
[Go to] and enter a 3-digit address number (001 to 500) using the numeric keypad to
display the specified number at the top of the list.
Index buttons
Allows you to search for recipients by indexes that are specified when address
numbers are registered.
Select the [A-C], [DEF], [GHI], [JKL], [M-O], [P-R], [S-U], [V-X], [YZ], or [0-9] button, and
then select the required character or number on the screen.
Summary of Contents for ApeosPort-II 3000
Page 1: ...ApeosPort II 5010 4000 3000 DocuCentre II 5010 4000 User Guide...
Page 14: ......
Page 54: ......
Page 139: ...Layout Adjustment 137 Fax 4 Off No stamp is added On A stamp is added...
Page 254: ......
Page 350: ......
Page 406: ......
Page 538: ......
Page 599: ...17 Glossary This chapter contains a list of terms used in this guide z Glossary 598...
Page 618: ......


