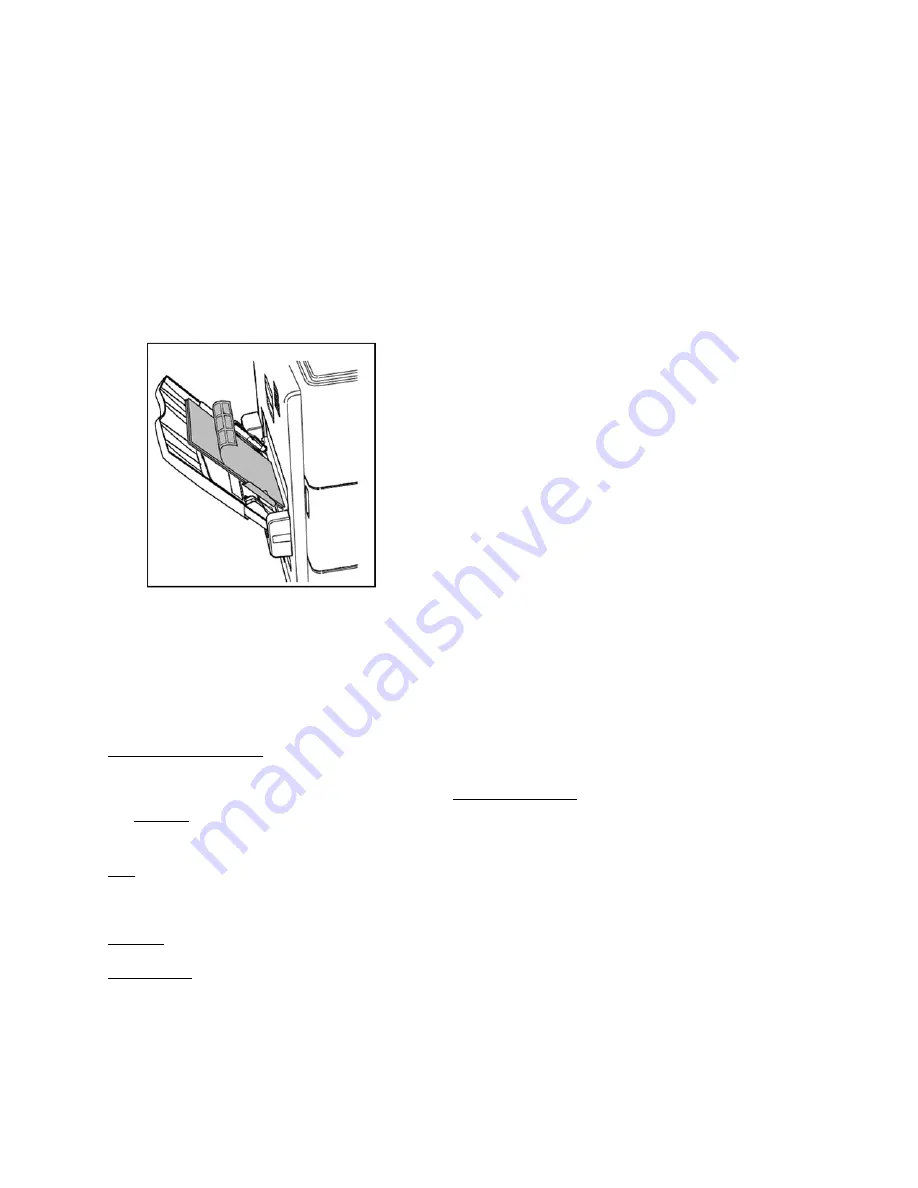
Load
Labels in Tray 5
:
1.
Open Tray 5. Pull out the extension tray for larger sizes of paper. Remove any paper that is a
different size or type.
2.
Move the width guides to the edges of the tray.
3.
Load labels in the tray.
◦For long-edge feed, load labels
face down
with the top edge toward the front of the printer.
◦For short-edge feed, load labels face down with the top edge leading into the printer:
Note: Do not load paper above the maximum fill line. Overfilling the tray can cause printer jams.
4.
At the control panel, select the correct paper size, type, and color:
◦Ensure that the paper type is set to Labels. To select a new paper type, touch Type.
◦To select a new paper size, touch Size. ◦To select a new paper color, touch Color.
5.
To confirm the settings if loading the same stock in any tray, touch Confirm.
Basic Tray Information
. See xerox.com/support for Recommended Media list and full specifications. Tip:
Accurately program printer Trays and print driver with the correct stock type, color and size for the job.
If a job is sent and the stock is not loaded, it will be
held for resources
. You can check held job status in
the
Job App
. Load the required stock and it will automatically print. Other jobs will print around held
jobs.
Size: Tray 5
Minimum: 105 x 135 mm (4.25 x 5.3 in.) Maximum: 297 x 432 mm (11.7 x 17 in.)
C5 envelopes only.
Trays 1 and 2
Min: 139 x 210 mm (5.5 x 8.3 in.) Max: 297 x 432 mm (11.7 x 17 in.)
Weights
:
Trays 1-4
60-200 g/m²
Tray 5
60-216 g/m²
Paper Types: Trays 1 & 2 & Tray 5 Bypass
: Bond, Covers, Glossy, Hole punched, Index, Labels (Trays 1
and 2 only). Letterhead, Plain, Pre-printed. Recycled. Transparencies (Tray 2 only). Lightweight Cardstock
106-160 g/m² and Cardstock 161-216 g/m²


