


32
HIGH LEVEL
INPUT
E / F / G / H
LINE OUT
SPEAKER
OUTPUT
BATT.
+12V
GND
XE4240-DSP
4-CHANNEL AMPLIFIER WITH
DIGITAL SOUND PROCESSOR
POW.
PRT.
REMOTE
OPTICAL
INPUT
ON
ONLY WITH HIGH LEVEL INPUT
GND
WiFi BOX
HIGH LEVEL
INPUT
SPEAKER
OUTPUT
F-
F+
E-
E+
SPEAKER
OUTPUT
BATT.
+12V
G/H
LINE OUT
XE6440-DSP
6-CHANNEL AMPLIFIER WITH
DIGITAL SOUND PROCESSOR
POW.
PRT.
REMOTE
OPTICAL
INPUT
PC CONNECT USB
AUX
INPUT
WiFi BOX
AUX
INPUT
REM
IN/OUT
REM IN/OUT
AUTO TURN ON
OFF
ON
ONLY WITH HIGH LEVEL INPUT
AUTO TURN ON
OFF
PC CONNECT USB
FUNCTIONAL INSTRUCTIONS
INSTALLATION OF THE DSP-SOFTWARE
PROCESSOR CONFIGURATION WITH THE SOFTWARE
The DSP software
X-CONTROL
is suitable for all computers with a Windows™ operating system newer than XP and a USB port. The
installation requires approximately 25 MB of free space. Due to the principle it should be used with a portable laptop computer.
First insert the enclosed software CD-ROM into the computer drive or download the DSP software
X-CONTROL
via the internet link
http://www.audiodesign.de/dsp
.
Start the setup.exe. The installation wizard will guide you through the usual steps. It is recommended to create a desktop shortcut (
Create
a desktop icon
). After installation, restart the computer if possible.
Important note for 64 bit operating systems:
For 64-bit operating system, you may need to install the 64 bit device drivers manually.
You can find this on the CD and just under
http://www.audiodesign.de/dsp
to download. For 32-bit operating systems, the driver will be
installed automatically during the program installation.
Connect the computer on which you have installed the
X-CONTROL
software with the DSP processor
via the enclosed USB cable. After connecting the devices, start the program on the computer.
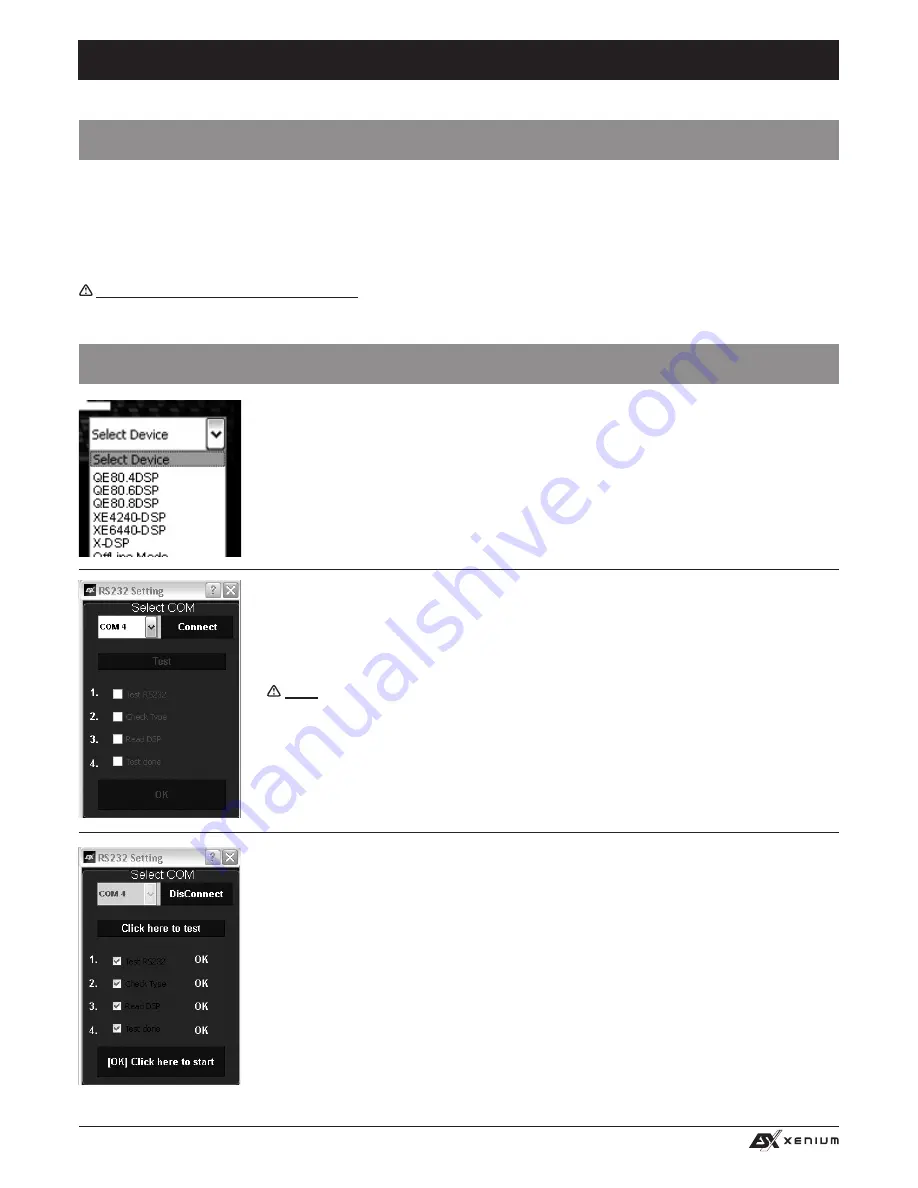
After starting the program the start screen appears. Select on the bottom right under
Select Device
your device
XE4240-DSP
with the mouse.
Demo Mode (OffLine-Mode)
You can start
X-CONTROL
even without connecting to the DSP processor in an offline mode and be-
come familiar with the features of the software.
Enable the connection with the DSP in the
RS232 Setting
. The COM interface should be automatically
detected and selected, it varies from system to system. Click then
Connect
. The program starts then
automatically the connection.
If you cannot continue after selecting
Connect
, follow the instructions in the chapter trouble shooting
section on page 42.
Note:
The COM port is automatically assigned by the Windows operating system. Please ensure
that the port must be between COM1 and COM9.
Click on
Click here to test
to check the connection with the DSP device.


