Xenarc 705YV Installation Manual Download Page 10

10

 │ Ha

rdw

a

r

e Installa

tion

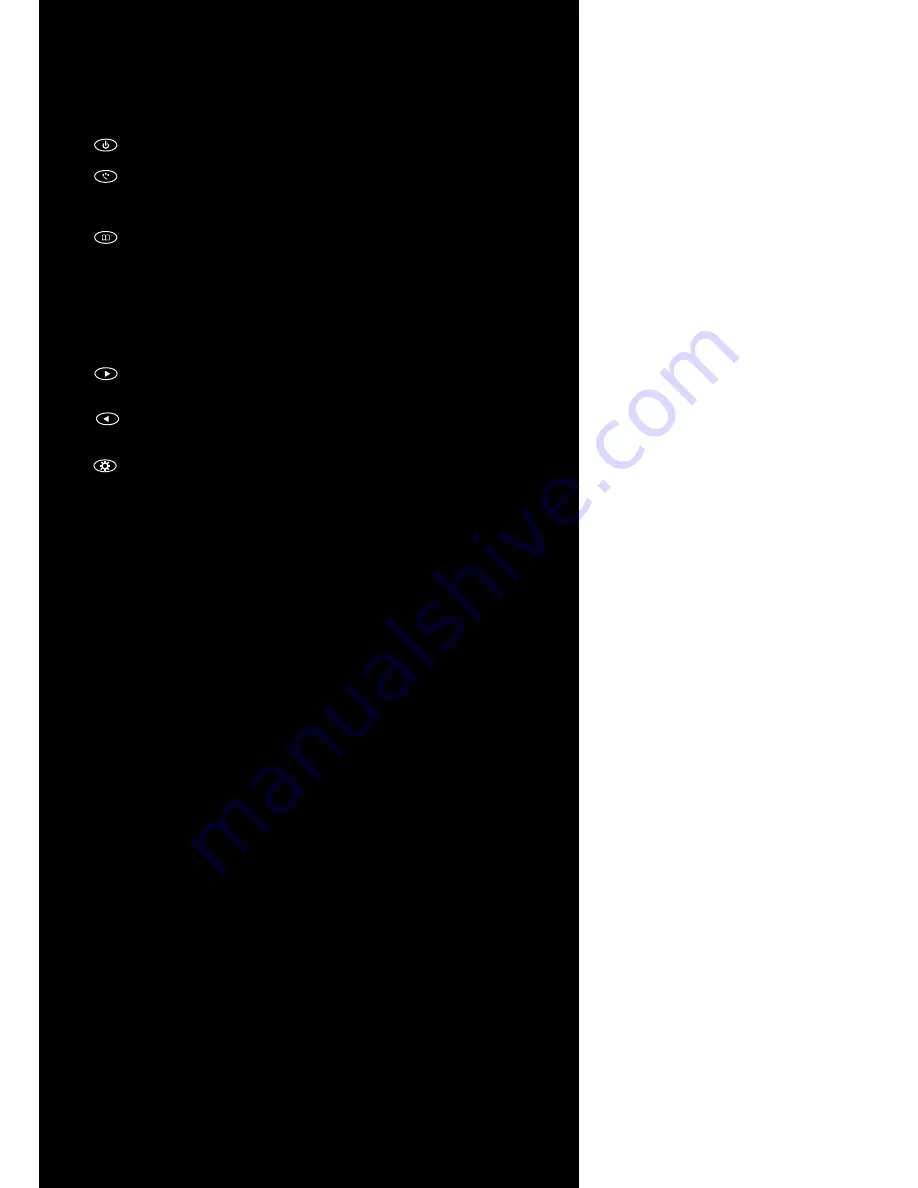
Buttons description:

1.

Power Button : Press to turn ON or OFF the monitor.

2.

Select B

utton : Pr

ess to select the input signal to displa

y.

Pr

ess the left ( ◄ ) or right ( ► ) to highlight the input sou

rce

desir

ed and then p

r

ess menu button to ma

k

e the selection.

3.

Menu Button : Press the button to show the OSD menu.

And then pr

ess the left ( ◄ ) or right ( ► ) to naviga

te thr

ough

the menu.

Pr

ess “ Select ” button to go th

r

ough a list of settings and

options.

Pr

ess the left ( ◄ ) or right ( ► )  buttons to 

c

ha

n

ge the values

o

f settings.

Press Menu button 

again to lea

ve the OSD menu.

4.

Right But

ton : Press this button to incr

ease 

v

olume or the value

o

f settings inside the OSD menu.

5.

Left Butt

on : Press this button to decr

ease 

v

olume or the value

o

f settings inside the OSD menu.

6.

Dimmer : 

This button controls display brightness.

OSD  ( On-screen display ) Menu

Press MENU to display the OSD on the screen, then press 

UP / DOWN ( or LEFT / RIGHT from the front control panel ) 

to highlight a different category. Press ENTER ( or Source ) to adjust 

the selected highlighted category. Under the selected item page, 

press UP / DOWN ( or Source ) to select the item from the list, use 

LEFT / RIGHT to adjust. To select the sub-menu, please press LEFT to 

enter to the sub-menu.

Summary of Contents for 705YV

Page 1: ...705 INSTALLATION MANUAL...

Page 2: ...2 Table of Contents Features 03 Specifications 04 Hardware Installation 10 Additional Info 14 Remote Control 07 Owner s Record 15 Quick Start 05 705 Models...

Page 3: ...ping Factory Mode to disable front button s Factory Mode to disable on screen text Last Input memory Last Power setting memory IR Remote Control Auto power on upon signal detection Automatic display a...

Page 4: ...RCA composite video female connector x 2 Audio Source Input RCA audio female connector x 2 DC 3 5 mini stereo plug x 1 Touch Panel Input Output USB connector x 1 705 TSV Only Power Source Input Single...

Page 5: ...2 Secure Height position by adjusting Knob Step 2 Secure Tlit position by adjusting Knob Create VGA Source Step 1 Attach the 26 Pin connector to the monitor Step 2 Attach the D Sub 15 Pin connector to...

Page 6: ...peaker Step 4 Attach your PC Source to the back VGA connector Step 5 Attach the mini stereo jack marked PC Audio to your computer s earphone jack Touchscreen Installation 705 TSV Only Attach the USB p...

Page 7: ...able the sleep timer Press this button to select and set the time to turn off the monitor automatically 7 Picture Button Enable or select the picture mode you prefer Press this button and then you can...

Page 8: ...matically turn off the monitor The minimum is 15 minutes and the maximum is 120 minutes 3 Picture Set the modes of the picture Enable to select the picture modes you prefer Press this button and then...

Page 9: ...rroring of the display Continue to press it and choose the mirroring mode you wish to display 7 Mute Mute the speaker Press again to restore the sound of the speaker 8 Display Display mode Display the...

Page 10: ...ttings Press Menu button again to leave the OSD menu 4 Right Button Press this button to increase volume or the value of settings inside the OSD menu 5 Left Button Press this button to decrease volume...

Page 11: ...arpness and right to increase the level of sharpness Color Temp Set the color temp to the desired setting 6500K 9300K and User Backlight Adjust backlight intensity by pressing Left or Right buttons In...

Page 12: ...gnal is present Default is OFF Source Info Select to turn OFF or turn ON displaying of On Screen Source Information Source Name Display the source of input signal If it is ON it will display the infor...

Page 13: ...d The function allows you to disable or enable the buttons at the front of the monitor Power Menu Select Dimmer Left and Right buttons can be disabled or enabled Source Enable Select to Enable or disa...

Page 14: ...s 32V DC Feeding the monitor with higher voltage will damage the monitor and void the warranty Please use a fused power source if you decide to wire the monitor directly to your car s electrical syste...

Page 15: ...provided below as well as the dealer name address and telephone number Please refer to these records whenever speaking to your dealer regarding this product Model Number Serial Number Dealer Name Stre...

Reviews: