


3 5
3 5
3 5
3 5
3 5
3 4
3 4
3 4
3 4
3 4
1.
1.
1.
1.
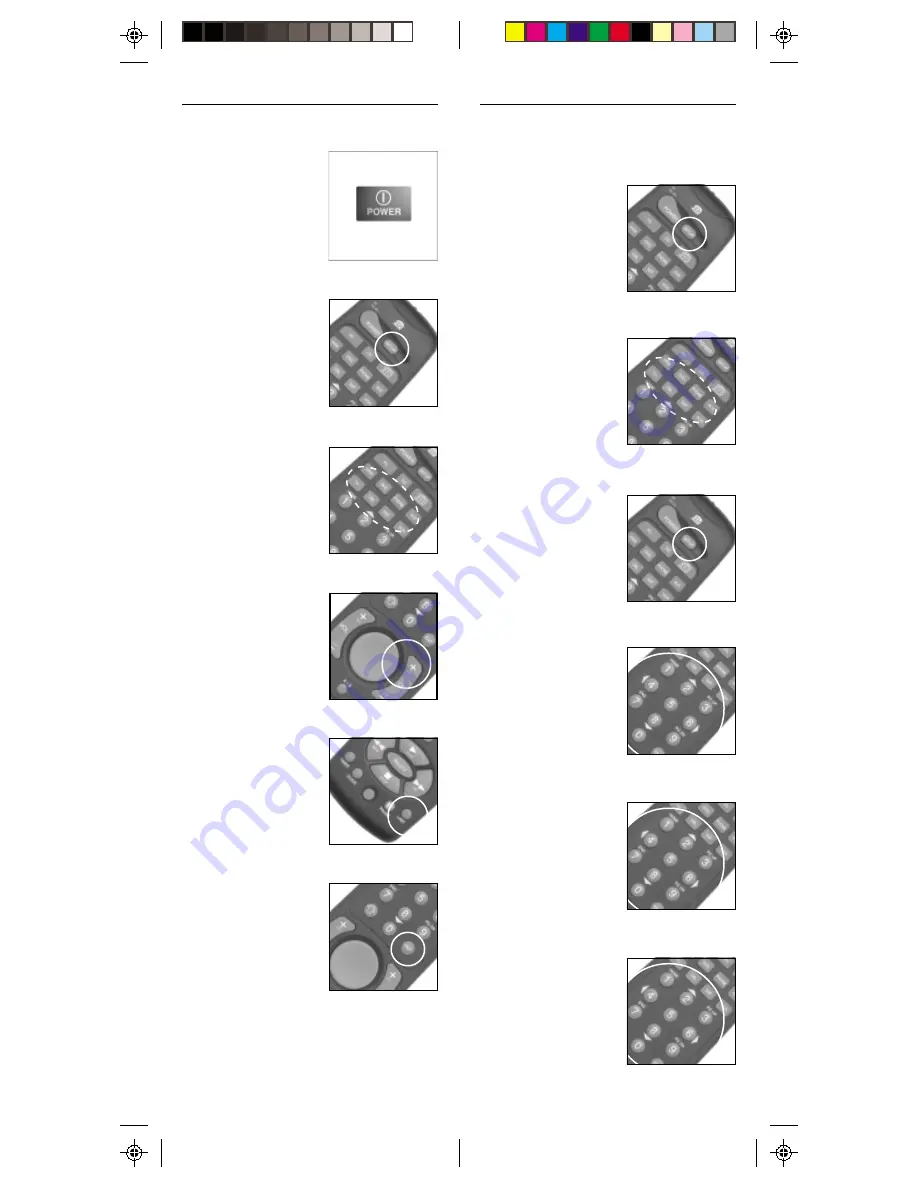
1. Press and hold
SETUP until the LED
indicator lights
steadily. Release
Setup button.
2.
2.
2.
2.
2. Press the mode
button that matches
the equipment you
want to identify The
LED blinks once.
For AUX, press
AUX, then the
mode button.
3.
3.
3.
3.
3. Press and release
SETUP. The LED
blinks once.
4.
4.
4.
4.
4. To find the first
digit, press each
number button
from 0 to 9 until
the LED blinks.
The number you
pressed is the first
digit of the code.
IIIII
DENTIFYING
DENTIFYING
DENTIFYING
DENTIFYING
DENTIFYING
C
C
C
C
C
ODES
ODES
ODES
ODES
ODES
FOUND
FOUND
FOUND
FOUND
FOUND
USING
USING
USING
USING
USING
THE
THE
THE
THE
THE
SSSSS
EARCH
EARCH
EARCH
EARCH
EARCH
P
P
P
P
P
ROCEDURE
ROCEDURE
ROCEDURE
ROCEDURE
ROCEDURE
5.
5.
5.
5.
5. Press each
number button
from 0 to 9 again
as above to find
the second digit.
6.
6.
6.
6.
6. Press each
number button in
turn to find the
third digit. When
the third digit has
been found, the
LED will go out.
SSSSS
EARCHING
EARCHING
EARCHING
EARCHING
EARCHING
F
F
F
F
F
OR
OR
OR
OR
OR
C
C
C
C
C
ODES
ODES
ODES
ODES
ODES
1.
1.
1.
1.
1. Turn on the device
you want to
control.
2.
2.
2.
2.
2. Press and hold
SETUP until the LED
indicator lights
steadily. Release
Setup button.
3.
3.
3.
3.
3. Press the mode
button that matches
the equipment you
want to control. The
LED blinks once.
For AUX, press
AUX, then the
mode button.
4.
4.
4.
4.
4. Press CH +
repeatedly* until
the device to be
controlled changes
channel.
If you go past the
code accidentally,
just press LAST
repeatedly until the
channel changes
again.
5.
5.
5.
5.
5. Press and release
the ENTER button to
complete the setup.
*Note:
You may have
to press CH + many times (50+). If the
device does not have a Channel Up
function, use the PLAY button (VCR only)
or the POWER button.


