X Rocker BASE CAMP 2020122 Manual Download Page 1

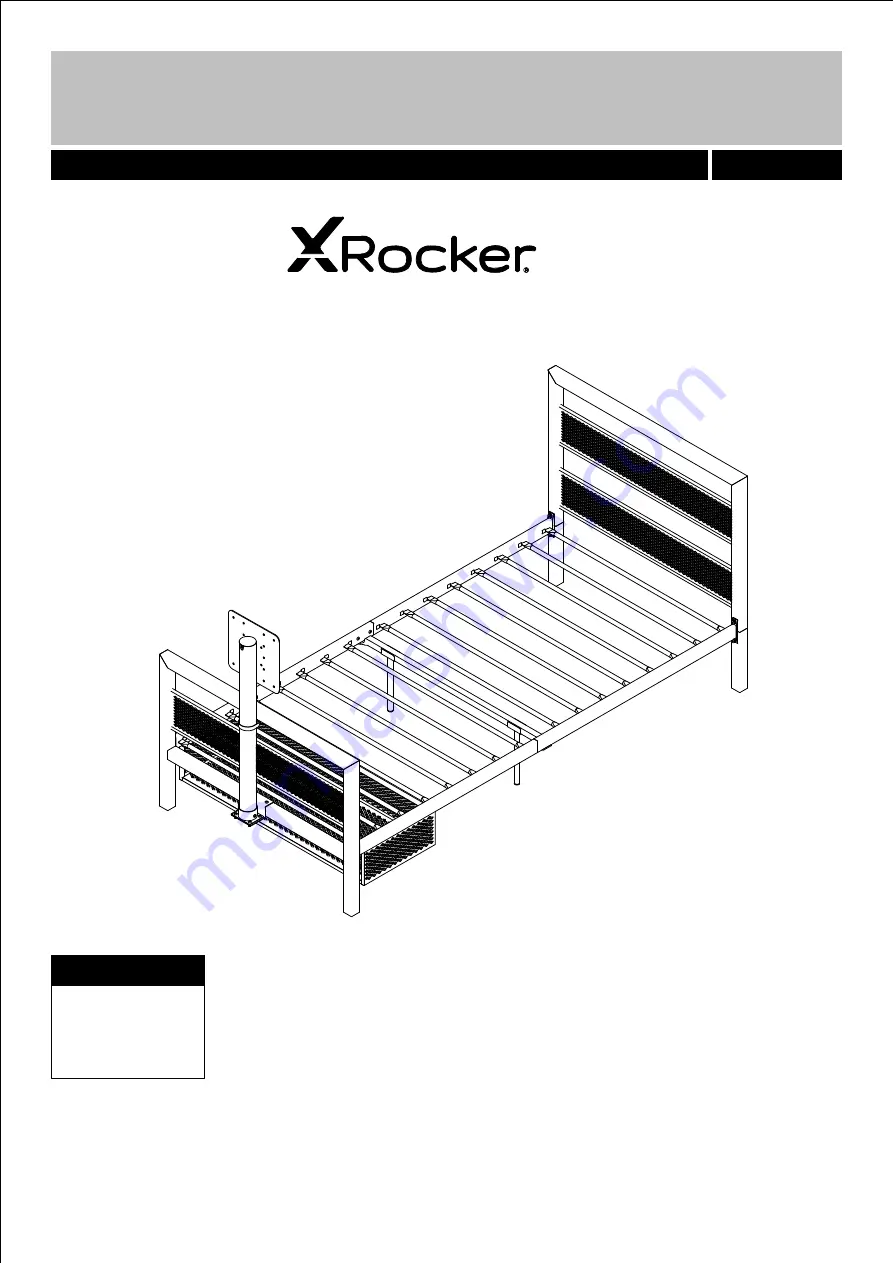
BASE CAMP TV GAMING BED

IMPORTANT - READ CAREFULLY - RETAIN FOR FUTURE REFERENCE

Need Help? 


Contact X Rocker at:


www.xrockeruk.com/pages/support


IMPORTANT

:


You must keep your original retail receipt as proof of purchase.

1


Dimensions 

Width - 205 cm

Depth - 95.7 cm

Height - 91.5 cm


LZL00-09/26/2020

Summary of Contents for BASE CAMP 2020122

Page 1: ...REFULLY RETAIN FOR FUTURE REFERENCE Need Help Contact X Rocker at www xrockeruk com pages support IMPORTANT You must keep your original retail receipt as proof of purchase 1 Dimensions Width 205 cm Depth 95 7 cm Height 91 5 cm LZL00 09 26 2020 ...

Page 2: ...rface during use Assemble on a soft level surface to avoid damaging the unit or your floor Keep these instructions for further use To ensure an easier assembly we strongly advise that al fittings are only finger tightened during initial assembly Only upon completion of the assembly should all fixing points be fully tightened 2 Care and maintenance Only clean using a damp cloth and mild detergent d...

Page 3: ...Please check you have all the panels listed below Components Panels 3 PARTS 1 1 5 9a 8a 8b 9b 61a 61b 6 60 59d 59a 59c 59b 20 20 19 14a 15 15 62 32 ...

Page 4: ... the panels listed below Components Panels 4 Post X 2 1 5 6 8a 8b 9b 9a 19 14a 20 HeadboardX 1 Footboard X 1 15 Side rail 01 x 1 Slats X 16 Plastic Plug X 32 Brace X 1 Leg X 2 Side rail 02 x 1 Side rail 03 x 1 Side rail 04 x 1 ...

Page 5: ...he panels listed below Components Panels 5 60 61a 62 59d 59c 59a 59b Right Mesh Panel x 1 Left Mesh Panel x 1 Rear Mesh Panel x 1 Bottom Mesh Panel x 1 TV mount X 1 Mounting seat X 1 Buckle X 1 61b Mounting sleeve X 1 32 Cap x 1 ...

Page 6: ... 15 20 25 30 35 40 45 50 55 60 65 70 75 80 85 90 95 100 105 110 115 120 125 130 135 140 145 150 155 160 165 170 0 5 10 15 20 25 30 35 40 45 50 55 60 65 70 75 80 85 90 95 100 105 110 115 120 125 130 135 140 145 150 155 160 165 170 Ruler tape measure 6 22mm M6 Bolt x 20 17mm M6 Bolt x 14 22mm M8 Bolt x 8 M8 Spring washer x 8 M8 Metal washer x 8 Allen Key x 1 Plastic washer x 8 10mm M6 Bolt x 4 Nut M...

Page 7: ...5 B B 9b 8b 9b 8b 9a 8a B B B B M6 x 17mm B X 4 I X 1 M6 x 17mm B X 2 I X 1 B B 1 1 5 4mm 75 1 2 Insert Post x 2 into Headboard with 5 1 B B Insert Side rail 03 into Side rail 02 with 9b 8b Insert Side rail 04 into Side rail 01 with 9a 8a B ...

Page 8: ...ions 8 Step Step M6 x 22mm A X 4 I X 1 19 A 20 20 A A A A 19 19 8b 8a A 8a 9b 9a M6 x 22mm A X 4 I X 1 4mm 75 4mm 75 3 4 Attach Leg x 2 to Brace with 20 19 A Attach Brace to Side rail 01 and Side rail 02 with 19 8a 8b A ...

Page 9: ... D F G H D F G H 4mm 75 8b A 8a 9a 9b 59b 59c 59a 5 6 1 1 M6 x 22mm A X 4 I X 1 4mm 75 5 6 Attach Footboard to Side rail 01 and Side rail 03 with 6 8a 9b D F G H Attach Headboard to Side rail 02 and Side rail 04 with 5 8b 9a Attach Rear Mesh Panel to Right Mesh Panel and Left Mesh Panel with 59c 59b 59a A H G F D 8b A A A ...

Page 10: ...59c 59a 59d 4mm 75 9b 8a 9b 59b B M6 x 17mm B X 4 I X 1 4mm 75 B 7 8 A Attach Bottom Mesh Panel to Right Mesh Panel Left Mesh Panel and rear Mesh Panel with 59d 59b 59a 59c A Attach Right Mesh Panel to Side rail 03 and Left Mesh Panel to Side rail 01 with 59b 9b 8a 59a B ...

Page 11: ...a 9a 14a 14a 9a 9a 9a 14a 14a 15 15 15 9 a Secure the slats x24 to Side rail 01 Side rail 02 Side rail 03 and Side rail 04 a b 14a 8a 8b 9b 9a b Secure the plastic plug x48 to Side rail 01 Side rail 02 Side rail 03 and Side rail 04 15 8a 8b 9b 9a ...

Page 12: ...Step Step 10 11 EVA 01 K X 1 EVA 02 L X 1 at the middle outside of Footboard K K L 6 62 62 Attach EVA 01 to the middle of footboard as shown 6 Attach EVA 02 to the middle of buckle as shown 62 at the middle inside of buckle K L ...

Page 13: ...B B a Attach Mounting sleeve to Mounting seat with a b c d e 61b 61a C b Attach Mounting seat to Footboard with 61a 6 B c Insert TV mount to Buckle 62 60 e Attach Buckle to Footboard with d Insert TV mount to Mounting sleeve 60 61b 62 6 B f E A M6 x 22mm A X 1 f Connect TV mount and Mounting sleeve with 60 61b Nut M6 E X 1 J X 1 A E ...

Page 14: ... power cable length of 1 4m is required to connect the mounted TV to the undercarriage of the bed Please check your TV cable length before installation to ensure fit Note 1 The TV mount mates with M6 screw If you re using M4 screw to assemble the TV screen please use part M washer as provided to make sure M4 screw could be also workable for it Note 2 If the TV pole can t be rotated freely please l...

Reviews: