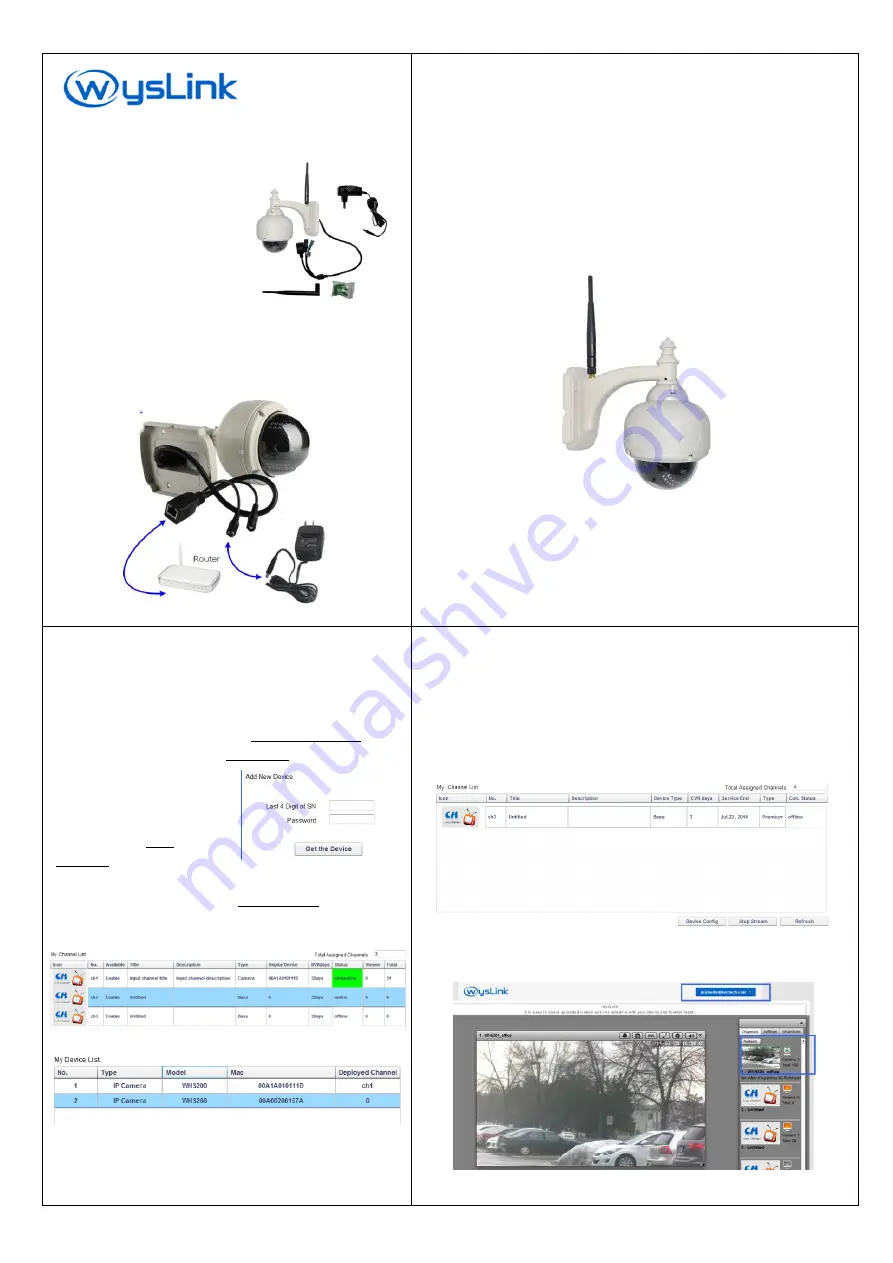
WHS400
Cloud Camera
Quick Start Manual
Package Contents
In a the package, there are
two poly form containers,
you will find:
WHS400 camera (qty. 1)
power adapter (qty. 1)
antenna (qty. 1)
wall screws (qty. 4)
Camera Connection
1.
Install the antenna on the camera.
2.
Plug one side of a network cable into the LAN port on rear
panel and the other side into your router.
3.
Connect the provided 5VDC power adapter to the
camera.
1/8
Camera Mounting
WHS400 is designed to be used in outdoor. Check the view
area and find a best location; it still suggested to be mounted
where the rain cannot reach though the camera is water
proof. Use attached 4 screws or the screws matched the wall
materials.
2/8
Camera Registration on wysLink.com
Please register your IP camera on wyslink.com following the
next steps.
1.
Create an account
on www.wysLink.com and activate
it. If you already have a wysLink account, please ignore
this step. Then log in and enter Live Channel Editor.
2.
In Channel Editor, click the Edit Device button.
Add Your Device
:
Input the last 4 digit of S/N
and Password to find your
camera.
S/N: HS201311E023
Password is printed on the
label.
3.
Now, your camera is listed in My Device List.
Assign Your Device to a Channel
:
Click an available channel that is not assigned to other devices.
Click your camera row to select it.
Then click
[Assign to Channel]
button to put this camera
into your selected channel.
3/8
Watch Live Video
After registration, please connect your camera with network, then power
on.
1.
After power on your camera, please wait about 30 seconds.
2.
Click [
Refresh]
button below My Channel List.
3.
When the channel status displays “
streaming
”, your camera streams
live video to your channel. If it shows “online”, click
[Start stream]
please.
Click your account dropdown list at the top-right corner of the webpage
and then click [
My Stage]
. Now you enter your stage.
4.
Click your channel icon. You can watch your video on stage.
4/8


