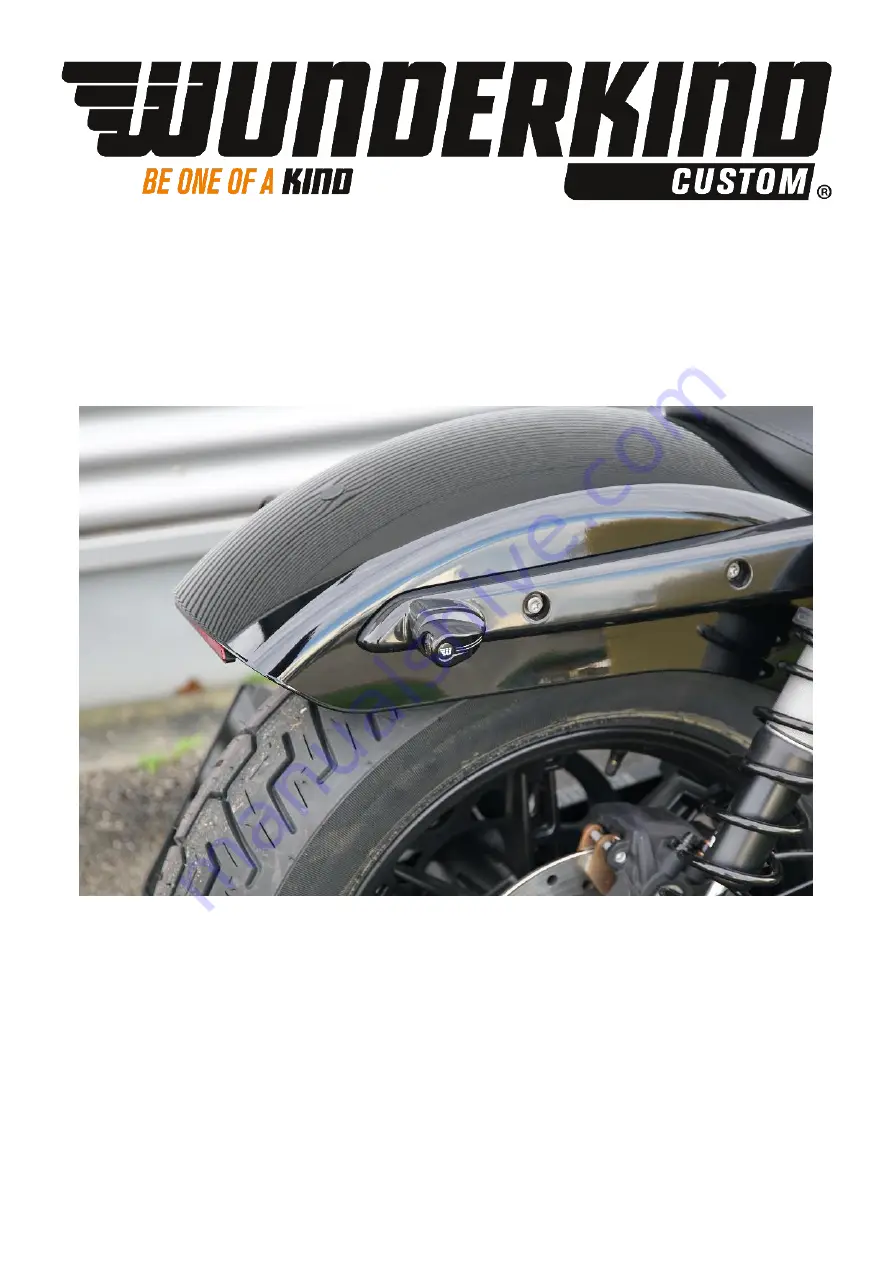
background image

• www.wunderkind-custom.com ••• [email protected] • 


Rear lighting 


Installation and safety information 

for 

Harley-Davidson Nightster from model year 2022 


Summary of Contents for HDN1V

Page 1: ... www wunderkind custom com info wunderkind custom com Rear lighting Installation and safety information for Harley Davidson Nightster from model year 2022 ...

Page 2: ...gularly and to determine if a service or replacement is required Please bear in mind that this product is a safety relevant part of your vehicle After a fall or collision check the product and if there is the slightest indication of damage you must replace it This product requires no registration This product has been designed for a standard vehicle ABM Fahrzeugtechnik GmbH makes no warranty or gu...

Page 3: ...Installation Manual Revision 00 22 11 2022 ABM Fahrzeugtechnik GmbH Page 3 of 8 2 Content ...

Page 4: ...hnik GmbH Page 4 of 8 Installation Park the vehicle safely Remove the seat and both side covers Unplug the plug connectors of the indicators and the tail light Completely remove the left rear bracket Remove the cable harness for the tail light from the holders ...

Page 5: ...r plate holder Unscrew the indicator from the rear support and detach the cable from the adhesive holders Drill out the fixing hole to 8 mm Attach the enclosed tail light indicator combinations to the bracket with an adapter safety washer and screw Attach the cable to the bracket with the holders ...

Page 6: ... the right side Tighten the fender with the supplied spacer washer and original screw Note Tightening the screw only serves to ensure that the distance from the fender to the bracket is the same Cut the connectors of the original lighting and solder them to the cable ends according to the plan using the supplied solder connectors Observe the polarity Reattach all unscrewed parts Note After install...

Page 7: ...Installation Manual Revision 00 22 11 2022 ABM Fahrzeugtechnik GmbH Page 7 of 8 ...

Page 8: ...em against rubbing After completing the work check that all components and screws are tight and functioning correctly Also check the rear wheel s freewheel and the functionality of the brake system Afterwards a test drive must be carried out After completing the test drive the tightness of all screw connections must be checked as well as the adequate free travel of all moving parts Re test the rea...

Reviews: