background image

1. Security Precautions 

Carefully to READ the instruction in this manual before use. 

Certainly to OBSERVE the INSTRUCTION in this manual regard convention of safety symbols 

and messages 

Please KEEP this user MANUAL nearby for anytime reference. 

Safety symbol and Message Conventions 

Below-described safety symbol and messages are to prevent bodily injury and property damage.  

Before operating the amplifier, read this manual first so you completely knowing the potential 

safety hazard and understanding the meaning of the safety symbols and messages. 

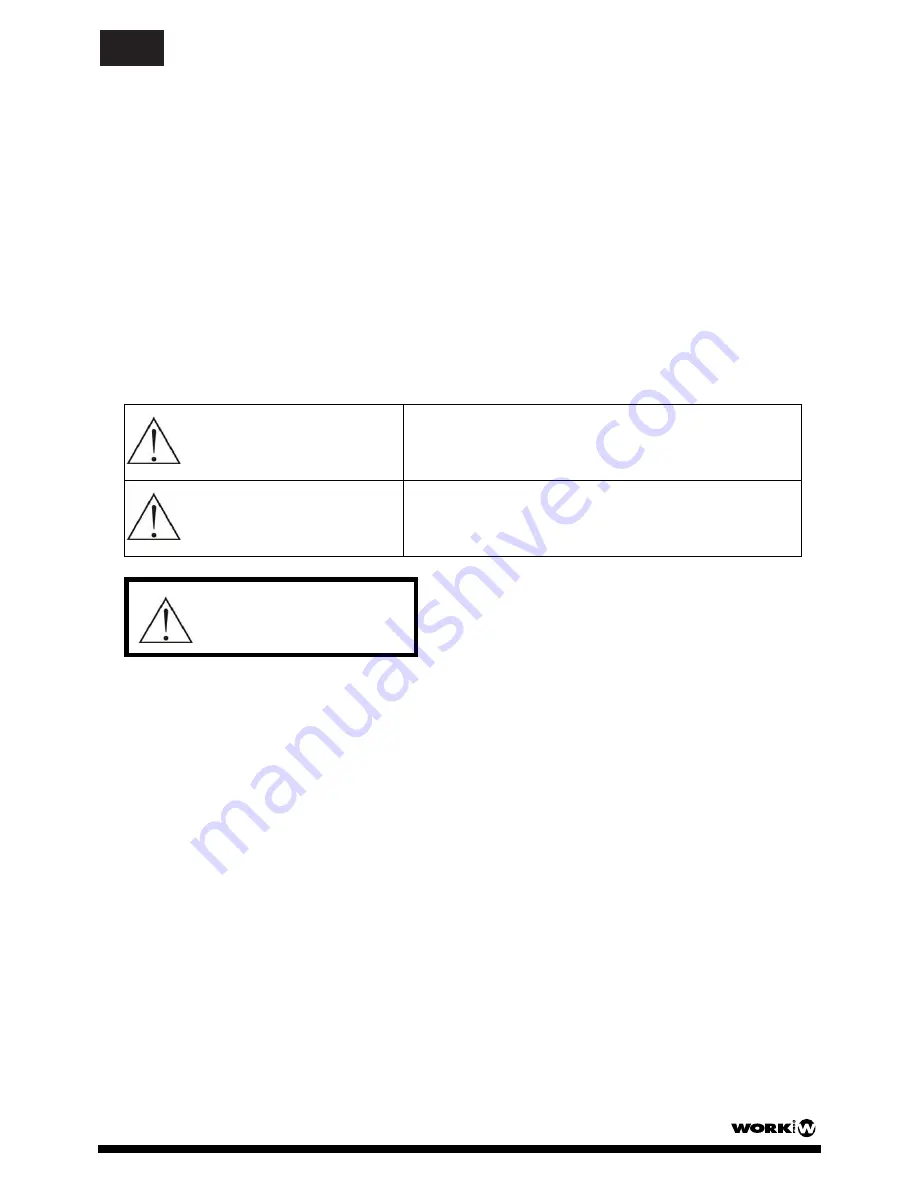
 WARNING 

Indicates a potentially hazardous situation, which, if 

mishandled, could result in death or serious body injury, 

and/or property damage. 

 CAUTION 

Indicates a potentially hazardous situation, which, if 

mishandled, could result in moderate or minor body 

injury, and/or property damage. 

PANEL DESCRIPTION 

When Installing the Amplifier 

DO NOT

 installing or mounting the amplifier in unstable locations, such as on the rickety table or 

the slanted surface. It may result in the amplifier falling down and causing body injury and/or 

property damage. 

Be sure to ground to the safety ground (earth) terminal to avoid electric shock.  Never to ground to 

a gas pipe for tragic disaster may occur. 

Use the amplifier only with the voltage specified on the amplifier.  Using the voltage higher than 

specified may cause fire or electric shock. 

DO NOT

 cut, twist, damage, nor modify the power supply cord.  In addition, avoid using the 

power cord close to heaters, and don’t place heavy object, including the amplifier itself, on the 

power cord, for it may cause fire or electric shock. 

DO NOT

 expose the amplifier to rain or the environment where it may be splashed by water or 

other liquids, for doing so, it may cause fire or electric shock. 

WARNING


PA 5506                 User Manual/Manual de uso      Pag. 1

EN

Summary of Contents for PA 5506

Page 1: ...User Manual Instrucciones de Usuario PA 5506...

Page 2: ...ury and or property damage PANEL DESCRIPTION When Installing the Amplifier DO NOT installing or mounting the amplifier in unstable locations such as on the rickety table or the slanted surface It may...

Page 3: ...ric shock DO NOT open nor remove the amplifier cover to prevent fire or electric shock for there are high voltage components inside the amplifier PANEL DESCRIPTION When Installing the Amplifier DO NOT...

Page 4: ...lly In addition make sure th e plug is inserted in the wall outlet securely Contact your local dealer to clean the dust it the dust has accumulated in the amplifier for a long period of time Dust accu...

Page 5: ...Selection Switch 25 Channel 4 Volume Control 11 Channel 5 Mute Priority Switch 26 Channel 5 Bass Control 12 Channel 5 Input Source Selection Switch 27 Channel 5 Treble Control 13 Power Switch 28 Chan...

Page 6: ...or table mounted 5 Power Source AC Power Source The supply transformer has been designed for use on either 115V or 230V 50 60Hz selected by a push switch on the rear panel The amplifier is factory se...

Page 7: ...00V Use only one of these outputs for connection 7 Operation After all connections are completed turn the Input Source Selection Switch of each channel to set on the corresponding position for the sig...

Page 8: ...ohm AUX 3 200mV 20K ohm AUX 4 200smV 20K ohm SPEAKER JACK UNBALANCED HI LEVEL 100V 300 ohm Frequency Response 50Hz 15KHz 3dB Output 100V 70V 8 ohm screw terminal Signal to noise ratio 70dB Damping Fa...

Page 9: ...tiene cuidado puede ocasionar un da o moderado o menor a personas y o propiedades NO instale o monte el amplificador en sitios inestables como planchas de madera o superficies deslizantes Puede ocasi...

Page 10: ...s de ventilaci n del amplificador podr a causar fuego o descaras el ctricas No abra o retire la tapa del amplificador para prevenir fuego o descargas el ctricas debido a la alta tensi n de los compone...

Page 11: ...e con su distribuidor para limpiar el polvo si ste se acumula en el interior del amplificador durante mucho tiempo La acumulaci n de polvo puede causar da os o fuego en la unidad 2 Descripci n PA 5506...

Page 12: ...anal 2 19 Control de volumen Canal 2 20 Control de agudos Canal 3 21 Control de graves Canal 3 22 Control de volumen Canal 3 23 Control de agudos Canal 4 24 Control de graves Canal 4 25 Control de vol...

Page 13: ...montado sobre mesa 5 Alimentaci n Alimentaci n AC 6 Conexi n Conexi n de Micr fono Mic1 2 son entradas desbalanceadas con conector Jack 1 4 Funci n MUTE El transformador de red ha sido dise ado para s...

Page 14: ...en el panel trasero Cada terminal dispone de 3 salidas de altavoz 8 ohm 70 V y 100 V Utilice s lo una de las conexiones Despu s de que todas las conexiones est n correctas coloque el selector de tipo...

Page 15: ...5 kgs Montaje Sobremesa o rack 19 ATENCION ESTA UNIDAD DEBE SER CONECTADA A TIERRA PA 5506 PA 5506 User Manual Manual de uso Pag 14 Este s mbolo en su equipo o embalaje indica que el presente producto...

Page 16: ...your household waste disposal service or the shop where you purchased the product Manufactured by EQUIPSON S A This symbol on the product or on its packaging indicates that this product shall not be t...

Reviews: