5
12
SPECIFICATIONS
Motor
. . . . . . . . . . . . . . . . . . . . . . . . . . . . . . . . . .1/2HP, 115VAC, 5A, 1720 RPM
Speeds (RPM) . . . . . . . . . . . . . . . . . . . . . . . . . .500, 840, 1240, 1800, 2630, 3975
Swing over bed . . . . . . . . . . . . . . . . . . . . . . . . . . . . . . . . . . . . . . . . . . . . . . . . . .10"
Swing over toolrest base . . . . . . . . . . . . . . . . . . . . . . . . . . . . . . . . . . . . . . . .7-1/4"
Distance between centers . . . . . . . . . . . . . . . . . . . . . . . . . . . . . . . . . . . . . . . . .17"
Inboard bed length . . . . . . . . . . . . . . . . . . . . . . . . . . . . . . . . . . . . . . . . . . . .23-5/8"
Bed gap . . . . . . . . . . . . . . . . . . . . . . . . . . . . . . . . . . . . . . . . . . . . . . . . . . . . .1-1/4"
Spindle size . . . . . . . . . . . . . . . . . . . . . . . . . . . . . . . . . . . . . . . . . . . . . . . .1" x 8TPI
Headstock taper . . . . . . . . . . . . . . . . . . . . . . . . . . . . . . . . . . . . . . . . . . . . . . .#2 MT
Headstock through bore . . . . . . . . . . . . . . . . . . . . . . . . . . . . . . . . . . . . . . . . . .3/8"
Faceplate diameter . . . . . . . . . . . . . . . . . . . . . . . . . . . . . . . . . . . . . . . . . . . . .3-1/8"
Tailstock quill travel . . . . . . . . . . . . . . . . . . . . . . . . . . . . . . . . . . . . . . . . . . . . .2-3/8"
Tailstock quill taper . . . . . . . . . . . . . . . . . . . . . . . . . . . . . . . . . . . . . . . . . . . .#2 MT
Tailstock through bore . . . . . . . . . . . . . . . . . . . . . . . . . . . . . . . . . . . . . . . . . . . .3/8"
Tool rest length . . . . . . . . . . . . . . . . . . . . . . . . . . . . . . . . . . . . . . . . . . . . . . . . . . .6"
Machine dimensions . . . . . . . . . . . . . . . . . . . . . . . .33-1/2"L x 9-1/2"W x 14-3/4"H
Net weight . . . . . . . . . . . . . . . . . . . . . . . . . . . . . . . . . . . . . . . . . . .87 lbs (39.5 kgs)
Shipping weight . . . . . . . . . . . . . . . . . . . . . . . . . . . . . . . . . . . . . .115 lbs (52.3 kgs)
Note: Specifications, while deemed accurate, are subject to change without notice.
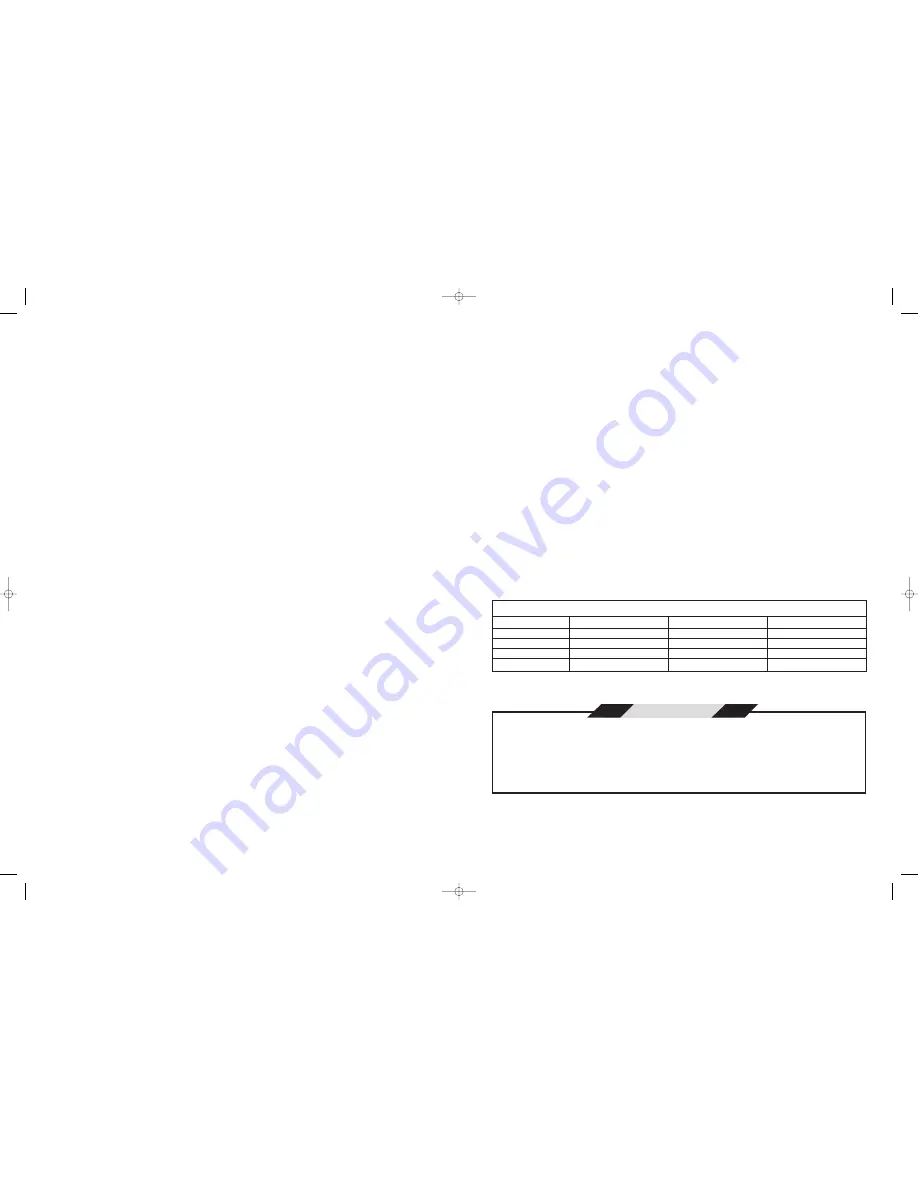
DIAMETER
ROUGHING
GENERAL
FINISHING
Under 1"
1800
2600
4000
1" to 3"
1200
1600
2600
3" to 6"
500
1200
1800
Over 6"
500
800
1200
SPEED RECOMMENDATIONS (RPM)
Some dusts created by woodworking activities may contain chemicals known to cause
cancer, birth defects, reproductive disease, respiratory disease and skin allergies.
Chemicals include: arsenic, chromium and formaldehyde from chemically treated
lumber and building materials; crystalline silica from masonry products; lead from
lead-based products; and quinones, alkaloids and glycosides from some exotic
hardwoods.
Warning
Preview
There are many different turning accessories used
for mounting wood on a lathe. This example covers
one procedure using a 3" faceplate and a 4-jawed
chuck with 1" x 8TPI spindle threads to fit this lathe.
Preparing the wood for turning
1- Wood selected for bowl turning can come from
many sources including trunks, branches, roots
and burls. Select a piece of fairly dry wood
about 5" in diameter and 3" deep.
2- Mark the center of the top of the bowl blank and
draw a circle with a compass the diameter of the
faceplate.
3- Center and screw the faceplate on the top of the
bowl and mount the turning blank on the inboard
spindle. The bottom of the bowl will be facing
outward.
Turning the bowl
1- With a 1/2" bowl gouge turned over on its side
and the flutes facing the direction of the cut, true
up the outside of the bowl at the speed
indicated on the Speed Chart.
2- Keep the bevel of the gouge running close to the
wood.
3- Remove the bulk of the waste wood from the
lower outside part of the bowl.
4- Define the outside shape of the bowl leaving
enough room on the bottom for a raised foot.
5- Turn a recess dovetail on the bottom of the bowl
to accept the internal chuck jaws.
6- Remove the bowl from the lathe and remove the
faceplate.
7- Put the chuck on the lathe and mount the
bottom of the bowl on the chuck.
8- Turn the inside of the bowl with a 1/2" bowl
gouge to a thickness of about 3/4". Start in the
middle of the bowl and turn away a small hollow.
9- Each successive cut should start further out
toward the rim and move down and into the
center of the bowl.
10- Continue in this manner until the bowl is
completely hollowed out with a wall thickness of
about 3/4".
11- Leave a raised center inside the bottom of the
bowl and cut a recess dovetail to accept internal
chuck jaws after seasoning.
12- Remove the bowl blank from the lathe and let it
dry. This may take several weeks or months
depending on how wet the wood is.
13- Once dried, remount the bowl using the dovetail
inside the bowl and true up the outside shape of
the bowl.
14- Turn a desired profile for the foot on the bottom
of the bowl and true up the bottom recess
dovetail.
15- Completely sand the outside of the bowl
including the foot and recess dovetail.
16- Remove the bowl from the lathe and remount
the bowl on the lathe using the bottom recess
dovetail.
17- Finish turning the inside of the bowl with long
shearing cuts from the rim to the bottom of the
bowl. As the wall thickness decreases use a
smaller 3/8" fingernail gouge for better control.
Keep the wall from vibrating by providing hand
support or using a bowl steady.
18- Completely sand the inside of the bowl. Finish
on or off the lathe as desired.
Bowl Turning
143-009 MidiLathe (16) 9/28/07 11:16 AM Page 5


