6
9
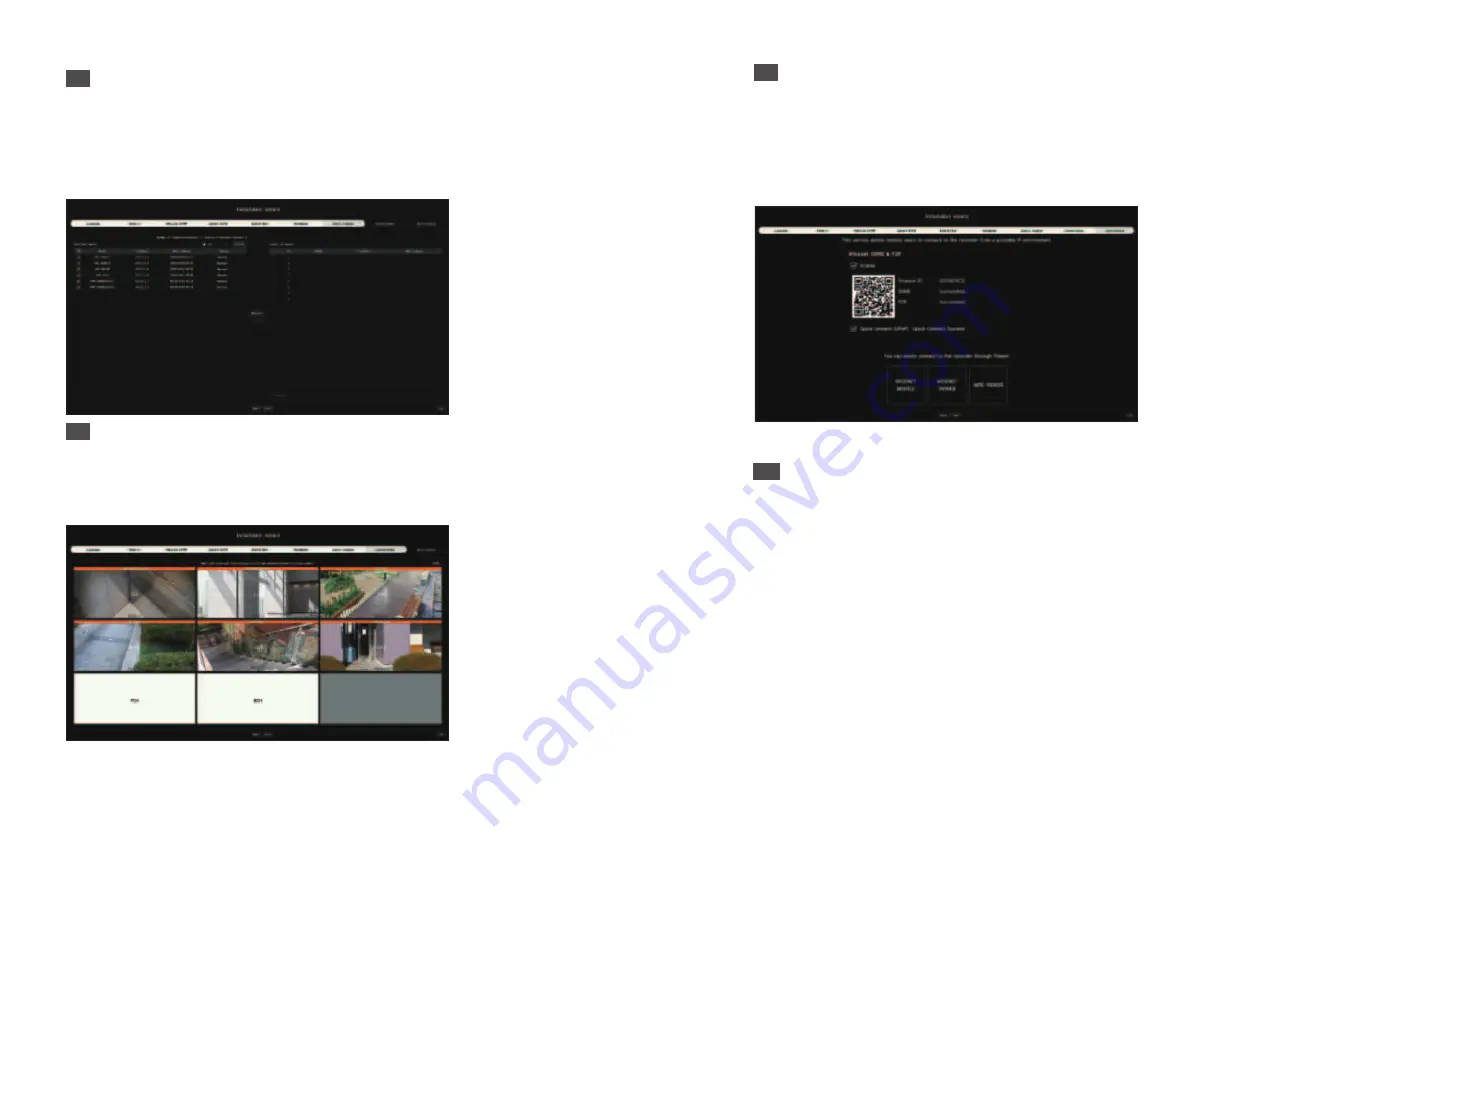
Easy connect
A remote user can network a recorder in a dynamic IP system.
Click <
Enable
> to test the connection to see if the current recorder can be connected remotely. When the
connection is successful, a QR code is created.
To connect a recorder via a viewer, select the viewer you want to use. You can check the connection method of
the selected viewer in the popup window.
※
It connects to Wisenet DDNS first. If it does not connect to DDNS, it automatically connects to P2P.
10
Click <
Finish
> to complete the Install Wizard.
7
Camera Register
Registers the searched network cameras.
7-1
Select a camera to register from the searched camera list and click <
Register
>.
7-2
Select a camera to register from the list and click <
Change IP
>.
7-3
After completing camera register, click <
Next
>.
8
Channel Setting
You can view the camera videos registered to each channel in split mode along with thumbnail information. To
change the camera video position, select a video and drag and drop it to the desired location.
After completing channel setup, click <
Next
>.


