SmartPAC 2 with WPC 2000 Integration User Manual
1128600
Reporting Downtime and Scrap to LETS
I-3
If SmartPAC 2 is set up for manual downtime reporting, the operator selects how the
downtime is to be assigned in an option window that displays following selection of the
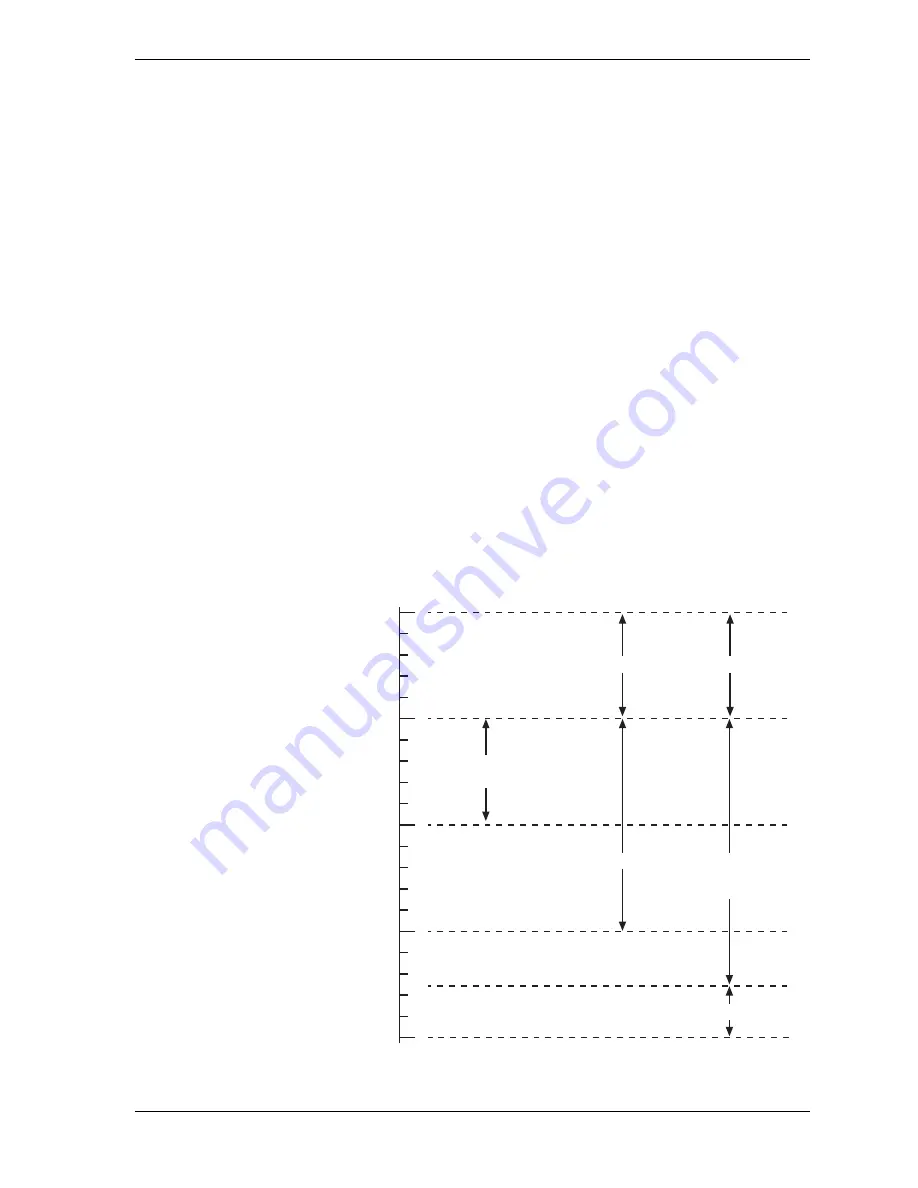
downtime reason (see Figure I-10, page I-16). One option, which is called “backfilling,” is to
assign the downtime reason to all time that has elapsed since the press was stopped (see
Figure I-1). The other option is to “forward fill” the downtime reason, assigning it to the
period from reporting of the downtime reason until the press is restarted (see Figure I-2,
page I-4). When this option is selected, all elapsed time before entry of the downtime reason
is assigned to the previous downtime reason, if one was reported, or to Idle Time.
If SmartPAC 2 is set up for automatic downtime reporting, the option window does not
display following selection of the downtime reason and downtime is automatically backfilled.
Putting the Press “Back on Line”
A period of Idle Time or downtime (either “Planned” or “Unplanned”) comes to an end when
the operator selects “Back on Line” from the Dialog Menu. If the press is restarted at the
same time, LETS begins documenting the machine state as “Running time” (see Figure I-1).
When the operator selects “Back on Line” without restarting the press, the subsequent period
until the press is restarted is logged to Idle Time (see Figure I-2).
Figure I-1. Forced Idle Dialog Mode Time Line (Downtime Reason Backfilled)
Press is running
Press is stopped
by operator or
auxiliary equipment
Operator enters
downtime reason
with Backfill option
Operator enters Back on Line,
restarts press
Press Status/
Operator Actions
Time
(in min.)
SmartPAC
Settings and
Displays
Initial
LETS
Machine
State
Operator presses RESET
Dialog Menu displays
Forced Dialog
message displays
Updated
LETS
Machine
State
Running time
Idle time
Idle Dialog
time (5 min.)
Running time
Running time
Downtime
reason
Backfill
Summary of Contents for SmartPAC 2
Page 2: ......
Page 4: ......
Page 6: ......
Page 28: ...1128600 SmartPAC 2 with WPC 2000 Integration User Manual xxii Table of Contents ...
Page 44: ...1128600 SmartPAC 2 with WPC 2000 Integration User Manual 1 16 Introduction ...
Page 186: ...1128600 SmartPAC 2 with WPC 2000 Integration User Manual 3 26 Keyboard Displays Etc ...
Page 440: ...1128600 SmartPAC 2 with WPC 2000 Integration User Manual D 12 Updating SmartPAC 2 Firmware ...
Page 478: ...1128600 SmartPAC 2 with WPC 2000 Integration User Manual G 6 Replacing SmartPAC 2 PC Board ...
Page 548: ...1128600 SmartPAC 2 with WPC 2000 Integration User Manual GL 8 Glossary ...
Page 558: ...1128600 SmartPAC 2 with WPC 2000 Integration User Manual IN 10 Index ...
Page 560: ......
Page 562: ......
Page 564: ......
Page 566: ......
Page 568: ......
Page 570: ......
Page 572: ......
Page 574: ......
Page 576: ......
Page 577: ......
Page 578: ...APPROVALS SCALE C SIZE TITLE SHEET OF DRAWING NUMBER REV ...
Page 579: ...APPROVALS SCALE C SIZE TITLE SHEET OF DRAWING NUMBER REV ...
Page 580: ...APPROVALS SCALE C SIZE TITLE SHEET OF DRAWING NUMBER REV ...
Page 581: ...APPROVALS SCALE C SIZE TITLE SHEET OF DRAWING NUMBER REV ...
Page 582: ......
Page 583: ......
Page 584: ......
Page 585: ......
Page 586: ......
Page 587: ......
Page 588: ......
Page 589: ......
Page 590: ......
Page 591: ......
Page 592: ......
Page 593: ......
Page 594: ......
Page 595: ......
Page 596: ......
Page 597: ......
Page 598: ......
Page 599: ......
Page 600: ......
Page 601: ......
Page 602: ......
Page 603: ......
Page 604: ......


