


Quick Operation Guide of Digital Video Recorder
26
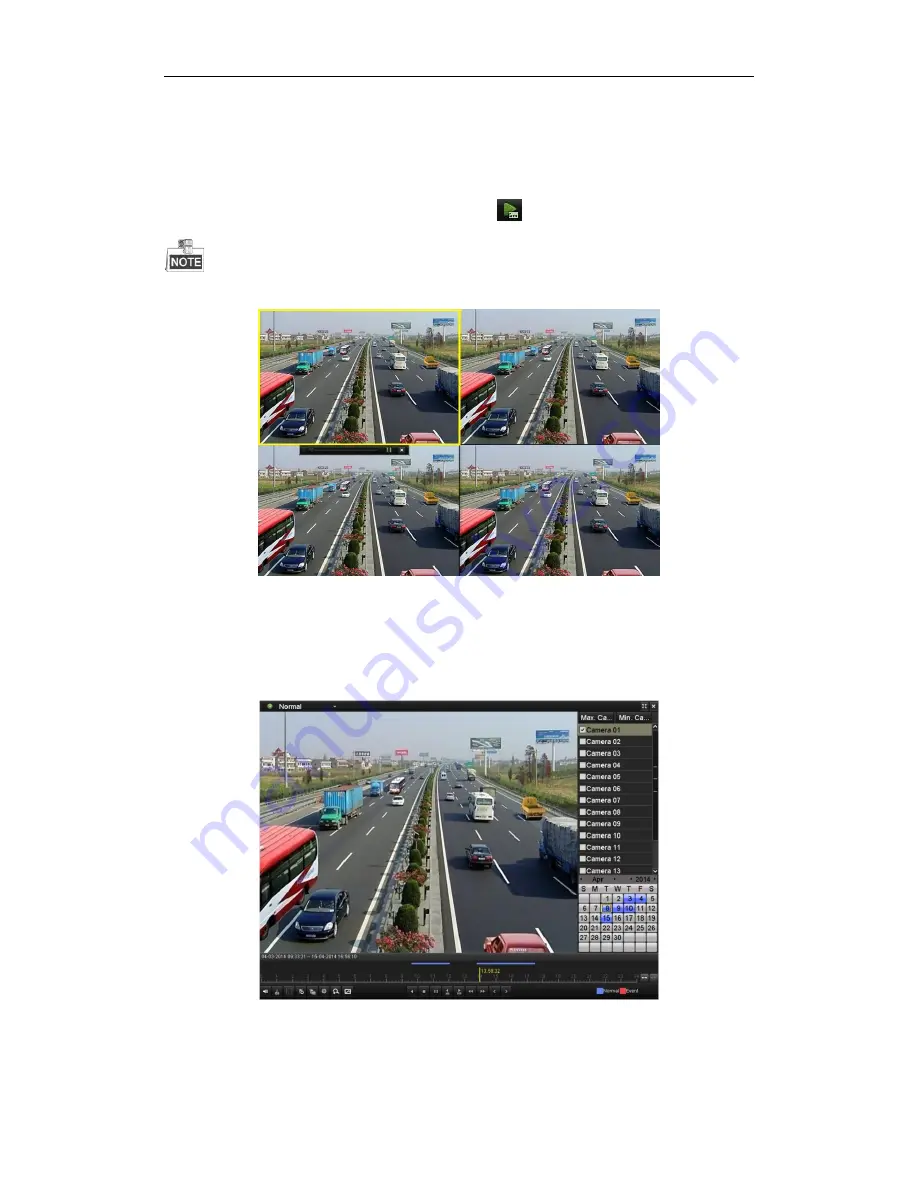
Playback
Play back the record files of a specific channel in the live view menu.
OPTION 1:
Choose a channel under live view using the mouse and click the
button in the shortcut operation menu.
Only record files recorded during the last five minutes on this channel will be played back.
OPTION 2:
1.
Enter the Playback menu.
Right click a channel in live view mode and select
Playback
from the menu.
2.
Playback management.
The toolbar in the bottom part of Playback interface can be used to control playing process.
Just check the channel or channels if you want to switch playback to another channel or execute simultaneous
playback of multiple channels.


