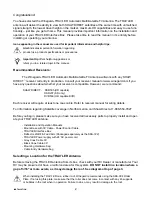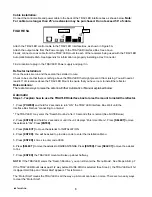
A. Press
[ENTER]
the TRAV’LER will return to the “Installation Menu”
OR
B. Press
[POWER]
the TRAV’LER will stow and turn “OFF” (Restart at Step 1).
Refer to the SKA-722 Manual for instructions on how to install the Reflector
and Bracket.
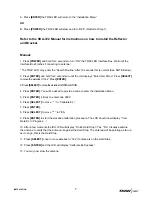
Manual:
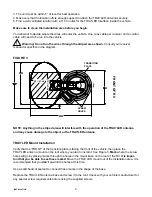
1. Press
[POWER]
and hold for 2 seconds to turn “ON” the TRAV’LER Interface Box. Wait until the
Interface Box finishes “connecting to antenna”.
* The TRAV’LER may enter the “Search Routine” after 10 seconds this is normal (See NOTE Below).
2. Press
[ENTER]
and hold for 2 seconds or until the unit displays “Enter User Menu”. Press
[SELECT]
to move the asterisk to “Yes”. Press
[ENTER]
.
3. Press
[SELECT]
to move the asterisk to INSTALLATION.
4. Press
[ENTER].
You will be asked to provide a code to enter the Installation Menu.
5.
Press
[ENTER]
4 times to enter code 0000.
6. Press
[SELECT]
to move “ * ” to “Calibrate EL”.
7. Press
[ENTER].
8. Press
[SELECT]
to move “
*
” to YES.
9. Press
[ENTER]
to start the elevation calibration procedure. The LCD should now display “ Cali-
brate EL In Progress ...”.
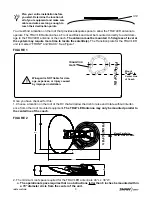
10. After a few moments the IDU LCD will display “On EL Hard Stop?- Yes *No”. Visually examine
the antenna to verify that the antenna is against the Hard Stop. The antenna will be pointing as far up
as it can go, this is the Hard Stop.
11. Press
[SELECT]
once to move asterisk to “Yes” if antenna is on the Hard Stop.
12. Press
[ENTER]
and the LCD will display “Calibrate EL Success”.
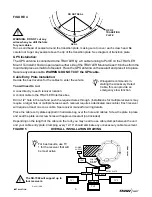
13. You may now stow the antenna.
7
INSTALLATION
Summary of Contents for Shaw Direct SK-7002
Page 11: ...11 INSTALLATION ...


