ASSEMBLY INSTRUCTIONS: KD-144,72,50 SERIES
COMPONENTS:
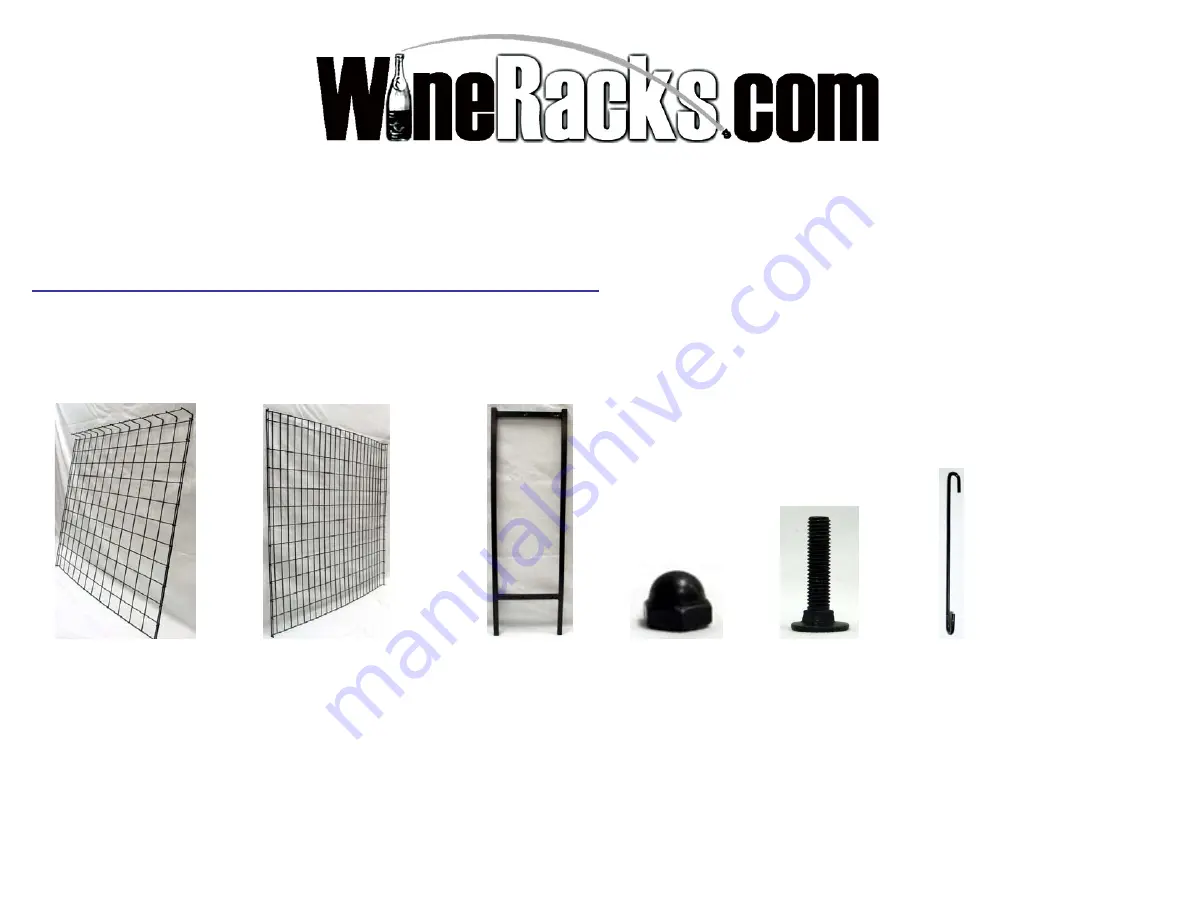
(1) Front Panel
(1) Rear Panel
(2) Side Support (8) Dome Nut
(8) Elevator Bolt (2) Support
Hook
NOTE: WHEN ASSEMBLING THE RACK, DO NOT FIRMLY TIGHTEN BOLTS UNTIL THE RACK HAS BEEN LEVELED.
Page 1: ...TRUCTIONS KD 144 72 50 SERIES COMPONENTS 1 Front Panel 1 Rear Panel 2 Side Support 8 Dome Nut 8 Elevator Bolt 2 Support Hook NOTE WHEN ASSEMBLING THE RACK DO NOT FIRMLY TIGHTEN BOLTS UNTIL THE RACK HAS BEEN LEVELED ...
Page 2: ... just below the second horizontal wire from the top Fig 1 3 Make sure the head of the elevator bolt is below the wire as shown Fig 2 Figure 3 Figure 4 4 Cover the treaded end of the elevator bolt with a dome nut hand tight Fig 3 4 5 Repeat this procedure to connect the front panel to the bottom of the side supports for both sides ...
Page 3: ...t panel just below the third horizontal wire from the top Fig 6 8 Attach all four elevator bolts in the same manner as the front panel Figure 7 Figure 8 9 After all of the bolts have been inserted and loosely covered with the dome nuts level the rack on the floor Once the rack has been leveled tighten all of the dome nuts 10 The rack should look like the photo above Fig 7 ...
Page 4: ...d row from the top on the front and at the forth row near the middle of the rack as viewed from the front Fig 8 Note WHEN PROPERLY ASSEMBLED BOTH THE FRONT AND REAR PANELS WILL SIT APPROXIMATELY 5 INCHES OFF THE FLOOR MAKE SURE ALL NUTS ARE MAINTAINED IN A TIGHT POSITION FAILURE TO KEEP THESE TIGHT COULD RESULT IN INJURY DAMAGE TO THE RACK AND OR PRODUCTS ...