Read these instructions before using the machine.
86037810-CT08/20/12
Operating instructions (ENG)
MODELS: CV28
10125260
CVX28
10125190
CVXCD28
10125510
CVE28
10125160
CVXE28
10125180
iVacuum™
Page 1: ...Read these instructions before using the machine 86037810 CT 08 20 12 Operating instructions ENG MODELS CV28 10125260 CVX28 10125190 CVXCD28 10125510 CVE28 10125160 CVXE28 10125180 iVacuum...
Page 2: ...and stores in vacuum bags 86037810 Chariot iVacuum Machine Data Overview Warranty Registration Thank you for purchasing a Windsor product Warranty registration is quick and easy Your registration will...
Page 3: ...e Motor Brake 31 Electric Parking Brake Engagement 32 Drive Motor Carbon Brush Replacement 33 Brake Removal 33 Pushing Machine 34 Machine Tie downs 34 Preparation for Loading Unloading Trailer 34 Trou...
Page 4: ...on They are listed in this general order Service Schedule Batteries Brush Deck Circuit Protection Vacuum Motor Drive Motor Brake The PARTS LIST section contains assembled parts illustrations and corre...
Page 5: ...e for commercial use for example in hotels schools hospitals factories shops and offices for more than normal housekeeping purposes Maintenance and repairs must be done by qualified personnel Disconne...
Page 6: ...on carefully Know when these conditions can exist Locate all safety devices on the machine Please take the necessary steps to train the machine operating personnel FOR SAFETY DO NOT OPERATE MACHINE Un...
Page 7: ...indicate the location of safety labels on the machine If at any time the labels become illegible promptly replace them CAUTION LABEL 86244310 BATTERY CAUTION 86252520 86243830 2 PRV NO 500956 PRV NO...
Page 8: ...rate of vacuum motor 200 cfm 95liters per second Maximum suction of vacuum motor1 3 8 inches of water 3 43 kPa Mass GVW Basic 1055 lbs 478 kg Mass GWB Deluxe 1065 lbs 483 kg Weight Empty Without Batte...
Page 9: ...level is below 63 Pa The weighted root mean square acceleration at the operator s arms was measured to be below 2 5m s2 This was a tri axial third octave band measurement made during normal operation...
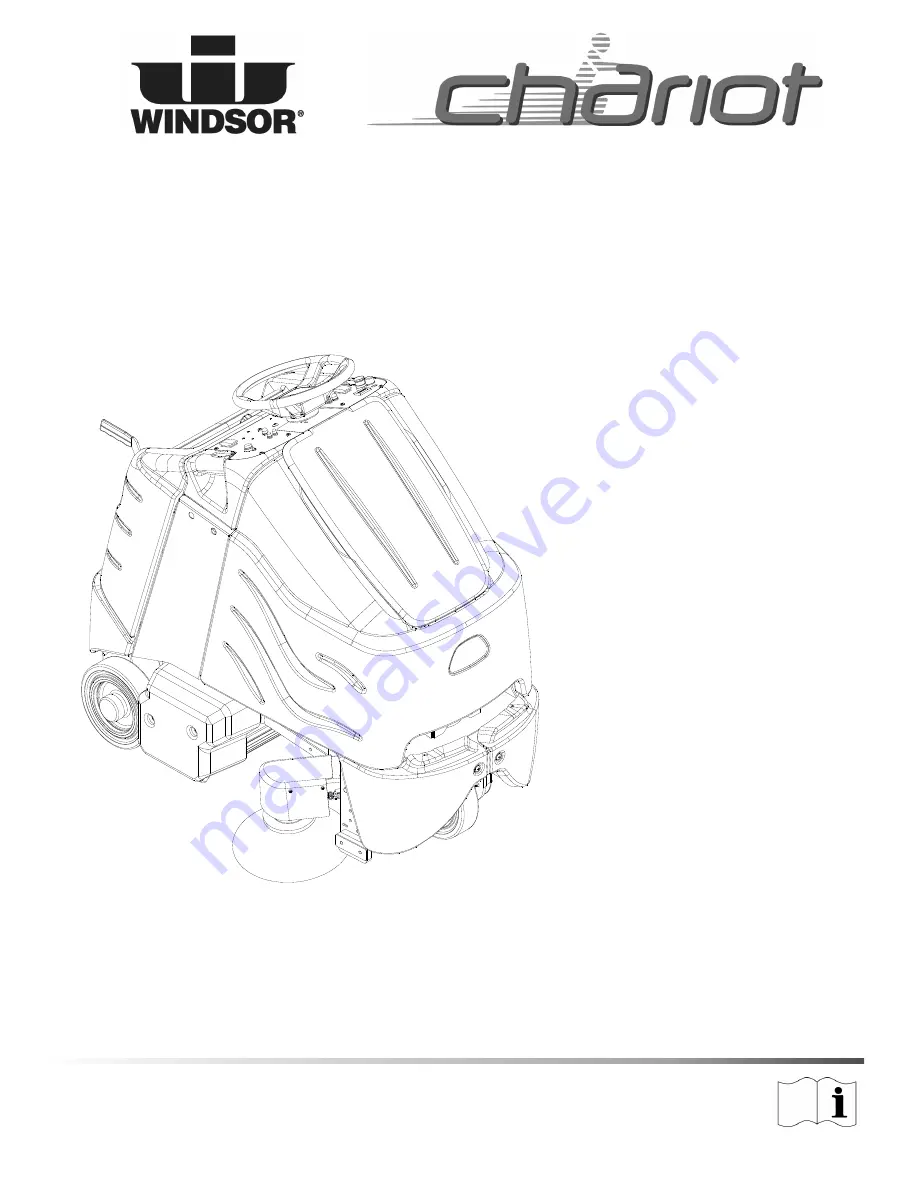
Page 10: ...zzle captures the dirt off the floor as the machine moves forward The vacuum motor provides suction to draw the dirt into the vacuum bag The vacuum bag stores the dirt The function of the operator con...
Page 11: ...Brush Deck 3 Cloth Bag 4 Control Panel Drive 5 Control Panel Vacuum 6 Control Housing 7 Cover Lid 8 Deck Lift 9 Paper Bag 10 Pedal Platform 11 Rear Cover 12 Cover 13 Side Broom Deluxe Only 86037810 Ch...
Page 12: ...12 Operations Drive Controls 4 5 9 2 10 1 3 6 7 8 11 86037810 Chariot iVacuum...
Page 13: ...of the vehicle The position of the switch indicates direction of travel To travel forward press the top of the switch To travel in reverse press the bottom of the switch 4 THROTTLE PEDAL Controls the...
Page 14: ...ng To increase speed press the top of the switch To decrease speed press bottom of the switch Speeds can be adjusted at any time whether machine is moving or not 7 DRIVE RESET SWITCH This safety featu...
Page 15: ...de also indicate that machine has been left unat tended with key on for more that 15 minutes Turn key off then on to reset When the machine is left overnight with less than a full charge the display m...
Page 16: ...rush deck and start vacuum motor and brushes lift the lever from its raised position To raise brush deck and stop vacuum motor and brushes lift the lever from its lowered position Side brush on deluxe...
Page 17: ...Prior to Serial Number 17 Place left foot on operator presence pedal Throttle pedal must be in neutral position 2 Turn the machine power on by turning key switch clockwise to the ON position 3 Check...
Page 18: ...tor will continue once movement of machine begins Overlap the brush path and avoid transporting over previously cleaned areas Recommended Path To Begin Vacuuming When operating the machine around peop...
Page 19: ...uum box lid 4 Unzip cloth bag 5 Remove paper bag lip from nozzle 6 Remove cloth bag lip from nozzle 7 Remove cloth band and paper bag together from vacuum box 8 Remove paper bag from cloth bag and dis...
Page 20: ...r if necessary Check that the vacuum box lid seal tightly Visually check for damaged or worn tires Check vacuum hose connections Check hoses for debris buildup Check pedal s brake and steering for pro...
Page 21: ...21 Maintenance Batteries 1 Rear Cover Retainer Knob 2 Rear Cover 3 Battery Connector Machine 4 Batteries 5 Battery Tray 6 Battery Tray Latch 86037810 Chariot iVacuum 3 4 5 6 2 1...
Page 22: ...ll before and after charging the batteries Never add acid to the batteries use distilled water Do not allow water level to fall below the battery plates Portions of plates exposed to air will be destr...
Page 23: ...ith batteries Charge batteries in a well ventilated area Use a 36 volt 20 amp maximum output DC charger which will automatically shut off when the batteries are fully charged 1 Empty recovery tank 2 S...
Page 24: ...necessary add distilled water 11 Install the rear cover Changing Batteries Stop the machine in a clean area next to the charger Turn off machine SAFETY Before leaving or servicing the machine stop on...
Page 25: ...25 Maintenance Brush Deck 1 Brush Deck Lift Cable 2 Brush Door 3 Brush Motor 4 Side Broom Deluxe 5 Side Broom Lift Cable Deluxe 86037810 Chariot iVacuum 2 3 1 4 5...
Page 26: ...be replaced as a set when bristle length wears to height of yellow PerformAlertTM bristles BRUSH REMOVAL The brushes are removed from the right side of the machine 1 Remove right deck side cover by r...
Page 27: ...ntil a good mark can be seen on the floor This can be accom plished by touching lightly the throttle pedal to restart the scrub deck without moving the machine 3 Raise the brush deck and note the brus...
Page 28: ...ase brush from spring tension Remove screw connecting brush wire lead to brush holder Clean brush holder to insure free movement 4 Retract spring and install new brush Install connector screw and lead...
Page 29: ...eset it by pressing the exposed button If a circuit breaker continues to trip the cause of the elec trical overload should be found and corrected 30 Amp Protects the brush motor 30 Amp Protects the pr...
Page 30: ...l top clips from vacuum motor top brush retainers 5 Remove and inspect brushes 6 Replace both if either is less than 3 8 9 5 mm long 7 Reverse steps to assemble To Remove Vacuum Motor 1 Remove rear co...
Page 31: ...31 Maintenance Drive Motor Brake 1 Drive motor 2 Parking brake 3 Drive chain 86037810 Chariot iVacuum 1 2 3...
Page 32: ...n emergency stop is engaged The brake has a mechanical over ride that can be engaged so machine can be pushed or towed slowly When the mechanical over ride is engaged the machine cannot be driven To e...
Page 33: ...left partially in the hex hub 5 Remove brush cap 6 Release brush from spring tension Remove screw connecting brush wire lead to brush holder Clean brush holder to insure free movement 7 Install new br...
Page 34: ...h of all tie downs must be strong enough to lift two times the weight of the machine Tie downs must be positioned to prevent the machine from moving forward backward or either side to side Use all fou...
Page 35: ...tor presence pedal circuit or switch Prior to Serial Number 17 Check switch engagement wires connec tions and switch Faulty platform circuit or switch Check wires connections and switch Brake over rid...
Page 36: ...hen repeats LED CODE PROGRAMMER LCD DISPLAY EXPLANATION POSSIBLE CAUSE 1 1 THERMAL CUTBACK over under temperature cutback 1 Temperature 92 C or 25 C 2 Excessive load on vehicle 3 Operation in extreme...
Page 37: ...c brake driver open 2 Electromagnetic brake coil shorted 3 5 HPD HPD High Pedal Disable fault 1 Improper sequence of throttle and KSI push or inhibit inputs 2 Misadjusted throttle pot 4 1 CURRENT SENS...
Page 38: ...38 86037810 Chariot iVacuum Notes...