Document No.: OM TMM5 SERIES
Revision: V
Page 1 of 30
OPERATION MANUAL
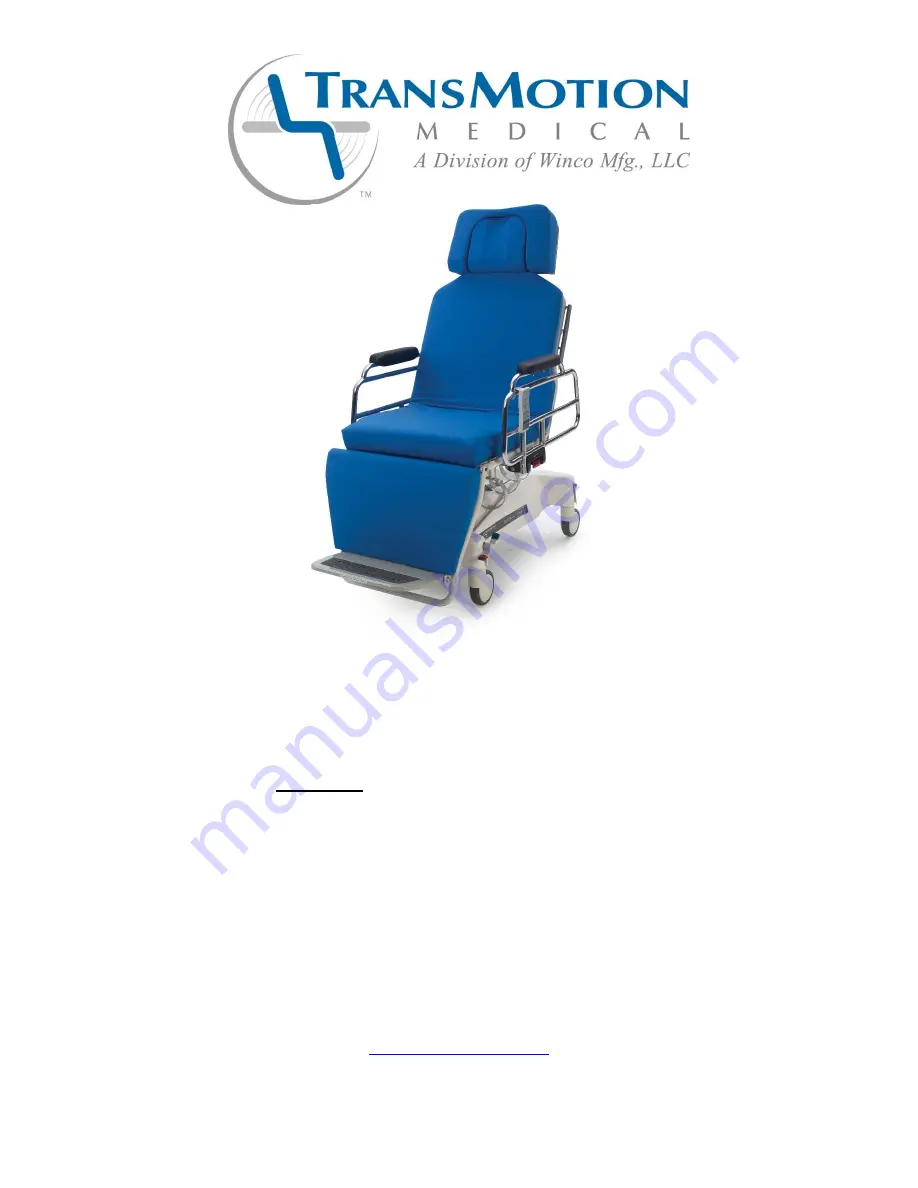
Model TMM5 Series
Surgi-Chair Series
Options:
W
Wide
T
Tall
L
Low
F
Folding Footrest
E
Export
B
Battery
A
AC Power
5516 S.W. 1
st
Lane
– Ocala, FL 34474-9307
Phone: 1-800-237-3377 - Fax: 1-352-854-9544
www.transmotionmedical.com


