

© 2004 All rights reserved. WinBook is a registered trademarks of Micro Electronics, Inc. All trademarks or registered
trademarks are property of their respective corporations.
Congratulations and thank you
for purchasing your WinBook
notebook.
Follow these easy step-by-step
instructions for quick installation
of your notebook.
R e a d
F i r s t
Don’t attempt to install any additional hardware into your new system until
your system has been turned on for the first time and the setup process has
been completed.
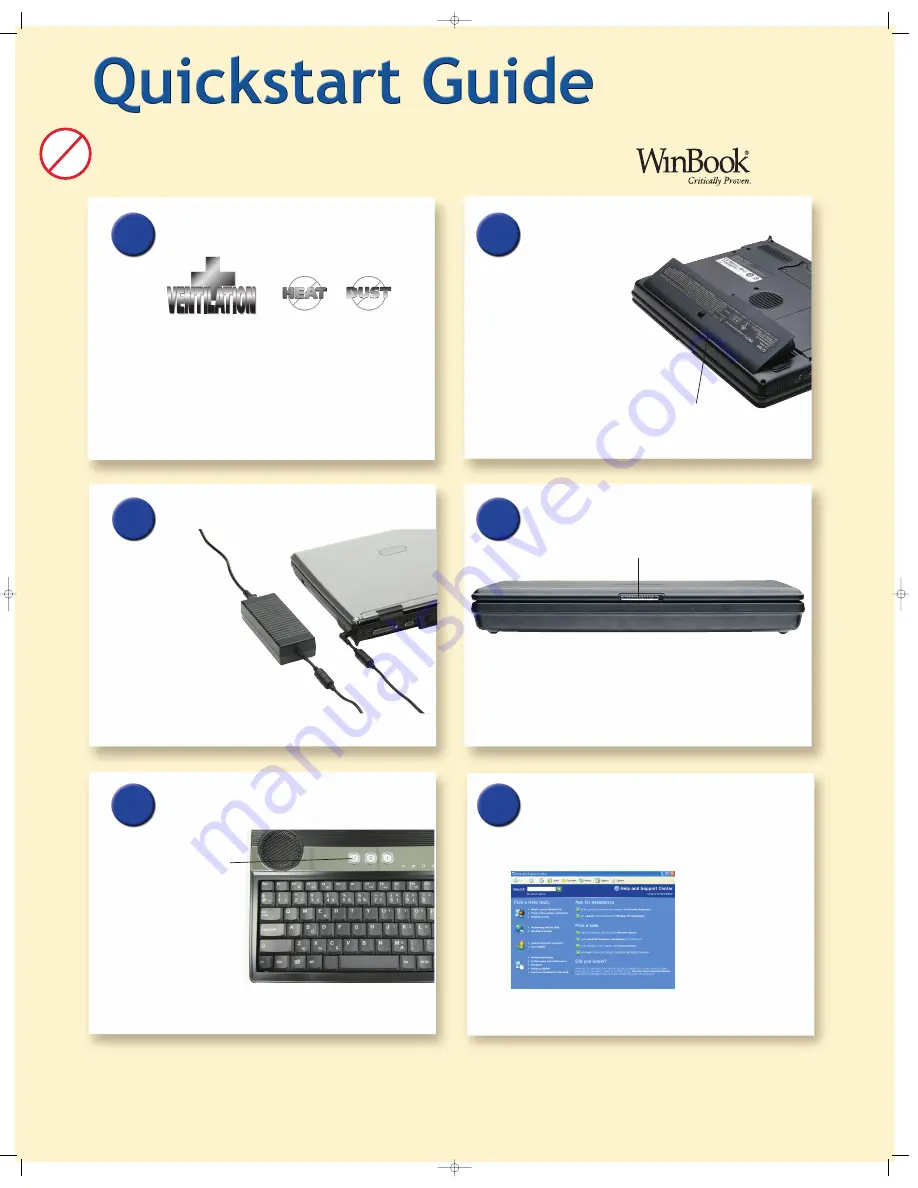
Prepare your work space
• Don’t place your computer near a sunlit window. Excessive
heat will shorten the life of a computer.
• Don’t use your computer in areas of excessive dust, humidity
or temperature.
1
Install the battery
2
4
5
Open the display
3
Don’t
• Don’t supply power to the notebook until all cords are connected.
Do
• Save this
Quickstart Guide,
all
manuals
, and any other
software
CDs
for future reference. Save the carton and the packing materials
in case you ever have to store or ship your system.
• Use a quality, UL-approved surge protector or power strip to guard
against power surges.
W A R N I N G
Your WinBook notebook has been designed to be expandable. There are a number of components
that can be installed by the user. Before opening the case, you should be aware that you can
injure yourself and damage your computer if you do not perform the operations correctly. If you
are not comfortable with upgrading components on your own, refer to the Help and Support
Center or have a Service Technician perform upgrades for you.
Finding Help resources
6
Don’t
For help with any questions about your WinBook notebook or
Windows XP, refer to the Help and Support Center within Windows.
Additional assistance can be found at www.winbookcorp.com
Using the Help and Support
Center
Obtaining access to the Help and
Support Center is just a key press
or mouse click away. From the
Windows desktop, press the [F1]
key in order to bring up the Help
and Support Center. Alternatively
you can click once on the
Start
Menu
and then select
Help and
Support
.
The battery should be installed
before starting your notebook for the
first time. Remove the battery pack
from the accessories box and install
it into the system by following these
instructions:
• Carefully turn the unit upside
down.
• Line up the battery for insertion
into the battery bay channel.
• Gently slide the battery towards
the center of the unit until an
audible click indicates that the
latches have been secured.
• Locate the display latch on the front of the notebook.
• Slide the display latch to the right and raise the panel.
• Adjust the display to a comfortable viewing angle.
Connect the AC Adapter
The first time you use your
WinBook notebook, use the AC
power adapter to fully charge the
battery.
• Connect the power cable to the AC
adapter.
• Connect the AC adapter to the DC-IN jack of the
notebook.
• Connect the plug end of the power cable to an electrical
outlet.
Power up and Windows XP setup
Locate the power button
above the keyboard. Press
and hold the power button
until the power light comes
on.
Windows XP setup
Follow the screen prompts
for setting up Windows XP.
Latch
V Series
Battery
Power
Button
V Series Quickstart 733E 7/29/04 1:21 PM Page 2


