W24FXS 2015 - Quick Installation Guide - English
W24FXS 2015 - Quick Installation Guide - English
Page 3 of 4
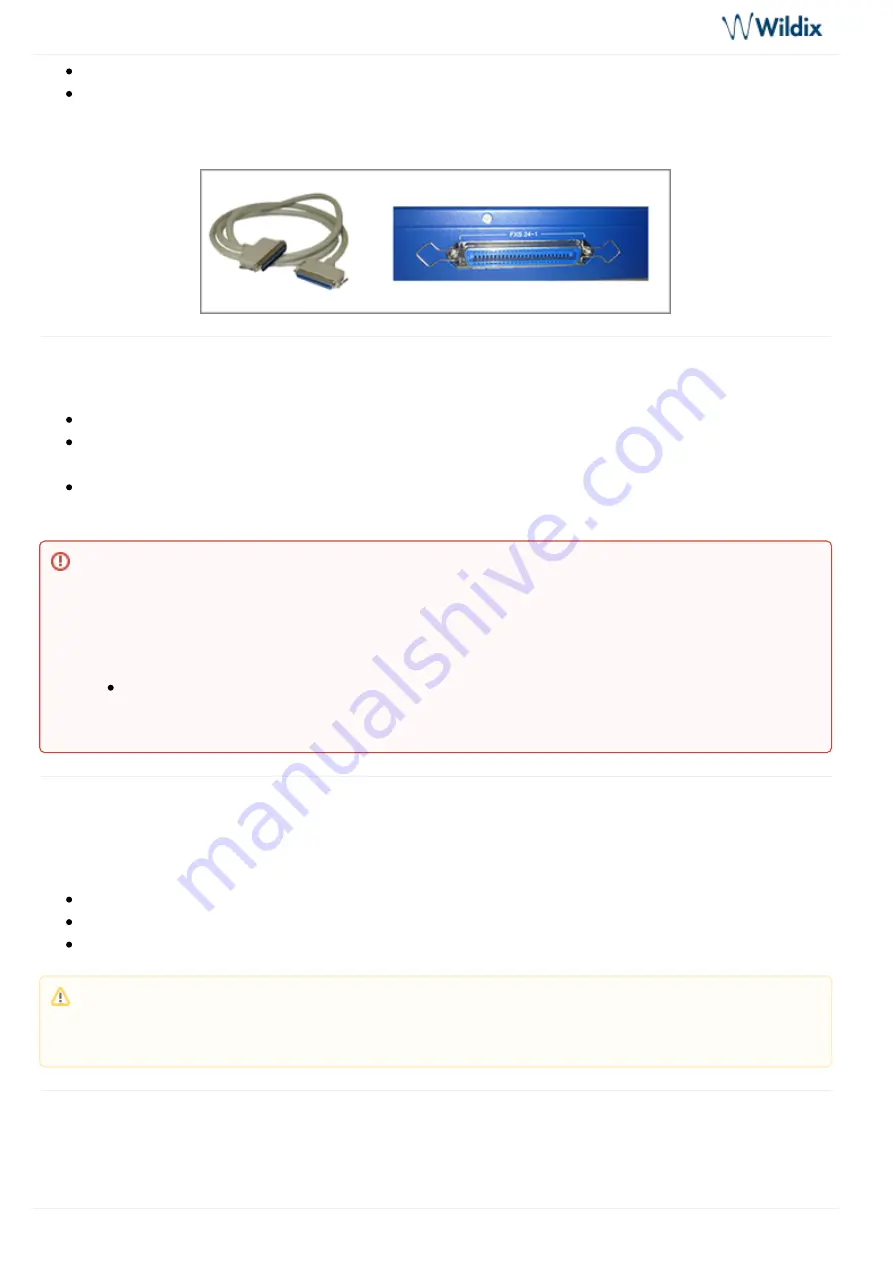
You can connect analog devices directly to ports marked 1-24
Otherwise connect the patch panel to the RJ21 port situated on the rear panel using the connector
provided
Configuration of the FXS gateway
to provision the media gateway
For remote/unreachable media gateways behind NAT/Firewall, follow our
.
Follow our online guide to assign the ports of the FXS gateway:
Assign analog ports of FXS to users
Reset of the gateway
The switch marked as “RST” is situated on the front panel of the gateway.
Use the paper clip or the object of the similar shape to press the button
Hold the button pressed for more than 7 seconds to restore the gateway to the factory settings.
Reboot the gateway for the changes to take the effect
Control calls using Flash button
How to control calls using Flash button on FXS Media Gateways
Known limitation: It is not recommended to set
W24FXS as the device
TCP/ TLS protocols when using
can not receive more than 3 calls simultaneously.
To overcome the limitation, you can set UDP as a transport protocol via the custom provisioning
parameter:
Add "SIPTransportRemote=UDP" to
[
section
wildixfxs2]
Note: keep the button pressed for just 3-5 seconds, to restore the default IP and user name / password
(in this case all the other configurations are kept); it is necessary to reboot the device to apply the
changes.


