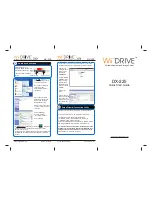

User’s Manual
USB Cable
AC-DC Power
Adaptor
Quick Start
Guide
Installation/Setup CD
Before you start, please make sure these equipments
are in the package
)DFWRU\3UHVHW&RQ¿JXUDWLRQ
Address
: 192.168.2.1
Subnet Mask
: 255.255.255.0
Wireless Channel
: 6
SSID
:
WiDRIVE
Security
: none
WEP Key
: none
WPA, WPA/2 Key
: none
Data Access
: WEBFOLDER
Admin Username
: Admin
Admin Password
: admin
Guest Username
: Guest
Guest Password
: guest
Portable Application Storage Server
Portable Application Storage Server
Portable Application Storage Server
DX-225
DX-225
DX-225
Quick Start Guide
Quick Start Guide
Quick Start Guide
The below are the locations of Switches, Indicators, and Ports
Welcome and thank you for choosing a EDSLab Technologies
Inc. product.
For your convenience, your EDSLab Technologies Inc. prod-
uct is furnished
with two guides:
a. Quick Start Guide
b. Comprehensive PDF* User’s Manual in the
Hard Drive or you can always down from our web
site at www.edslab.com.
1 Introduction
Power On WiDRIVE
-
Use as provided AC-DC Power adaptor each time
when turning on WiDRIVE .
-
Ensure that the Power jack is fully inserted prior
pressing the On/Off button.
-
Press once on the On/Off button to power up the
WiDRIVE
.
-
Allow 8 to 10 secs for WiDRIVE to be in ready to
use
state.
2 Powering ON/OFF
3RZHULQGLFDWRU/('
$FWLYLW\LQGLFDWRU/('
)DFWRU\UHVHWEXWWRQ
86%KLJKVSHHGGDWDSRUW
'&SRZHUFKDUJHSRUW
3RZHU212))EXWWRQ
1HWZRUN7\SH6HOHFWLRQVZLWFK
(AP/Infrastructure)
Power Off WiDR
I
VE
-
Simply press the On/Off button to power off the
WiDRIVE
-
The Power LED Light will turn its color from Green
to Orange and it may takes 3 to 8 sec (depending
on the capacity of HDD installed) and then complete
the shut down.
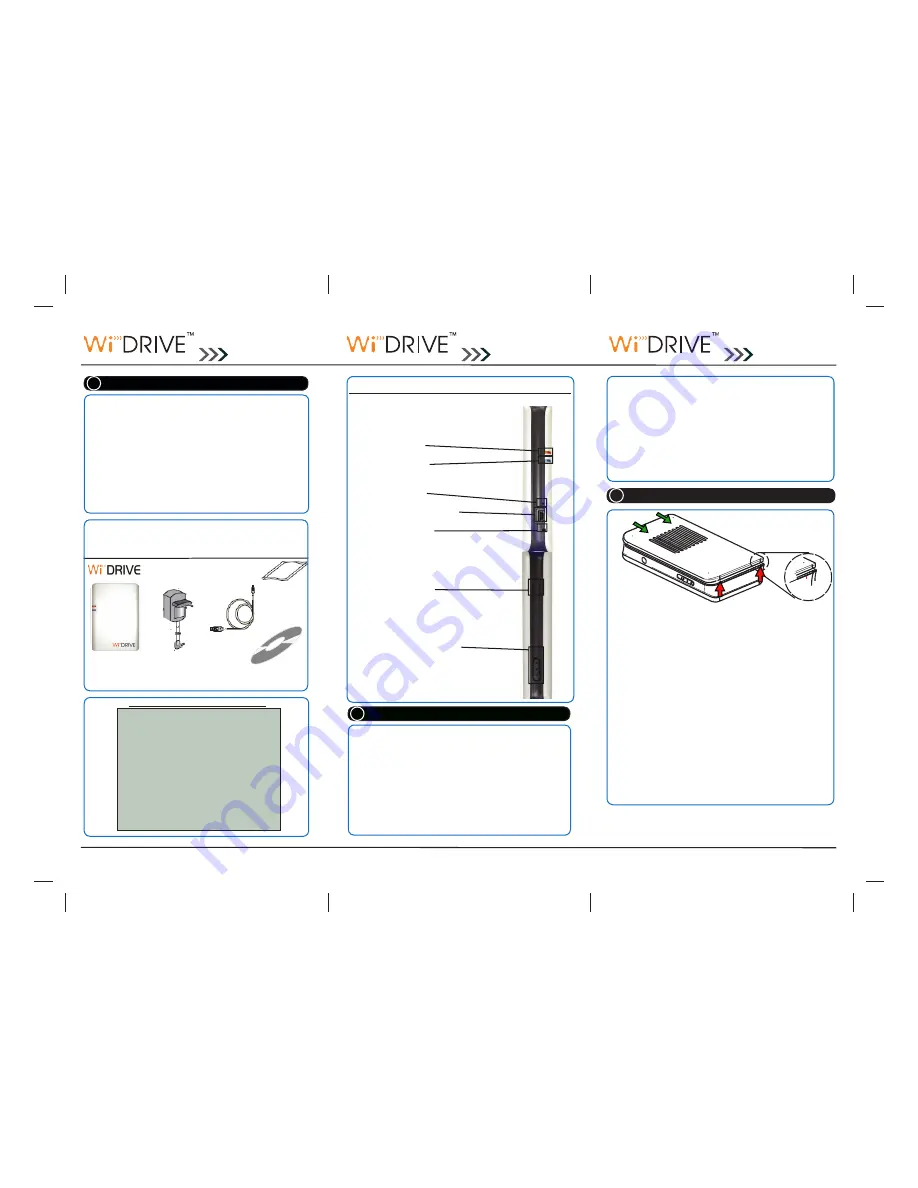
Bottom edge of
mid Case
Please follow
3 easy
steps to open the back cover
6OLGHDSODVWLFFDUGRUÀDWGULOOLQWKHDUHDVWKDWPDUNHG
with red arrows. (Red arrows pointing to where the main
tenons are located)
2. Gently lift the back cover by jiggling the plastic card or
ÀDWGULOOXQWLODFUDFNVRXQGLVKHDUG
3. Once the back cover is halfway open, place your thumb
to areas that marked with green arrows and gently slide
the back cover into the direction of where the green ar-
rows pointing.
4. You can easily install HDD into WiDRIVE,
3 HDD Installation


