


1218AFLSOa; 1218AFDAOa Prairie City Multi-Media Chest
Assembly Instructions
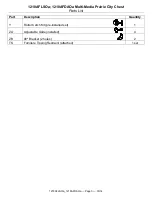
1218AFLSOa_1218AFDAOa
— Page 4 — 03/14
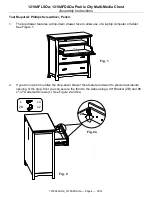
Tool Required: Phillips Screwdriver, Pencil.
1.
The top drawer features a drop-down drawer face to allow use of a laptop computer or tablet.
See Figure 1.
2.
If you do not wish to utilize the drop-down drawer face feature and want to prevent accidental
opening of the drop-front you can secure the front to the sides using a 90
o
Bracket (ZB) and #6
x 1/2" Undercut Screws (L) See Figure 2 and 2a
Fig. 2
L
ZB
x 4
x 2
ZB
L
Fig. 2a
Fig. 1


