


10
OPERATIONS
Recording or Review a Video or Image
Recording Video
1.
Power on:
Press and hold to turn on DVR.
2.
The
REC
icon is shown in the top left corner with a
blinking red dot when recording. Press
OK
to stop
recording if desired.
NOTE:
When powered externally the DVR will
automatically be in Video Record mode and begin
recording after initial power
ON
.
Recording Image
1.
Take Picture:
Press
MODE (M)
button. Camera icon
will be displayed in upper left corner.
2.
Press
OK
to take an image.
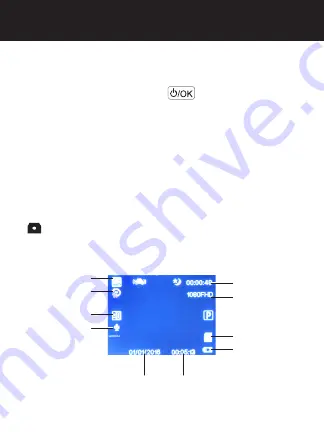
Video Mode
Video Segmentation
Time
Exposure
Compensation
Mic
Date
Time
Video Time Remaining
Video Resolution
SD Card
Battery


