3
ICE AND WATER
Upon Moving to Final Location
J
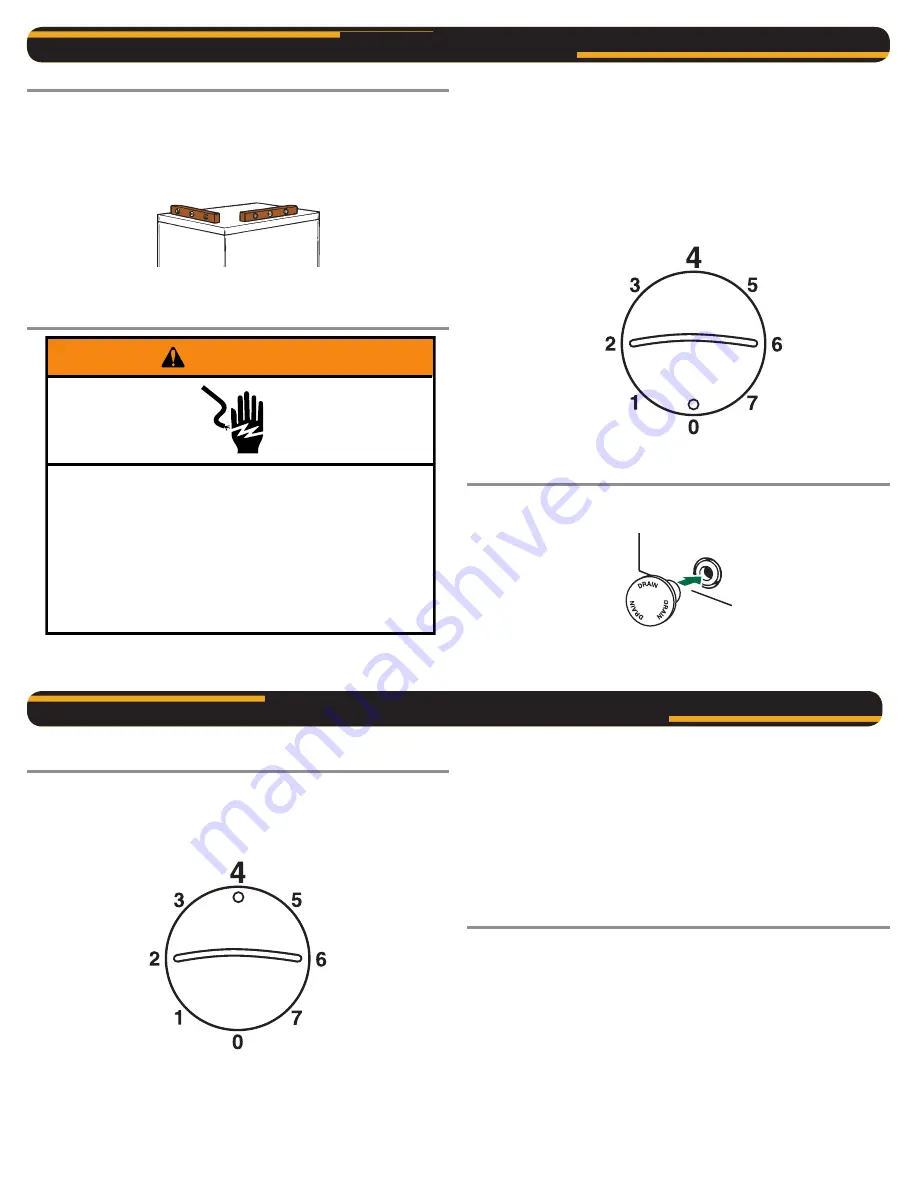
Level the freezer from side to side and front to back so that the lid
will seal properly. Use shims to level the freezer if necessary.
NOTE: It should not be necessary to remove the lid during
installation. If, for any reason, the hinges need adjustment, contact
a designated service company.
Electrical Requirements
Before you move your freezer into its final location, it is important to
make sure you have the proper electrical connection.
Recommended grounding method
A 115 V, 60 Hz, AC only, 15 or 20 A fused, grounded electrical supply
is required. It is recommended that a separate circuit serving only
your freezer be provided. Use an outlet that cannot be turned off by a
switch. Do not use an extension cord.
NOTE: Before performing any type of installation, cleaning, or
removing a light bulb, turn the temperature control to 0 (align circle
on knob with desired number), as shown, to turn off cooling, and then
disconnect the freezer from the electrical source.
Defrost Drain Cover
1. Remove defrost drain cover from the literature package.
2. Push drain cover into drain hole as illustrated.
Electrical Shock Hazard
Plug into a grounded 3 prong outlet.
Do not remove ground prong.
Do not use an adapter.
Do not use an extension cord.
Failure to follow these instructions can result in death,
fire, or electrical shock.
WARNING
OPERATING YOUR FREEZER
Using the Control
Turn the freezer temperature control to 4 (align circle on knob with
desired number), as shown below. This setting is designed to maintain
the temperature at or near 0°F (-17.8°C) under normal operating
conditions.
Allow the freezer to cool 6 to 8 hours before filling with frozen food.
NOTE:
J
When the freezer is first started, the compressor will run constantly
until the cabinet is cooled. It may take 6 to 8 hours (or longer),
depending on room temperature and the number of times the
freezer lid is opened.
J
After the cabinet is cooled, the compressor will turn on and off as
needed to keep the freezer at the proper temperature.
J
The outside of your freezer may feel warm. This is normal. The
freezer’s design and main function is to remove heat from the
contents and air inside the freezer. The heat is transferred to the
room air, making the outside of the freezer feel warm.
Adjusting the Control
J
Turn control to a higher number for colder temperatures. “7” is the
coldest setting.
J
Turn control to a lower number for less cold temperatures. “0” is
off or defrost mode.


