USER MANUAL
WVE606, WVE607, WVE613, WVES613L/R,
WVE614, WVE615, WVEP615, WVE616,
WVE617, WVEP618, WVE626, WVEP627,
WVE636, WVE645, WVE655, WVE665
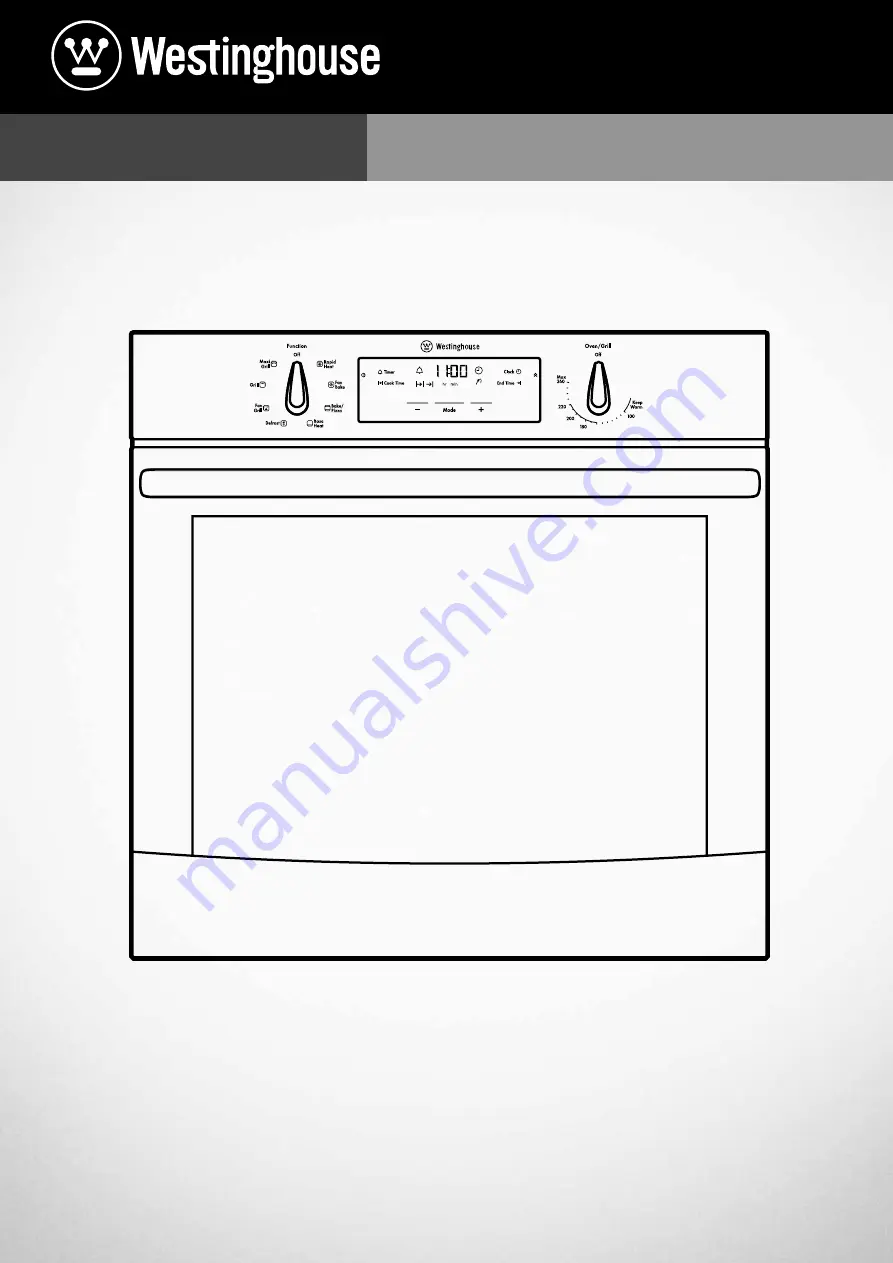
ELECTRIC BUILT-IN OVENS
Page 1: ...USER MANUAL WVE606 WVE607 WVE613 WVES613L R WVE614 WVE615 WVEP615 WVE616 WVE617 WVEP618 WVE626 WVEP627 WVE636 WVE645 WVE655 WVE665 ELECTRIC BUILT IN OVENS...
Page 2: ...rtant that the appliance is installed correctly and that you read the safety instructions carefully to avoid misuse and hazards We recommend that you keep this instruction booklet for future reference...
Page 3: ...d There is a risk of skin burns There is a risk that steam causes moisture damage to cabinets Allow the oven to cool down for 30 minutes before you drain the water tank in a steam oven Scalding water...
Page 4: ...to clean your stainless steel appliance Do not line the bottom of the oven or grill with foil or cookware it will damage the enamel Do not use the base of the oven for cooking it will damage the ename...
Page 5: ...nction selector electronic clock oven grill temperature selector WVE616 function indicator light oven indicator light oven grill temperature selector electronic clock function selector WVE614 oven gri...
Page 6: ...selector electronic clock upper function selector lower function selector WVE655 electronic clock grill indicator light oven indicator light grill temperature selector oven temperature selector functi...
Page 7: ...able controller you must set the time of day before you can operate your appliance Electronic clock After the appliance has been electrically connected 12 00 will be displayed and the Clock indicator...
Page 8: ...le purpose is to make oven cleaning easier INSTALLING YOUR OVEN ACCESSORIES The catalytic liners attach to each side of your oven There is a left hand and right hand version The black shiny side of th...
Page 9: ...n Once the detents have passed the front edge of the side rack the shelf can be pushed completely in The grill baking tray for separate grill wall oven models slides into the wire runners in a similar...
Page 10: ...the shelf into the oven Lower the front edge as you push the shelf completely in The grill baking tray for underbench oven models sits into a wire carrier that fits into the oven exactly like the she...
Page 11: ...scones muffins cakes slices casseroles baked puddings roasts and delicate egg dishes Steam Assisted Cooking WVE617 model only Perfect for all kinds of meat poultry and fish dishes The hot air ensures...
Page 12: ...t temperature of 130 C NOTE Steam will only start if the water tank has been filled and the oven temperature is above 130 C 130 C Defrost The Defrost function uses low temperature air which is circula...
Page 13: ...is below the floor of the oven Both elements are controlled by the thermostat and will turn on and off to maintain the set temperature You can use the Bake function for a single tray of biscuits scon...
Page 14: ...Cooling Venting fan This appliance is fitted with a cooling fan This prevents your kitchen cabinet from overheating and reduces the condensation inside the oven It will operate whenever you are using...
Page 15: ...nge the Timer indicator symbol will stop flashing confirming the timer has been set The countdown time remaining will appear on the display 4 Once the set time has elapsed a beeper will sound for 1 mi...
Page 16: ...letion of cooking When the set time has elapsed the oven will turn off the timer will beep and the and or indicators will flash 1 Turn the and controls to the off position 2 Press or symbols or to sto...
Page 17: ...e displayed Elapsed time When an oven function is selected other than pyrolytic clean after 5 seconds the Elapsed time is displayed 1 To reset the Elapsed time press and hold both the and buttons unti...
Page 18: ...appliance is left operating for a period of time The oven switches itself off after 1 12 5 hours when the temperature is set between 30 C and 120 C 2 8 5 hours when the temperature is set between 120...
Page 19: ...gnal will sound and the oven will turn off To stop the signal press any button on the clock and then turn the oven selector to Off NOTE Do not forget to add pre heating time if necessary Setting the c...
Page 20: ...displayed 4 To deactivate Demo Mode repeat the same procedure above Activating the child proof lock When the child lock is activated the oven cannot be switched on 1 Switch off the appliance using On...
Page 21: ...highest shelf position See diagram To give maximum space above and below the shelves load them in this way When cooking with 1 shelf use position 3 When cooking with 2 shelves use positions 2 and 4 No...
Page 22: ...s Patty cakes Sponge 4 egg Shallow butter cake Rich fruit cake 190 180 180 140 3 2 2 2 15 20 20 30 30 40 180 Pastry shortcrust Cornish pasties Custard tart 200 200 180 2 1 40 45 10 20 30 Pastry choux...
Page 23: ...o touch the grill tray frame directly Guide to better grilling TIPS INFORMATION IMPORTANT Definite times can not be given for grilling as it is dependant on the size of the food and your own tastes Th...
Page 24: ...ave ovens Pizza Steam This function creates a great pizza in terms of crispy crust and uniform browning on top Steam product description 1 2 3 4 1 Water tank level Indicator flashing and beeping indic...
Page 25: ...e oven has reached the set temperature place the food in the oven A full water tank will last approximately 30 minutes It may have to be refilled during a long cooking cycle for example a roast WARNIN...
Page 26: ...ver mixed Mix just long enough to combine ingredients Pan too deep Check size of pan Baking pans dark Change to shiny pans Baked products are pale flat and undercooked Baking temperature too low Raise...
Page 27: ...eat oven to moderate 180o C 170o C fan forced and ensure oven shelf is in the centre position of oven Cream softened butter and sugar until light in colour Add vanilla essence Then add eggs one at a t...
Page 28: ...liance is made from a tough durable material that withstands heating and cooling without breaking As a precaution however do not put cold water on hot glass Should you have any questions about the gla...
Page 29: ...ing in warm soapy water for at least 2 hours and then wiping clean with a soft cloth NOTE Solid cleaning powders creamy cleansers caustic oven cleaners steel wool or other scourers will ruin the catal...
Page 30: ...emoved to help clean the oven cavity ceiling To disengage the clips push the edge of the clip towards back of the oven as shown below After cleaning raise the grill element and secure clips back in po...
Page 31: ...Rough handling especially around the edges can cause the glass to break Lift the black bordered glass panel out of the guide and place on something soft and flat to prevent scratches Repeat this for t...
Page 32: ...e of the trim down to ensure it is straight and firm against the glass panel Re assembling the bottom trim on selected models Push down to snap each side of bottom trim back into door columns Re assem...
Page 33: ...image on both hinges fully to open position Slowly close the oven door until it is stops against the stirrups about 30 Hold the oven door with a hand each side and remove it from the oven by pulling i...
Page 34: ...Silicone spacers Insert the remaining smaller clear glass panel into the middle position ensuring the chamfered corner of the panel is placed in the correct location as shown in the image below Lay th...
Page 35: ...ed to allow for the inner glass panels to be removed for cleaning Removing side open door top trim Take hold of the grid embossed sections of the door trim at each end and press inwards to release the...
Page 36: ...file of the door Repeat for the black bordered glass panel ensuring the painted surface is facing towards the outside of the door WARNING CAUTION Do not lift the door by the handle Rough handling will...
Page 37: ...be kept clear of any obstruction e g tea towels Do not use your oven to clean miscellaneous items e g cookware To prevent damage do not use acids sprays or similar cleaning agents TIPS INFORMATION IM...
Page 38: ...to a safe temperature Turning the function off will not unlock the door After cool down wipe the ash out of the oven with a soft damp cloth and warm water To restore the enamel shine to more difficult...
Page 39: ...AUTION The ceramic cooktop is made from ceramic glass a tough durable material that withstands heating and cooling without breaking However it must be remembered that as it is GLASS it may break Treat...
Page 40: ...Element too large Use a smaller element Elements giving off smoke or odours when first used Protective oils being removed in first cooking Do not worry this is normal Glass surface becomes milky white...
Page 41: ...were using Unit smoking when first used Protective oils being removed Condensation build up Reduce the amount of water used in cooking Sometimes condensation is normal Door cannot be replaced after re...
Page 42: ...separate grill wall ovens Remove the bottom door in separate grill wall ovens to provide access to the bottom 2 screwing points For appliances fitted with a flexible supply cord if the cord is damaged...
Page 43: ...uring points Cabinet construction for your appliance For the best integration within a kitchen install the appliance in a standard 600mm wide cupboard that gives a flush fit with the surrounding cupbo...
Page 44: ...600 600 581min Proud fit 565 590 560min C B A 558 596 mounting holes use black installation screws supplied upper infill if required Pyrolytic underbench oven Your underbench oven looks best when the...
Page 45: ...or between the bottom of the cooktop the top of the separate grill underbench oven A B C Flush fit 600 731 581min Proud fit 565 723 560min C B A 561 mounting holes use black installation screws suppli...
Page 46: ...ven and the bottom of the cooktop to ensure adequate ventilation and space for the interconnection lead The cooktop must be installed above the underbench oven COOKTOP DIMENSIONS Overall Cooktop Dimen...
Page 47: ...er negligent or faulty servicing or repair works done by anyone other than an Electrolux authorised repairer or ASC iv normal wear and tear v power surges electrical storm damage or incorrect power su...
Page 48: ...ion and installation information call into your retailer phone or email our customer care team or visit our website TOP SERVICE Electrolux Top Service encompasses the after sales service including Del...