Westinghouse UX28H1Y1 User Manual Download Page 68


E

n

g

lis

h


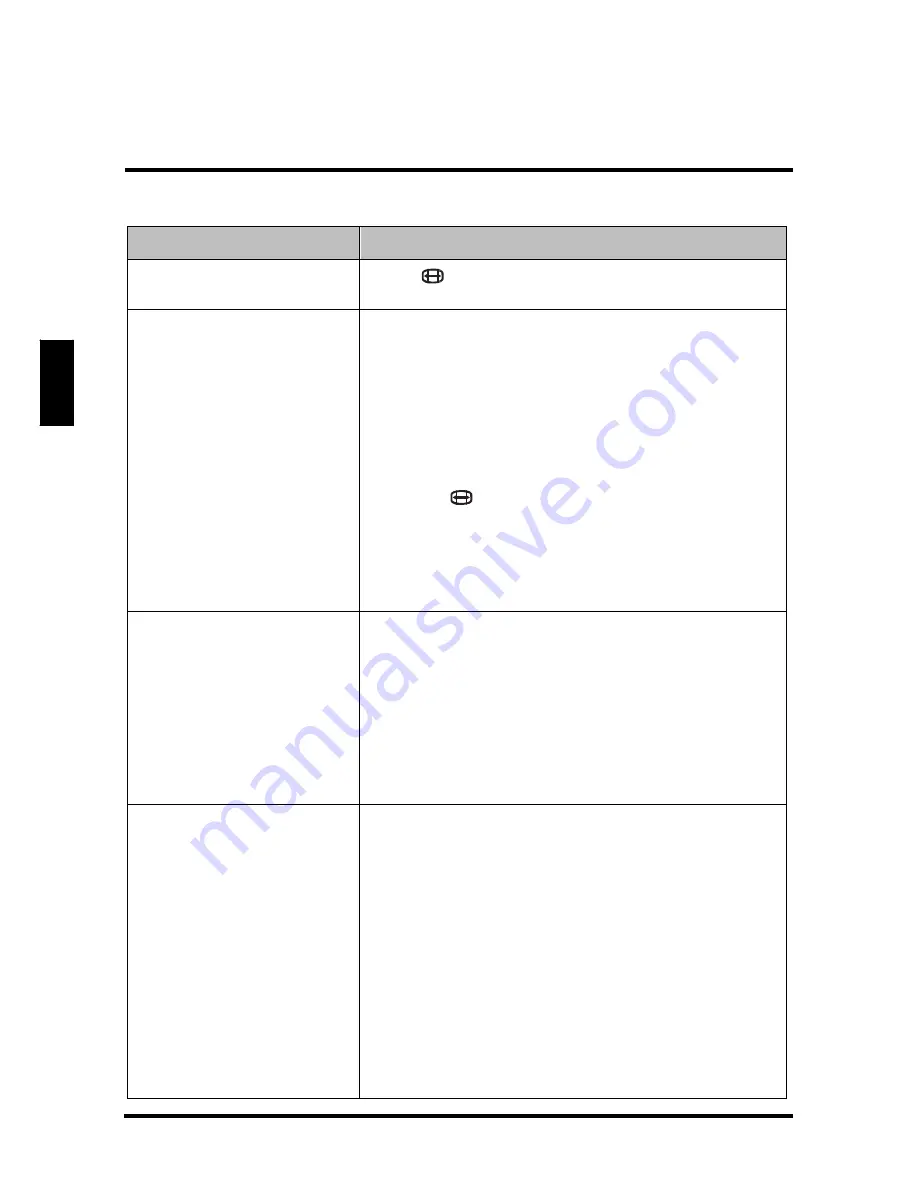
                                                                                            TROUBLE SHOOTING


Problem


Corrective  Action


Picture is cut off or appear 
in a sidebar screen.


Press 

to adjust the Aspect ratio.


Poor image quality in TV 
mode (cutoff picture, snowy 
images).


•   Check your antenna connection. If necessary, 

rotate the antenna and wait up to ten seconds for 
a signal. 

•   Reduce signal splitters and excessively long 

cables. 

•   Replace poor antenna cables and/or connectors 

to improve signal quality. 

• 

Press 

to adjust the Aspect ratio. 

•   Adjust the Noise Reduction setting in Picture 

menu. 

•   In HDMI mode, make sure the external device is 

compatible with the LED TV.


Wrong, abnormal or 
missing colors


•   If any colors (red, green or blue) are missing, 

check the video cable to make sure it is securely 
connected. Loose or broken pins in the cable 
connector could cause an improper connection. 

• 

Adjust the Hue, Saturation and Color 

Temperature settings in Picture menu. 

•   Connect the TV to another computer and check 

if the problem is with the computer screen.


No sound


•   Make sure the audio input cable is properly 

connected to the correct terminal, and that the 
correct input mode is enabled. 

•   The volume may be muted, press or Vol+ key to 

turn on the volume. 

• 

Adjust the Bass, Treble, and Balance settings in 

Audio menu. 

• 

If you are using the TV speakers, make sure the 

TV Speakers option is set to On in Audio menu. 

•   If you are using an external audio device, press 

and select Audio to make sure the TV Speakers 
option is set to Off in Audio menu.


                                                                   65 

Summary of Contents for UX28H1Y1

Page 1: ......

Page 2: ...TIONS 7 ANTENNA INSTALLATION SAFETY 8 Lightning 8 Power lines 8 CLEANING THE LED TV 9 Dolby License Notice 9 Licensing and Patent Information 9 PACKAGE CONTENTS 10 CONTROL PANEL 11 TERMINALS 12 REMOTE...

Page 3: ...RCE CONNECTION SETUP 26 BASICOPERATIONS 28 TURNING THE POWER ON AND OFF 28 ADJUSTING THE VOLUME 28 CHANGING CHANNELS 29 SELECTING THE INPUT SOURCE 29 ADJUSTING THE DISPLAY FORMAT 30 SETUP MENUS 31 SET...

Page 4: ...only broadcasting For more information call the FCC at 1 888 CALL FCC 1 888 225 5322 or see www DTV gov For information on the TV Converter program and on government coupons that may be used toward th...

Page 5: ...he product s enclosure that may be of sufficient magnitude to constitute a risk of electric shock The exclamation inside an equilateral triangle symbol is intended to alert the user to related operati...

Page 6: ...isted and CSA labeled For LED TVs that are to be placed on a desk or table type SVT or SJT cord sets may be used For LED TVs that are to be placed directly on the floor only SJT type cord sets may be...

Page 7: ...h can be determined by turning the equipment off and on the user is encouraged to try to correct the interference by one or more of the following measures Reorient or relocate the receiving antenna In...

Page 8: ...d prong are provided for your safety If the provided plug does not fit into your outlet consult an electrician for replacement of the obsolete outlet Protect the power cord from being walked on or pin...

Page 9: ...the power cord can be readily accessed Ventilation The slots and openings on the cabinet are provided for necessary ventilation To ensure reliable operation of the LED TV and to protect it from overhe...

Page 10: ...compartments or in areas where it can be exposed to water or high temperature Ensure that the area around the LED TV is clean and free of moisture Do not place anything on the LED TV that can hinder...

Page 11: ...t NEC Section 810 20 Grounding Conductors NEC Section 810 21 Grounding clamps Power service grounding electrode system NEC Art 250 part H Lightning For added protection for the LED TV during a lightni...

Page 12: ...n apply a small amount of non ammonia non alcohol based mild non abrasive detergent onto a clean soft lint free cloth then wipe the surface Dolby License Notice Manufactured under license from Dolby L...

Page 13: ...lish PACKAGE CONTENTS PACKAGE CONTENTS 28 LED TV Unit Remote Control with 2x AAA batteries LED TV Base User Manual Cable tie Warranty Card AC Adapter Quick Connect Guide Screws for Base Screw for Base...

Page 14: ...English CONTROL PANEL CONTROL PANEL Item Description 1 Power Toggles the power on and off 11...

Page 15: ...o an external AV device such as a VCR DVD player set top box or game system 5 Serial port For factory test program use 6 TV tuner Connects the LED TV to an antenna or cable service 7 Audio out Connect...

Page 16: ...REMOTE CONTROL REMOTE CONTROL 13...

Page 17: ...a risk of fire or lead to physical injury Dispose of used batteries in accordance with local laws and regulations Keep batteries away from children and pets When the remote control will not to be use...

Page 18: ...op carton stabilizers from the LED TV 5 Remove the protective plastic covering the LED TV 6 Grasp the two sides of the LED TV and then pull it out of the carton box 7 Remove the two bottom carton stab...

Page 19: ...connected devices 2 Disconnect the power cord from the LED TV 3 Disconnect all signal cables from the I O port terminals 4 Remove the M5 x 16 screw securing the base to the desk 5 Lay the LED TV on a...

Page 20: ...CTV DTV CONNECTION The unit has a TV tuner 75 ohm coaxial cable connector located on the rear I O panel for easy cable hookup When connecting the 75 ohm coaxial cable to the unit screw the 75 ohm cabl...

Page 21: ...hat the correct cables are connected to each terminal Improper cable connections may cause damage to the LED TV You can enjoy picture and sound by connecting various audio video devices to the termina...

Page 22: ...ower outlet Audio amplifier AUDIO OUT Audio cable Home video game system Camcorder VCR Digital TV tuner DVD player Composite AV cable CVBS AV cable Speaker Antenna Cable system Audio cable Antenna cab...

Page 23: ...all connected devices before plugging the AC adapter into the power outlet Connect the adapter to the LED TV then to a proper AC outlet INITIAL SETUP Press on the control panel or on the remote contr...

Page 24: ...ect your local time zone Press Enter to continue Press Go Back to return to the previous screen Power On Mode Use the up and down arrows on your HDTV control panel or remote control to select the powe...

Page 25: ...a channel scan and receive broadcast signals For Antenna ATSC only Antenna ATSC Channel Access Select Next and then press Enter to continue Press Go Back to return to the previous screen Antenna Chan...

Page 26: ...English POWER CONNECTION Channel Scan in progress The channel scan may take a while to complete When the scan is complete you will be able to watch your local TV programming 23...

Page 27: ...lect your local time zone Press Enter to continue Press Go Back to return to the previous screen Power On Mode Use the up and down arrows on your HDTV control panel or remote control to select the pow...

Page 28: ...N Cable Satellite Box Input Use the up and down arrows on your HDTV Control panel or remote control to select the input connected to the set top box Press Enter to continue Press Go Back to return to...

Page 29: ...emote control to select your local time zone Press Enter to continue Press Go Back to return to the previous screen Power On Mode Use the up and down arrows on your HDTV control panel or remote contro...

Page 30: ...OWER CONNECTION Select Input Source Use the up and down arrows on your HDTV control panel or remote control to select the input source Press Enter to continue Press Go Back to return to the previous s...

Page 31: ...g to use the TV for a long time be sure to disconnect the power cord from the wall outlet and remove the batteries from the remote control In standby mode a small amount of electricity is still consum...

Page 32: ...key then press ENT Using the Favorite Keys Selecting favorite channels To select a favorite channel press the Favorite button A B C or D corresponding to the preferred channel Saving a channel as a fa...

Page 33: ...e input source can sometimes affect the way images are displayed on screen You can adjust the display format to view the image properly Format Options Press repeatedly to toggle the display format As...

Page 34: ...the various operational settings of the LED TV Displaying the setup menu screen Press on the remote control or MENU on the control panel to display the setup menu screen Navigating the setup menu scre...

Page 35: ...arpness Color temperature Hue and Reset Brightness Use Brightness to adjust the luminance level Adjusting Brightness 1 Use the keys to select Brightness and press 2 Press the keys on the remote contro...

Page 36: ...lect one of four preset view options optimized for different viewing conditions The following options are available Showroom Uses increased color and sharpness for a vibrant picture display Movie Imag...

Page 37: ...ess or softness of the display Adjusting Sharpness 1 Use the keys to select Sharpness and press 2 Press the keys on the remote control to adjust the sharpness level 3 Press to save and exit the screen...

Page 38: ...ired option 3 Press to save and exit the screen Hue Use Hue to adjust the balance of the red green and blue colors in the display Adjusting Hue 1 Use the keys to select Hue and press 2 Press the keys...

Page 39: ...Balance SS 3D TV Speaker Audio Presets and Reset Bass Use Bass to calibrate low pitched sounds Adjusting Bass 1 Use the keys to select Bass and press 2 Press the keys on the remote control to adjust...

Page 40: ...ance and press 2 Press the keys on the remote control to adjust the balance level 3 Press to save and exit the screen SRS TruSurround HD Settings Use this sub menu to set the sound effects Adjusting S...

Page 41: ...or OFF 3 Press to save and exit the screen Audio Preset Use this sub menu to select one of four preset audio options optimized for different sounding conditions The following options are available Ro...

Page 42: ...o Preset 1 Use the keys to select Audio Preset and press 2 Press the keys on the remote control to select the desired option 3 Press to save and exit the screen Reset Select Yes on this sub menu to re...

Page 43: ...ct View Mode to display the View Mode sub menu The following options are available Standard Fill and Overscan Standard Picture is displayed in its original size Fill Picture is displayed to cover the...

Page 44: ...s in your area Press on the remote control or MENU on the control panel to display the setup menu screen then select TV Program to display the TV Program sub menu The following options are available S...

Page 45: ...and press The Channel Skip List screen appears 2 Use the keys to select the desired channel 3 Press repeatedly to check add to the Skip list or uncheck clear to the Skip list the channels 4 Repeat ste...

Page 46: ...channel and press to open the Edit Name screen 3 Use the keys to move the cursor to the desired symbol and press the button to enter Select Shift to toggle different symbol tables uppercase and lower...

Page 47: ...reo is noisy or inconsistent Stereo Allows stereo sound for superior TV viewing experience SAP Allows second audio program from the speakers while watching a scene in the original program Adjusting MT...

Page 48: ...first time a Channel Access Code must be entered to peform channel scan and receive broadcast signals Auto Search automatically creates a list of receivable channels for the selected source NOTE T o g...

Page 49: ...ding Channels Manually 1 Use the keys to select Manual Search and press The Channel Add screen appears 2 Use the Channel keys on the remote control to enter the channel number and select Enter Wait a...

Page 50: ...ol or MENU on the control panel to display the setup menu screen then select Settings to display the Settings sub menu The following options are available Date and Time Closed Captions Parental Contro...

Page 51: ...ime and press 2 Use the keys to select Time Zone and press 3 Use the keys to select the desired Time Zone Samoa Hawaii Alaska Pacific Mountain Central Eastern Atlantic or Newfoundland 4 Press to save...

Page 52: ...C2 CC3 CC4 T1 T2 T3 or T4 Digital Type Can be set to CS1 CS2 CS3 CS4 CS5 or CS6 Font Can be set to As Broadcaster Style 1 Style 2 Style 3 Style 4 Style 5 Style 6 or Style 7 Size Can be set to As Broad...

Page 53: ...Foreground Opacity Can be set to As Broadcaster Solid Translucent Transparent or Flashing Background Opacity Can be set to As Broadcaster Solid Translucent Transparent or Flashing Adjusting Closed Cap...

Page 54: ...menu is shown By default only the Rating and Change Password submenu are displayed T o display the hidden submenu set Rating to ON The following options are available Rating Select ON OFF to hide or...

Page 55: ...suitable for children under 7 TV G Suitable for all audiences TV PG Parental guidance suggested TV 14 Parental guidance suggested for children under 14 TV MA Suitable for mature audiences only may be...

Page 56: ...al parents might not like to expose to their young children material that will clearly need to be examined or inquired about before children are allowed to view the film PG 13 May contain some scenes...

Page 57: ...fication categories based on Canadian ratings of allowable TV programs and movies Rating Description E Exempt shows C Suitable for viewing by children of all ages C8 Not suitable for children under 8...

Page 58: ...gie du cin ma du Qu bec Rating Description E Exempt shows G For general audiences 8 ans Not suitable for children under 8 years of age 13 ans Not suitable for persons under 13 years of age 16 ans Not...

Page 59: ...dly to block or unblock 3 Press to save and exit the screen Change Password Change Password allows you to change your current password Changing Password 1 Use the keys to select Change Password and pr...

Page 60: ...ress the keys on the remote control to select 10 sec 20 sec or 30 sec 3 Press to save and exit the screen OSD Language Use OSD Language to select the language to display on the screen English French o...

Page 61: ...t Use this setting to select the backlight mode Bright Room Medium Room or Dark Room Dynamic Contrast Use this setting to enable or disable Dynamic Contrast Adjusting Power Settings 1 Use the keys to...

Page 62: ...SETUP MENUS Reset All Select Yes on this sub menu to reset all LED TV operational settings Version Use this sub menu to view the LED TV s serial number and firmware version 59...

Page 63: ...function Using the Input Key to select USB Select source using Input Key 1 Press Input 2 A list of supported video sources is displayed 3 Press to select the USB source 4 Press to switch to the select...

Page 64: ...SETUP MENUS Movie 61...

Page 65: ...English SETUP MENUS Movie 62...

Page 66: ...V WALL MOUNT INSTALLATION REMINDERS Remove the LED TV base first before mounting the unit on a wall It is the user s responsibility to use a UL listed wall mount unit rated to support the weight of th...

Page 67: ...ote control code cannot be detected by a universal remote Purchase a separate learning remote control Go to www wde com for a list of remote codes No picture Make sure the video input cable is properl...

Page 68: ...colors red green or blue are missing check the video cable to make sure it is securely connected Loose or broken pins in the cable connector could cause an improper connection Adjust the Hue Saturati...

Page 69: ...e Action NOTES If the problem condition persists even after performing the recommended corrective actions contact us by Logging on to www wde com Contacting the Westinghouse Customer Service at 800 70...

Page 70: ...rast Ratio min 3000 1 Response Time min U 6 5ms g g Aspect Ratio 1 77 16 9 Display color 16 7M Audio Video Input Output T erminals HDMI x2 AV with R L Audio x1 Component x1 SPDIF Out x1 USB x1 Tuner x...

Page 71: ...390 69mm x 75 57mm Without stand 641 20mm x 390 69mm x 154 00mm Weight Net 4 1 Kgs Weight Gross 5 3 Kgs NOTES These product specifications are subject to change without user notification Do not set y...

Page 72: ......

Reviews: