background image


26


Picture is light or improperly tinted. 


 Check the Hue, Saturation and Color adjustments. 

 Reset the TV to the factory default settings. 


The picture is too dark. 


 Select a different Video Preset mode. 

 Check the Brightness of Picture Settings. 

 The fluorescent lamp may have reached the end of its life. 

Contact an authorized service center. 


Remote control does not work. 


 Install new batteries. 

 Make sure the remote sensor window isn’t blocked

 Make sure the system is in the right mode (TV / VCR / CBL /       

AUX)


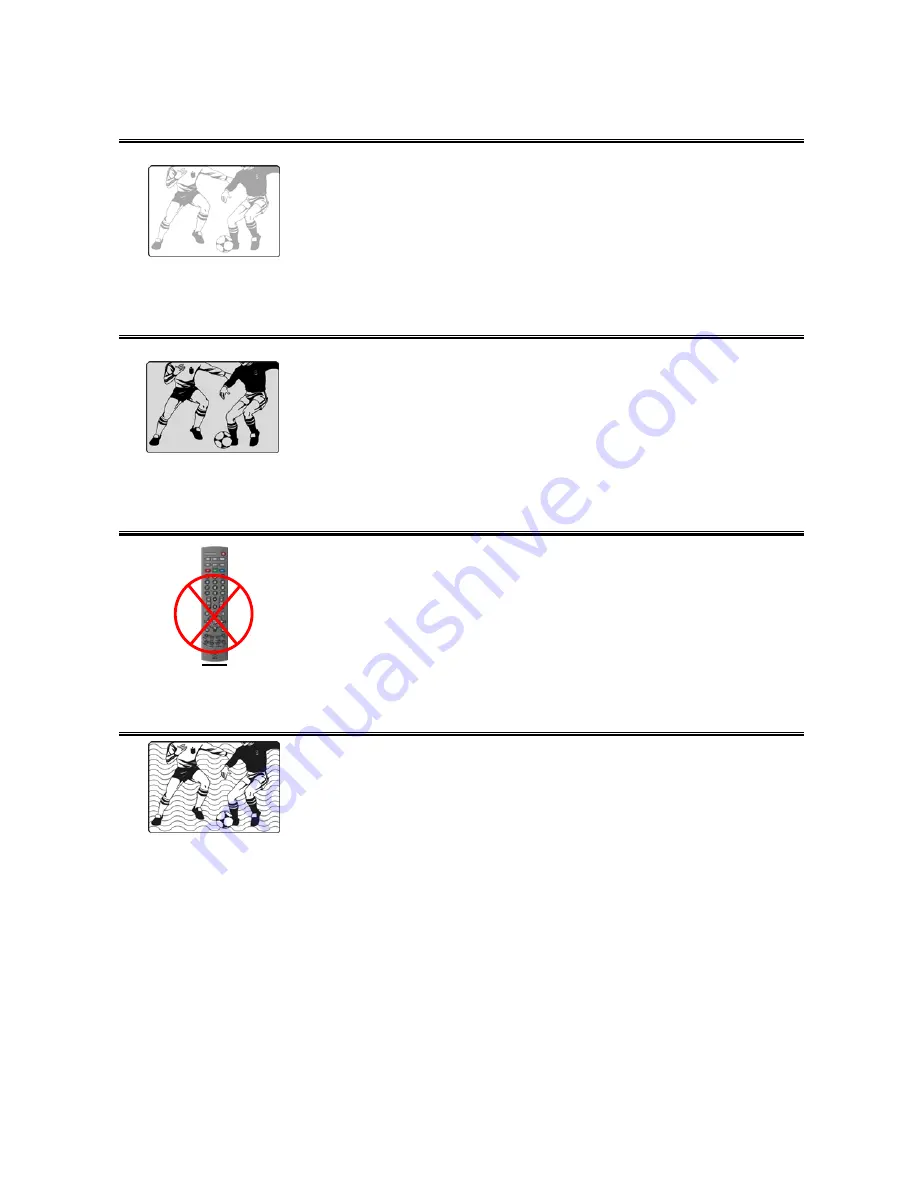
There are stripes on the screen or colors fade. 


 There may be interference from other appliances. 

 There may be interference between the video source cable and 

the power cable.   

 Make sure the power and video cables are not touching. 

Check the Hue, Saturation and Color adjustments 

Summary of Contents for P2650HR - Pro - 26" LCD TV

Page 1: ...USER S MANUAL P2650HR P3250HR Commercial HDTV...

Page 2: ...ontrols and Ports of the Panel 6 Accessories 8 Remote Control 9 INSTALLATION AND FUNCTION ADJUSTMENT 11 Installation 11 How to remove the BASE 14 Function adjustment 15 INSTALLER FUNCTIONS 22 RS232 Co...

Page 3: ......

Page 4: ...Canadian programs may also be copyrighted and any unauthorized recording in whole or in part may be in violation of these rights Warning Do not leave stationary images patterns PIP windows or letterbo...

Page 5: ...nerating products including amplifiers 5 For added protection during a lightning storm or for extended periods of non use unplug the power cord from the wall outlet and disconnect the antenna if used...

Page 6: ...ventilation is provided or the manufacturer s instructions are followed 10 The LCD panel used in this product is made of glass Therefore it can break if the product is dropped or struck 11 During the...

Page 7: ...lled over the LCD surface enclosed into the box wall or stack the monitor please make sure the temperature around the display is within the parameters of the operating specifications The monitor shoul...

Page 8: ...QAM cable signals Built in 10W dual channel speakers Embedded video enhance and noise reduction features for the colorful and clearest picture possible Provided multi channel sound decoder for stereo...

Page 9: ...tton for menu 4 INPUT Select the input source TV Video 1 Video 2 YPbPr 1 YPbPr 2 HDMI1 HDMI2 PC 5 POWER Turn the LCD TV on or off 6 REMOTE SENSOR WINDOW aim the remote control towards this spot on the...

Page 10: ...iver or surround sound processor with SPDIF optical input 9 ANT RF input Connect the LCD TV to an over the air antenna or cable service to view NTSC and ATSC HDTV content 10 USB Factory service port P...

Page 11: ...8 Accessories User s Manual Remote Control Batteries Power Cord USB RS232 Converter Warranty Card Screw driver Screws x4 base Not required for all models LCD TV Warranty Card...

Page 12: ...list Use arrow keys and enter key to select add or remove the channel from favorite list 9 Channel number keys Select specific channel 10 Enter Execute a command 11 Input Select input source 12 VOL V...

Page 13: ...olume Up Down adjustment 13 CH TV channel Up Down adjustment 14 Aspect ratio Select video display format Stand or Fill 15 Menu Display the On Screen Display OSD 16 Last CH Switch to previous channel 1...

Page 14: ...ries This may result in cracking or leakage which may pose a fire risk or lead to personal injury Insert batteries according to and markings Inserting the batteries incorrectly may result in cracking...

Page 15: ...12 2 Connections...

Page 16: ...Turn Power On Press the power button on the right side of the LCD TV or press the power Red button on the remote control 6 Select input source for the LCD TV using the OSD menu or remote control direc...

Page 17: ...14 How to remove the BASE a Carefully place the TV face down on a soft clean surface b Remove the four screws underneath the BASE See picture below c Pull out the BASE from the TV...

Page 18: ...e of front control keys of the LCD TV or the MENU key on the remote control Press arrow keys to select desired OSD menu and Enter key to select desired setting Video Video settings Press arrow keys to...

Page 19: ...Optical Out Select AC3 PCM Analog Preference Select an analog audio preference if TV signal is analog Mono Stereo SAP Digital Preference Select language preference for digital channels English French...

Page 20: ...nu Language Use arrow keys to adjust Menu Language Select OSD language Input Use arrow keys to adjust Input Source labels System Info Display important system info you may need the information when ca...

Page 21: ...initial boot but a much faster Power On Off time thereafter Power On Plug Set TV power on memory when un plug power cord and re plug it ON automatic power on memory OFF no automatic power on Channels...

Page 22: ...te control shows Change name menu You can compile the name you like then press Done button the edition is to be finished Locks Lock feature prevents viewers from watching programs that are not age app...

Page 23: ...strongly cautioned R Restricted NC 17 No on 17 and under admitted X Adult audience only Canada French G General programming suitable for all audience 8 ans Children eight years and older 13 ans Viewe...

Page 24: ...are locked use arrow keys to lock one or more channels Select button on menu to lock and unlock channels Guide Show program information for the current channel such as signal strength resolution chan...

Page 25: ...l user will be able to access This feature is not available on all commercial models The menu is partitioned into two categories of menu types 1 Standard Menu the menu that the normal user will be abl...

Page 26: ...kout This feature will block access to the Setup menu but still allow access to the Installer Menu To disable this function use the Installer Menu password to re enter the menu and set the feature to...

Page 27: ...stored 2 OFF Forces the display into standby mode when power is restored Panel backlight is off while the system is still ON Set ID This feature will allow the installer to define a specific ID to a d...

Page 28: ...e end of its life Contact an authorized service center Make sure the video source is plugged into the composite video in port There is no sound Make sure the volume is not set to minimum Make sure the...

Page 29: ...of its life Contact an authorized service center Remote control does not work Install new batteries Make sure the remote sensor window isn t blocked Make sure the system is in the right mode TV VCR C...

Page 30: ...e Sharpness of Picture Settings The picture moves The source signal may be weak The provider may be experiencing difficulties Check input connections The picture is doubled or tripled The source signa...

Page 31: ...480 37 861 72 809 31 5 832 640 120 40 520 480 20 3 5 VGA 75HZ 640 480 37 5 75 0 31 5 840 640 120 64 500 480 16 3 6 SVGA 56Hz 800 600 35 156 56 25 36 0 1024 800 128 72 625 600 22 2 7 SVGA 60Hz 800 600...

Page 32: ...ideo x 2 Video Input Component Signal Y Pb Pr x 2 720P 1080i HDTV ready HDMI Connection HDMI x 2 VGA Connection D Sub 15 pin PC Input Scanning Frequency fH 31 5 60KHz fV 56 75Hz Composite Audio 1 S Vi...

Page 33: ...eo Input Component Signal Y Pb Pr x 2 720P 1080i HDTV ready HDMI Connection HDMI x 2 VGA Connection D Sub 15 pin PC Input Scanning Frequency fH 31 5 60KHz fV 56 75Hz Composite Audio 1 S Video Audio 2...

Page 34: ...www wde com Westinghouse Digital Electronics Santa Fe Springs CA SE UM 2605 0701...

Reviews: