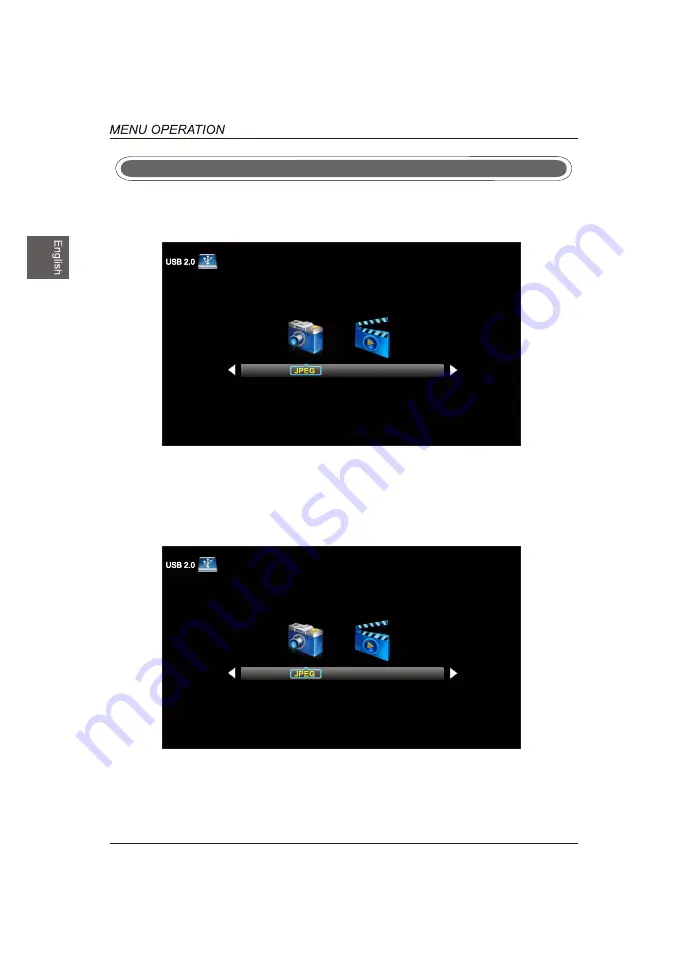
USB Menu
Note:Before operating Media menu,Plug in USB device,then press SOURCE button to set the Input
Source to USB.
Press
/
button to select USB in the Source menu,then press OK button to enter.
Press ◄ / ► button to select the option you want to adjust in t
he main Media menu,then press
OK button to enter.
Press ◄ / ► button to select JPEG in the main menu,then press
OK button to enter.
Press Exit button to return back to the previous menu.
Press ◄ / ► button to select drive disk you want to watch,then
press OK button to enter.
Press ◄ / ► button to select Return option to go back to the pr
evious menu.
JPEG Menu
30
M-JPEG
M-JPEG
Summary of Contents for DWM55F1Y2
Page 1: ...USER S MANUAL MANUEL DE L UTILISATEUR MANUAL DEL USUARIO DWM55F1Y2 ...
Page 2: ...VGA PC Connection HDMI Coaxial Connection USB Port Function USB Menu ...
Page 3: ......
Page 4: ...91 6 0 5 ...
Page 6: ......
Page 7: ......
Page 8: ......
Page 10: ......
Page 11: ...Audio left is white and Audio right is red Audio left is white and Audio right is red ...
Page 12: ...USB ...
Page 13: ...COAXIAL ...
Page 15: ......
Page 21: ...the option you want press OK OK OK Lock Lock MFC Level Medium Color Space ...
Page 23: ...TIME Menu Sleep Timer Sleep Timer Lock ...
Page 24: ...Lock OK OK Lock Advanced Selection Option Service1 ...
Page 28: ...Signal Type Signal Type Signal Type Signal Type Air Lock Lock OK OK Lock Lock OK Channel Name ...
Page 29: ...28 OK OK OK Lock OK Lock Channel Name ...
Page 30: ...Setup are 29 OK OK AUDIO Lock Lock 30 ...
Page 33: ...32 ...
Page 35: ...www westinghousedigital com Westinghouse Digital LLC Orange CA SE UM 5503 1301 S N ...


