


WD ELEMENTS PLAY MULTIMEDIA DRIVE
USER MANUAL
WATCHING VIDEO
– 31
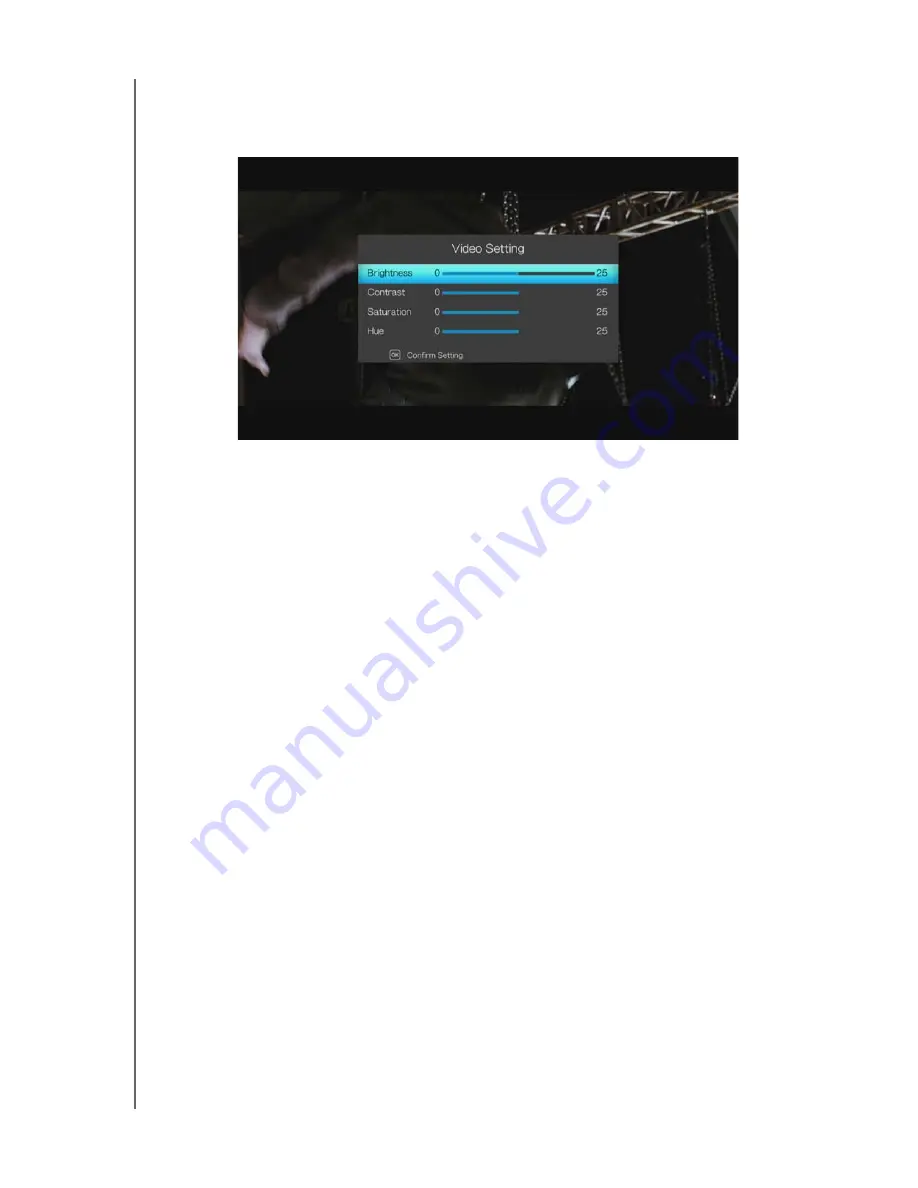
Video Setting
Use the navigation buttons to set brightness, contrast, saturation, and hue of the
currently playing video. Press
ENTER
to confirm your settings.
Video Zoom
Use these options to change the viewing scale of the video playback screen. Press
ENTER
repeatedly to cycle through the available zoom options. Press
OPTION
or
BACK
to revert to the default viewing scale.


