


Confidential
Page 10
Use the CH up/down buttons to the left of the right screen to scroll through the video inputs configured
via the Web UI. The video monitoring screen shows a scaled replica of each enabled TS multiplexor
input source. Use the up channel and down channel buttons to cycle through the video. This can be
done at any time and has no impact on the state of the system.
Accessing the WebUI
To access the MX-400 WebUI simply enter the IP address of the device into the web browser of a device
on the same LAN as the MX-400. The IP address can be obtained using the front panel, or indirectly via
FlexDM. Alternatively the MX-400 supports LLMNR, mDNS, and uPnP for LAN based system discovery.
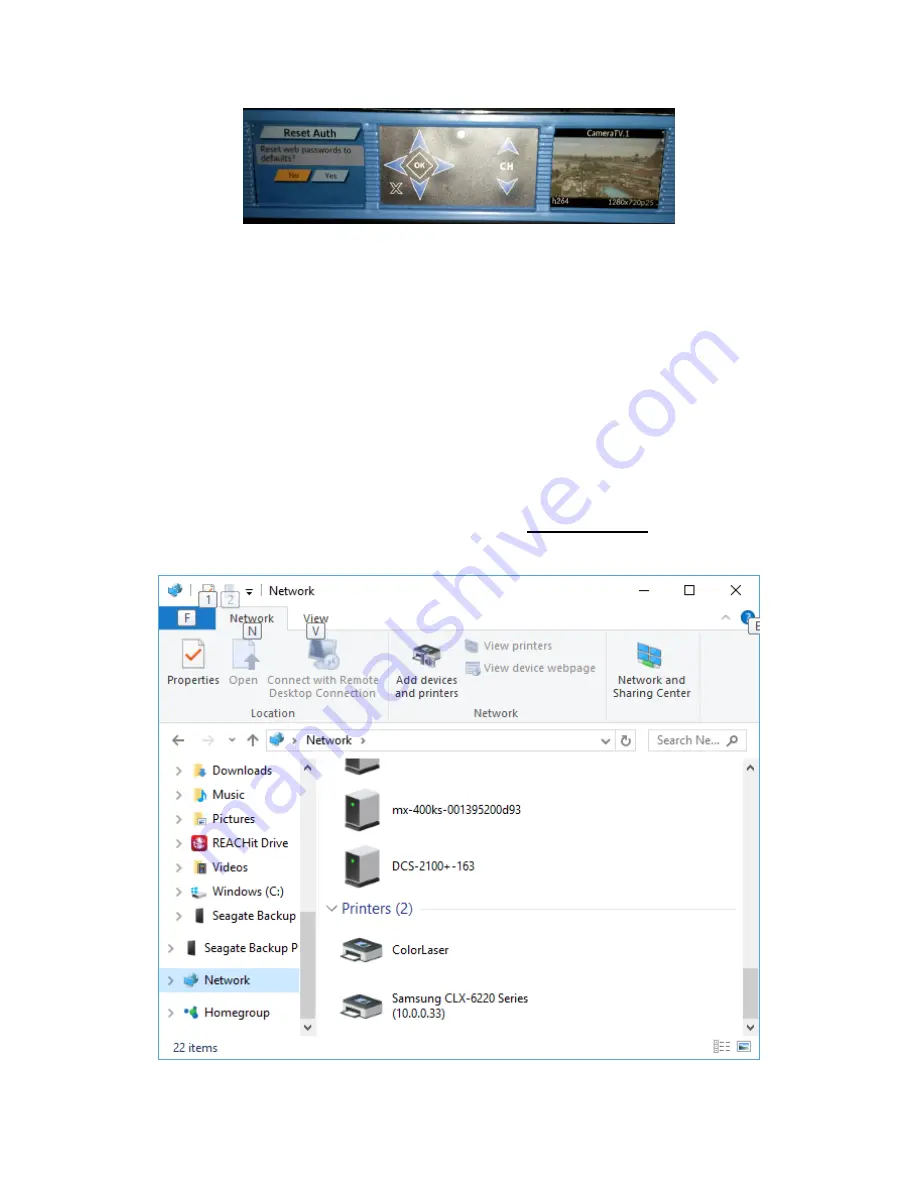
The N1 network settings are by default DHCP. Plug this system into a typical LAN and it will
automatically be assigned an IP configuration. Use your computer file browser to open the network
devices. For example, on Windows the screen below shows the windows file explorer. The “Other
Devices” categories includes a device called mx-100 or mx-400serialNumberHere. Double click on this
device to access the MX-100 web UI.


