11
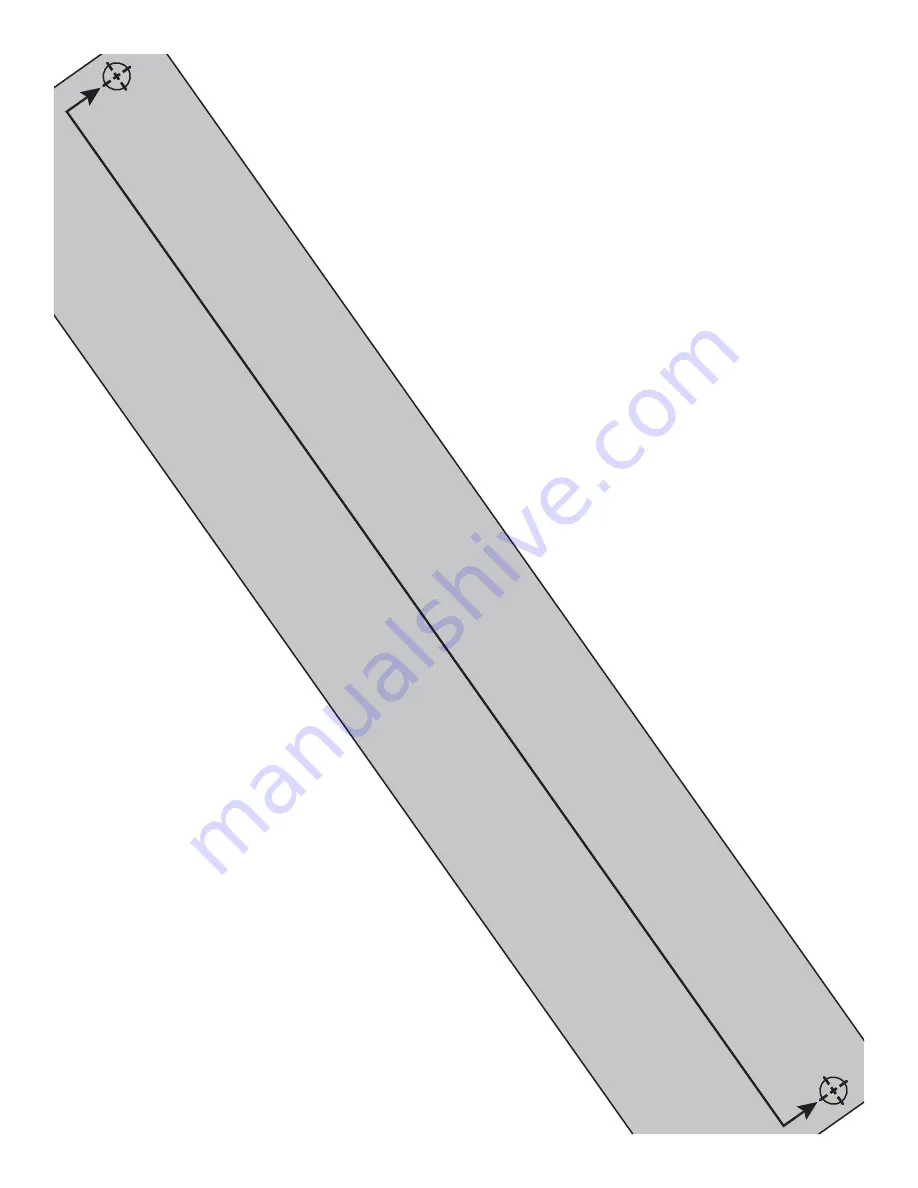
11-1/2” (29.21 cm)
Be sure that this template is printed at 100% actual size.
IMPORTANT: Be sure that this page is printed at
100% actual size before using template.
Page 1: ...ponent Identification 3 Hardware Parts List 4 Weight Limits 4 Digital Lock Accessory Note 4 Installation 5 Operation 7 Template for Mounting Power Strip 10 1 Column Mobile Media Storage Cabinet 2 Colu...
Page 2: ...sulting from the use or defect of this manual The information in this document is not intended to cover all possible conditions and situations that might occur The end user must exercise caution and c...
Page 3: ...cm Drawer File Drawer Cable Pass Through Structural Components Wire Clamp Work Surface Rear Access Door Power Strip Accessory X0003278 Digital Lock Accessory 241C399 Accessories Small Plastic Bin Acce...
Page 4: ...mode In this mode the user must enter a four digit User Code to open it The unit will re lock itself after four seconds The lock can be opened at any time using the Master Code Unless manufactured to...
Page 5: ...nless indicated otherwise Position the Adjustable Shelves 1 Remove any screws that held the Adjustable Shelves in place during shipping These screws can be discarded 2 For each Adjustable Shelf being...
Page 6: ...Installation continued Position the Adjustable Shelves continued 4 Fitting the grooves in the Shelves over the Rails tilt the Shelves into position to rest on the Shelf Clips Shelf Clip Groove in Shel...
Page 7: ...Slide Out Shelf The Plastic Bumper does not need to be removed from the Slide Out Shelf b Remove either the top or bottom set of Screws and Clips attaching both Glides to the Rails c Relocate the Gli...
Page 8: ...sting them until they break away from the frame 4 To open the Rackmount remove the two Screws securing it to the above Fixed Shelf and carefully tip it down until the bottom rests on the shelf below 5...
Page 9: ...st in routing cables throughout the Cabinet The Clamps can be repositioned or more can be added as needed Rear Access Door Components and connections can also be accessed from the back of the Cabinet...
Page 10: ...ing Power Strip The Power Strip Accessory may be placed at any location in the Cabinet Secure the Power Strip mounting holes using two 8 x 5 8 Sheet Metal Screws and the template on the following page...
Page 11: ...11 1 1 1 2 2 9 2 1 c m B e s u r e t h a t t h i s t e m p l a t e i s p r i n t e d a t 1 0 0 a c t u a l s i z e IMPORTANT Be sure that this page is printed at 100 actual size before using template...
Page 12: ...12 This page is intentionally blank...